Philippines Travel Guide
The Philippines is a tropical paradise in Southeast Asia comprising over 7,000 islands. It’s known for breathtaking beaches, crystal clear waters, some of the best diving sites in the world, and the hospitality of the people with whom it’s really easy to communicate since English is one of the official languages. The country also has a rich history and culture influenced by its Spanish and American colonial past.
I spent two months backpacking through the Philippines. Whether you want to do the same or just do some research and then rely on an organized tour, in this guide you’ll find lots of useful tips and information to plan your trip as best you can.
Quick menu
- When to visit the Philippines
- Documents and vaccinations to enter the Philippines
- What to do and see in the Philippines
- Suggested itineraries in the Philippines
- How to get around the Philippines
- Backpacking the Philippines: costs
- Backpacking the Philippines: safety
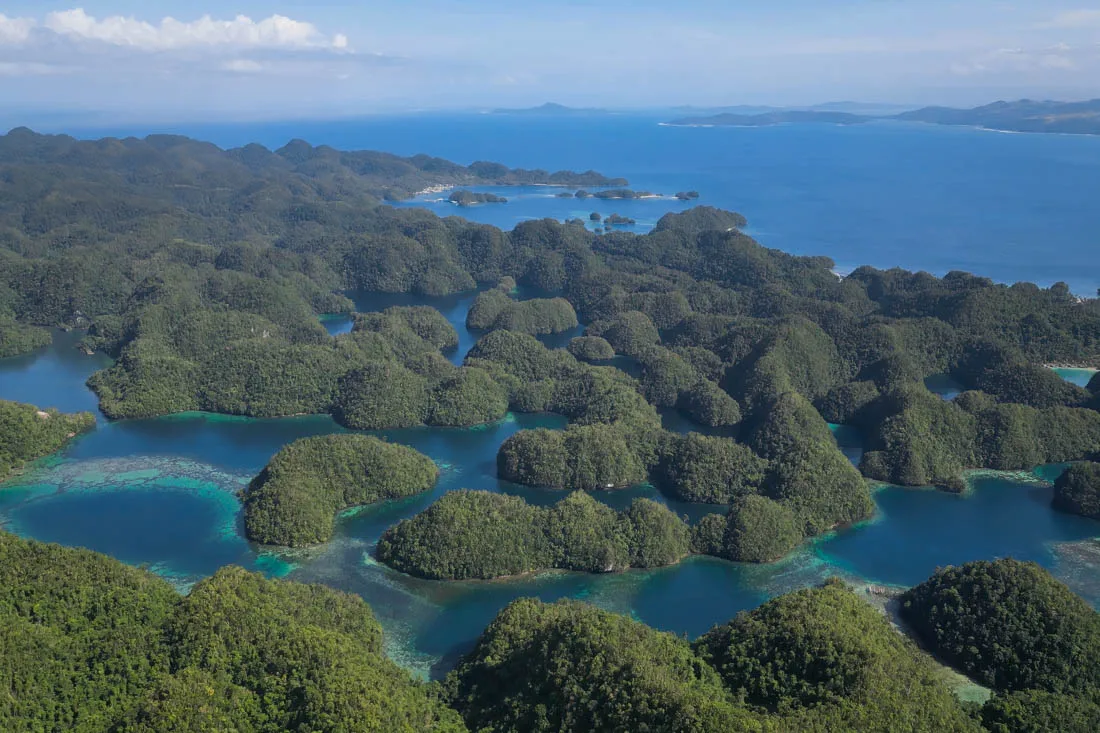
Sohoton National Park.
When to visit the Philippines
The Philippines, like the rest of Southeast Asia, has two very distinct seasons: the dry season and the rainy season.
From a weather point of view, the absolute best time is the dry season that runs from November to April in most parts of the country. December, January and February are the absolute coolest and nicest months. October and May are considered transitional months, and with a little luck you might get some great weather.
The low season is June to September, during which time rains are more frequent and intense. These are also the months when typhoons hit the country most frequently. Basically, a vacation in the Philippines in August isn’t exactly a great idea.
That said, I personally visited the country between February and April and, despite it being the dry season, I had more than a few days of rain. By the same token, I’m sure more than a few people have visited during the rainy season and were happy with the weather, but if possible I’d avoid the peak of typhoon season, from August to mid-October.
Finally, if you happen to visit the Philippines during Easter week, I strongly recommend booking your accommodations well in advance. I spent Holy Week in Siargao and in the evenings there were blackouts because of the excessive demand for electricity. On top of that, the internet was crawling even though I had full signal, and the ferries were completely full days in advance. Plan accordingly.
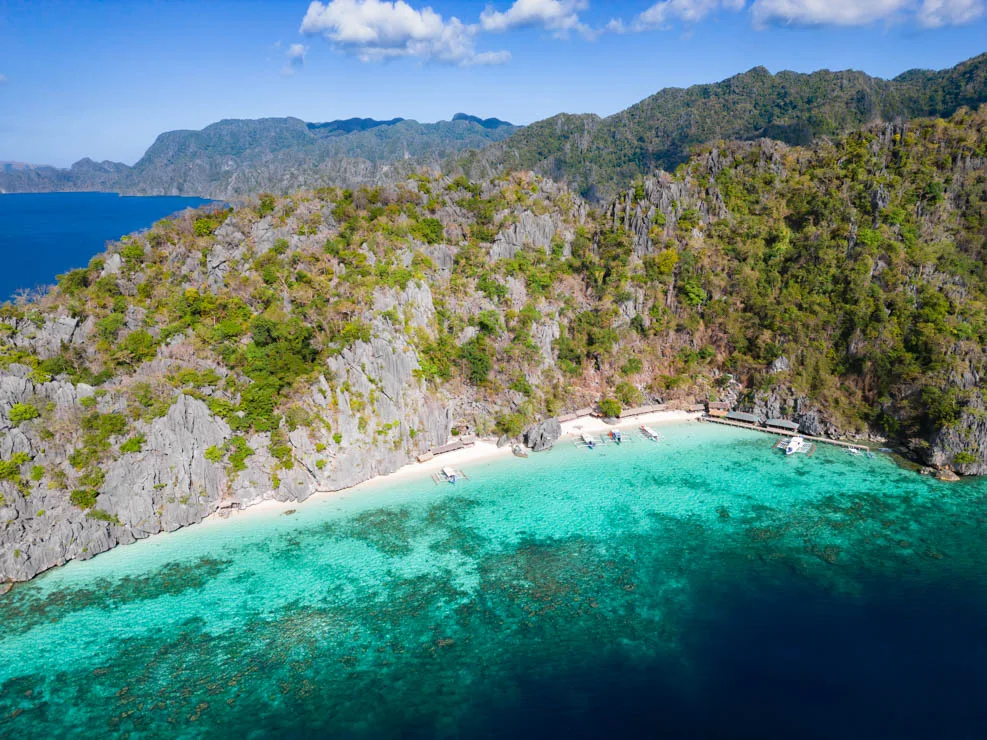
Banul Beach, Coron.
Documents and vaccinations to enter the Philippines
Italian passport holders get a free 30-day tourist visa from the moment they enter the country (the rules change depending on your nationality, so check yours). You can do the classic “visa run,” that is, leave and re-enter the country to get another 30 days, but since you have to fly to get there, it’s not that practical.
If you need to stay longer, renewing your visa is really easy and can be done up to a maximum of 16 months. The first “Visa Waiver” renewal is for 29 days, after which it can be extended by several months at a time, but it has to be done in advance because you need to get the “ACR I-Card.” I renewed my visa for 29 days at the Manila immigration office, paying 3030 PHP; it was all really easy and relatively fast, in 40 minutes I was in and out. I recommend bringing a pen to fill out the form. In any case, any immigration office will do, and the extension doesn’t have to be done in Manila. There are also rumors that the procedure could soon be completed online, so I recommend looking into it. This is the official immigration website.
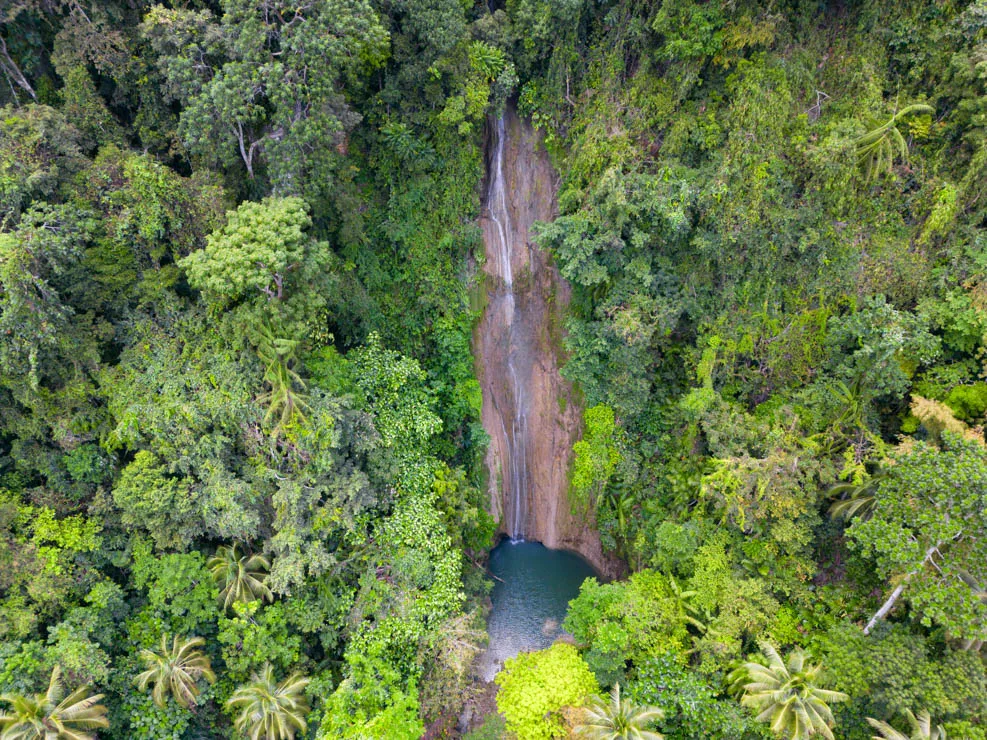
Cangbangag Falls, Siquijor.
Officially, the Philippines requires proof of onward travel within the limits of your visa. This isn’t a problem for anyone who has a return flight or a flight to another country, but it might be for those with a one-way ticket.
Checks are at the discretion of the border officer and of the airlines at boarding before departure. For my flight from Phnom Penh I had to go to the check-in counter and they asked me for it. I already had my onward flight so it wasn’t a problem, but otherwise my advice is to rent a ticket on a site like onwardticket.
Hepatitis A and B vaccinations are recommended. For up-to-date information on visas and everything else, I recommend checking your own government’s official travel advice (for example, the UK’s Foreign travel advice).
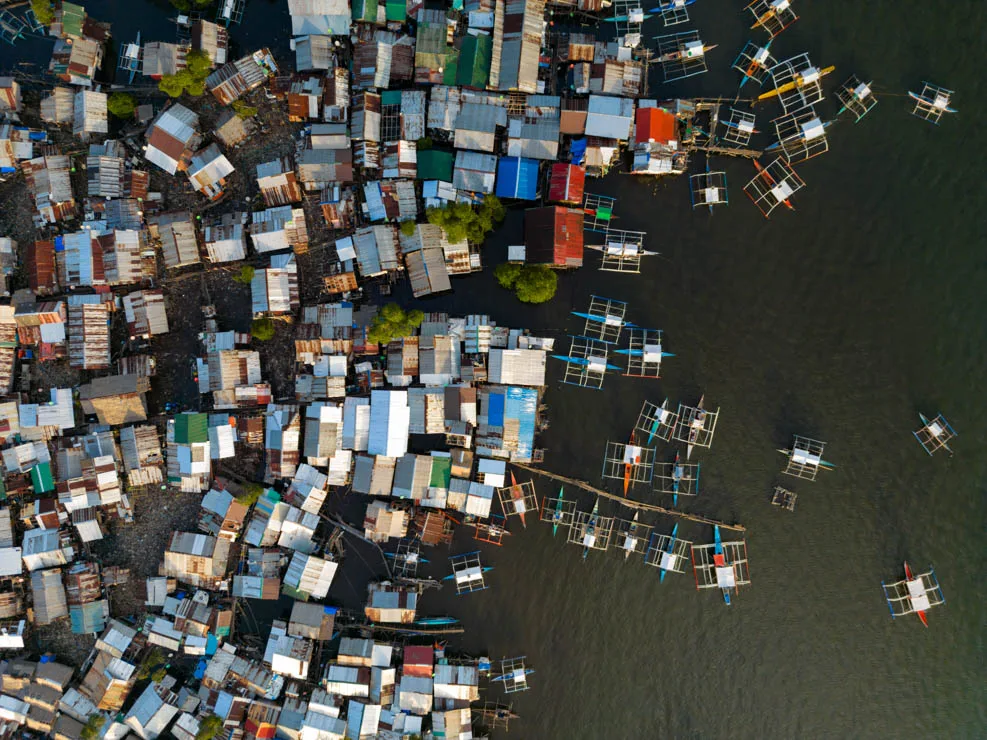
Coron Town.
What to do and see in the Philippines
In this guide, prices are often expressed in the local currency. The Philippines’ official currency is called the “Philippine Peso,” abbreviated as “PHP.” The exchange rate is about 1€ = 71 PHP. For the current exchange rate, I suggest you look at this page.
Given the geography of the Philippines, I think it makes sense to divide this section by islands before even talking about destinations within them. For the map below, more or less, I applied the same logic.
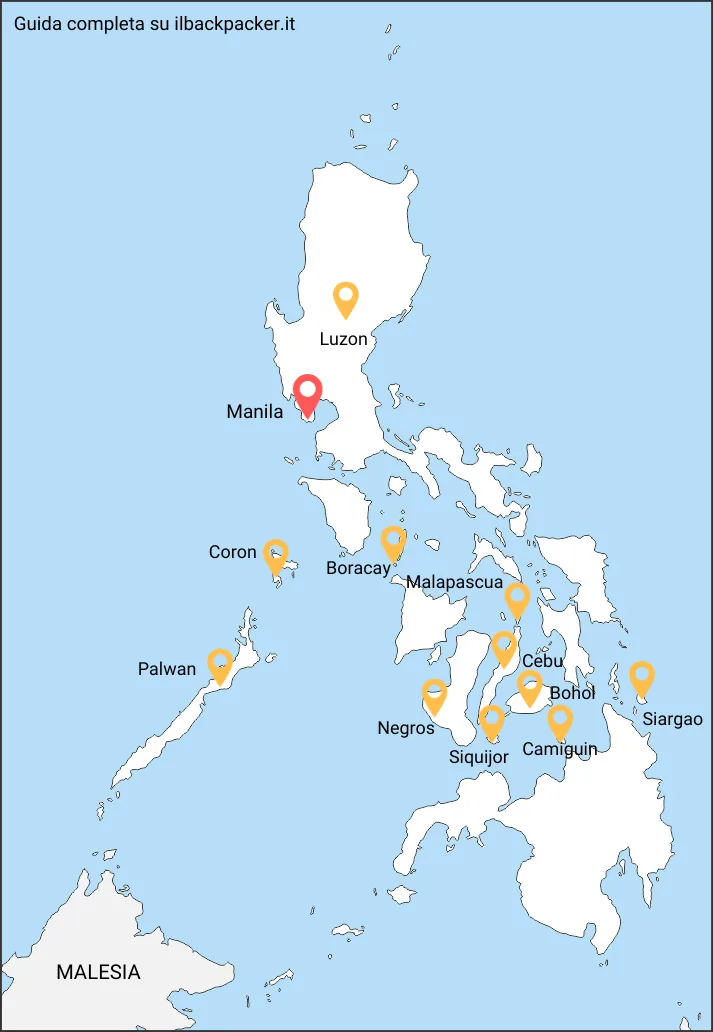
LUZON
Luzon is the largest and most populous island in the Philippines. It’s home to the capital city of Manila and is an important economic and political center. Luzon boasts a variety of landscapes, including mountains, rainforests, and beaches. I personally limited myself to spending a few days upon my arrival in Manila but there are more than a few other interesting destinations that I include to make this guide as complete as possible.
Manila
Manila is the capital of the Philippines. It’s a densely populated city with a mix of Spanish colonial architecture and modern skyscrapers. The city is home to many historic landmarks and is an important commercial and financial center.
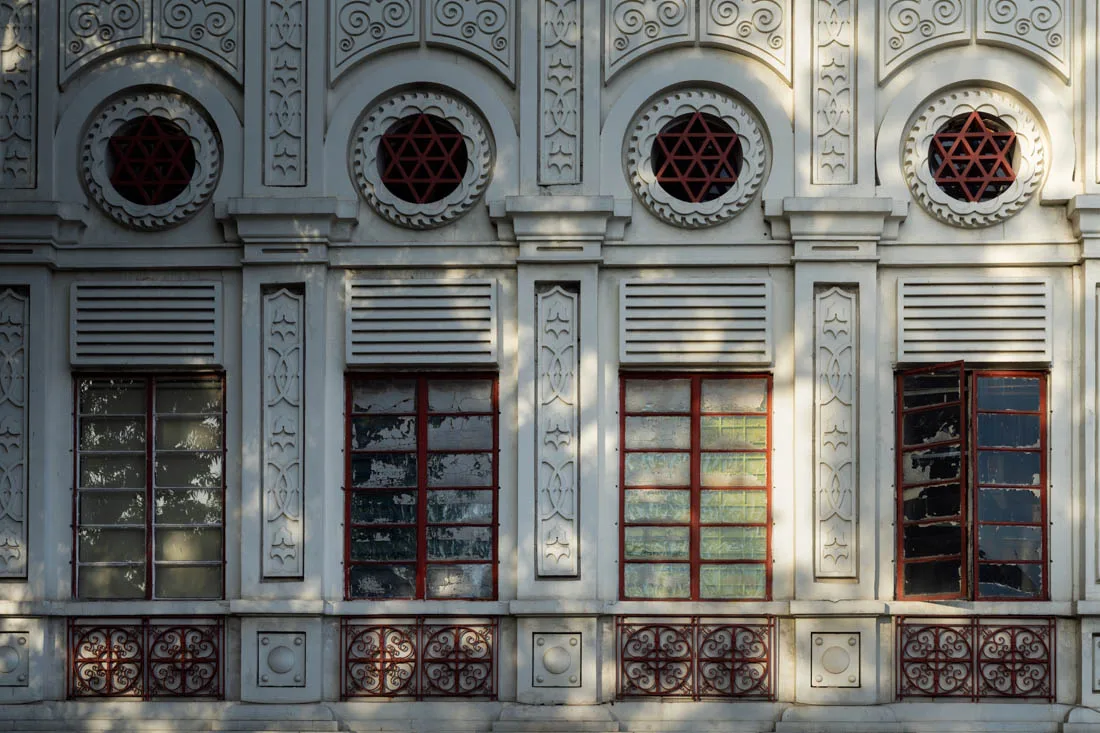
In the streets of the historic district.
What to do and see in Manila
For many travelers Manila is simply an unavoidable stop on their trip to the Philippines. I wouldn’t advise anyone to turn their plans upside down to visit the city, but if you’re passing through I think it’s worth spending a day exploring the old town.
Intramuros
Intramuros is the historic walled area within the city of Manila that was built by the Spanish some 400 years ago as a political and military base in Asia. Among its streets are many well-preserved colonial buildings. San Agustín Church (Google Maps) and Manila Cathedral (Google Maps) are undoubtedly two of the most beautiful Baroque and Romanesque churches in the capital. Casa Manila (Google Maps) is a nice museum that illustrates the colonial lifestyle of a wealthy family during the Spanish colonization of the Philippines. Admission costs 75 PHP.
Finally, a visit to Intramuros can’t be considered complete without going inside Fort Santiago (Google Maps), the place that for years represented the center of power in the city during the colonial era. Inside there’s also an interesting museum dedicated to José Rizal, a key figure of Philippine nationalism, which culminated in independence from the Spanish. Admission costs 75 PHP.
To wrap up, just outside the walls of Intramuros you can visit Rizal Park (Google Maps), unfortunately it was closed during my visit but it seems like the perfect place to spend a few hours relaxing away from the hustle and bustle of the city.
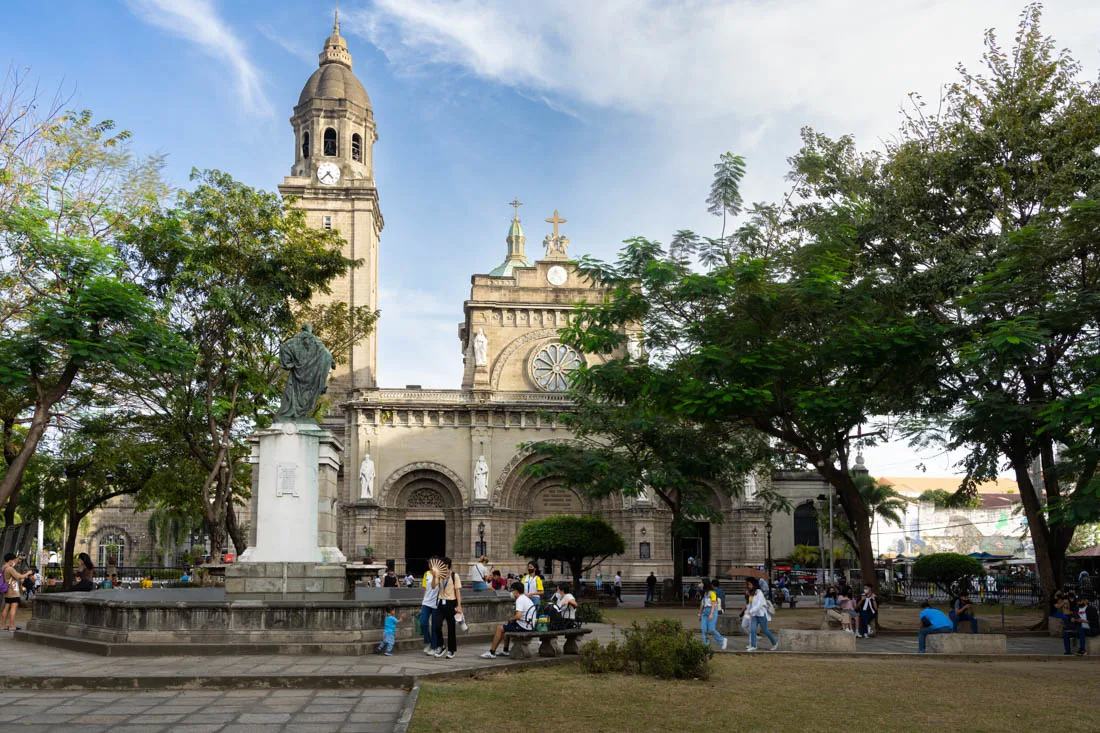
Plaza de Roma.
Other neighborhoods in the city
Makati (Google Maps) is the city’s financial center and, among many other things, is home to the Philippine Stock Exchange. It has a vibrant nightlife and numerous shopping malls. There are several skyscrapers and modern buildings, and the contrast with the rest of the city is striking. Bonifacio (Google Maps) has a very similar atmosphere.
Malate (Google Maps) is one of the city’s historic districts; its origin dates back to Spanish colonial times, when it was a fishing village. Among the main attractions are a church (Google Maps) and a zoo (Google Maps). Malate is also known for its nightlife, with many bars and restaurants.
Sampaloc (Google Maps) is called University Belt or simply “U-Belt” for the many colleges and universities located within it. It’s home to the oldest university in Asia and one of the largest Catholic universities in the world, the University of Santo Tomas. Official website.
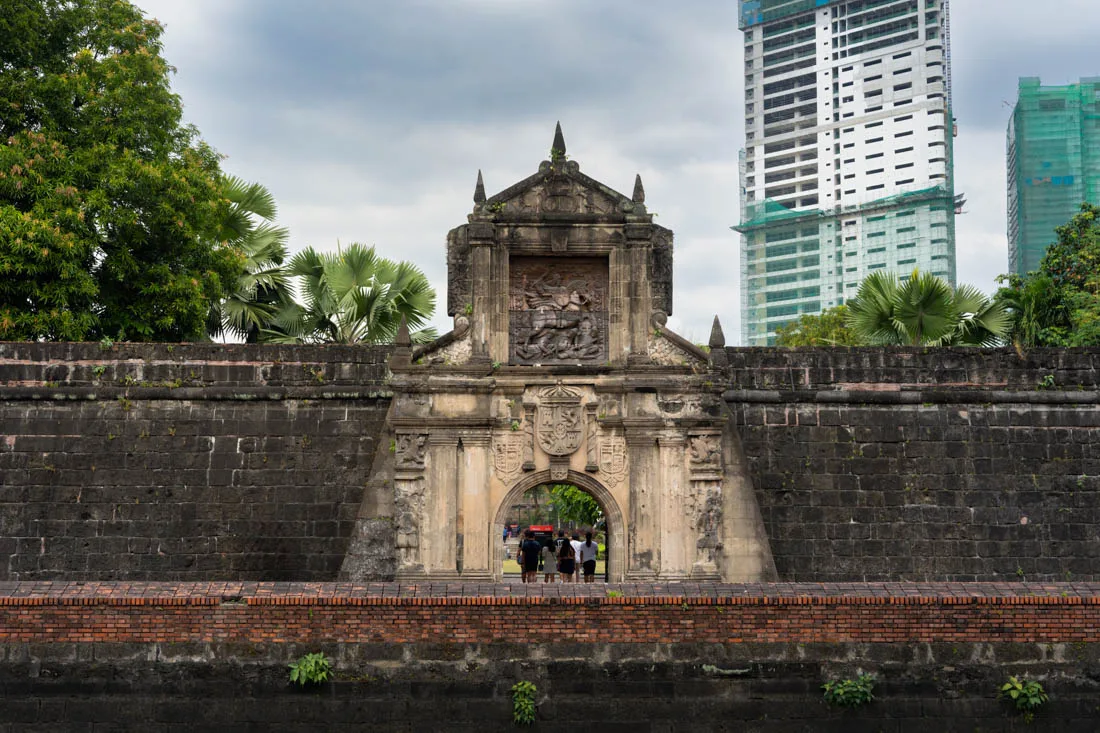
Fort Santiago gate.
How to reach Manila?
Most travelers reach Manila by air. Depending on where you decide to stay, you could take the bus offered by UBE Express that connects the airport to various parts of the city, such as Makati, or alternatively take the City Bus Line 2 that connects the airport to the LRT (light rail). Find more information on the official website. Finally, if you arrive at night, when public transport isn’t running, or you’d rather have a bit of comfort, you could simply take a taxi or use Grab. The city is close enough so it shouldn’t cost much. The yellow cabs lined up outside the terminal are the official airport taxis; they cost slightly more than the white ones but are considered, for what it’s worth, safer.
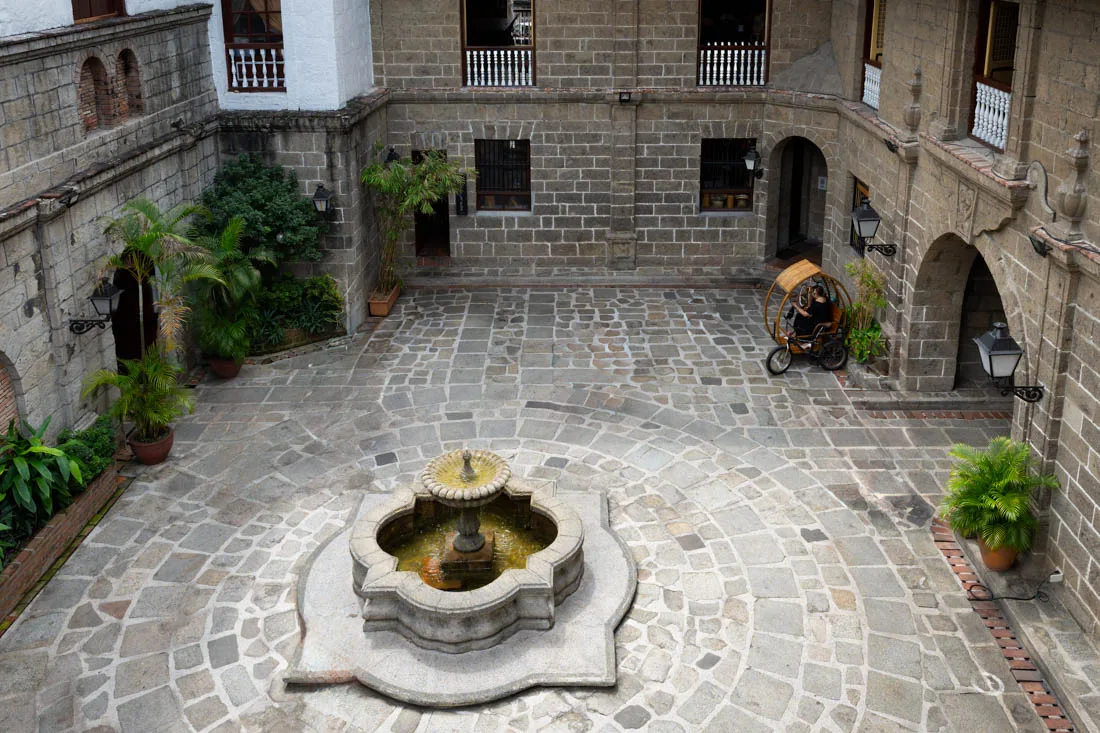
Casa Manila entrance.
Where to sleep in Manila?
I slept at Maine City Residences, really cheap single rooms, 24-hour front desk, not far from the airport and convenient access to the LRT. The neighborhood isn’t the nicest but it was absolutely no problem for me. If you’re looking for a real hostel, Crossroads Hostel Manila is a great option, but the location is a bit inconvenient in my opinion; NomadsMNL Hostel is a stone’s throw from the airport and is therefore convenient for anyone just passing through Manila. Finally, Abraham Manila is in the Makati neighborhood, which many travelers seem to prefer, one of the safest and most modern in the city.
Manila was the end of my short stay on Luzon, since I flew to Palawan, but for the sake of completeness, below I’ve included some relatively popular destinations on the island.
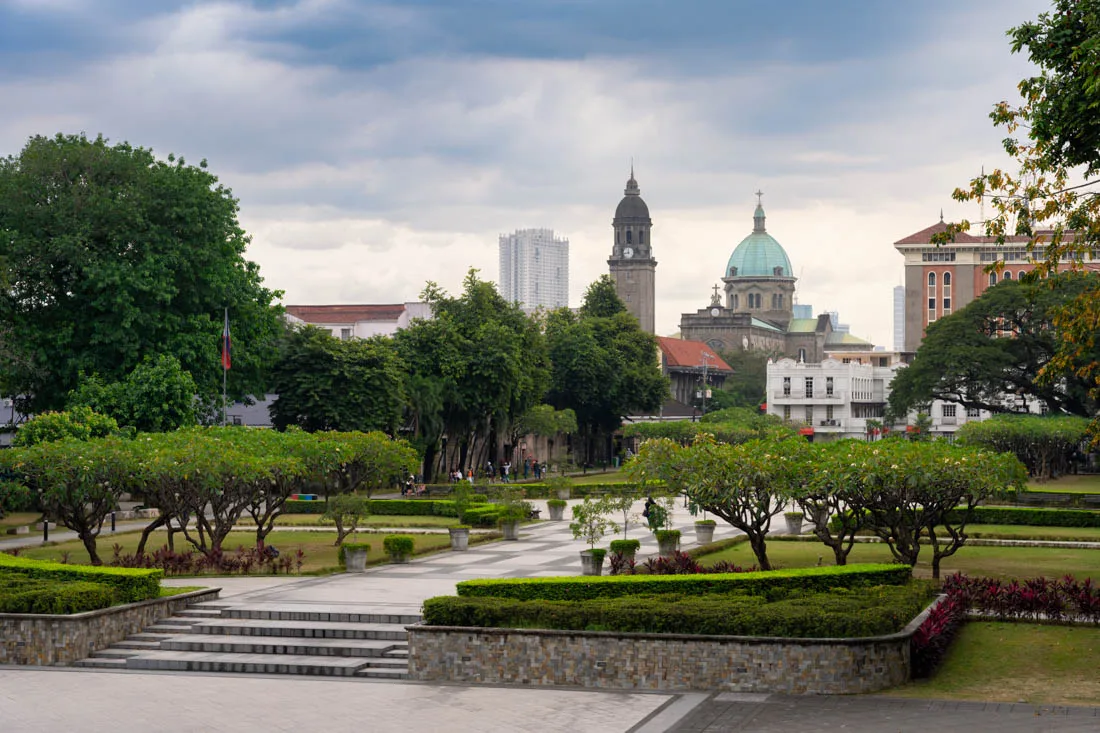
Manila Cathedral.
Banaue and Sagada
The Banaue terraces are a series of ancient man-made structures built between 6,000 and 2,000 years ago, which were added to the UNESCO World Heritage list in 1995. Some travelers told me that the town is nothing special, but the surrounding landscapes of rice fields are picturesque to say the least. On this page you’ll find lots of useful information in case you want to go trekking in and around Banaue.
Sagada, a few hours further north, was described to me as a much prettier and more pleasant town. It too is surrounded by beautiful landscapes and rice terraces, but it’s particularly famous for its iconic hanging coffins. These coffins are part of the burial practices of the indigenous Kankanaey people. The coffins are typically reserved for people of high social rank, and the height at which they’re placed reflects this. On this page you’ll find information on how to visit the famous coffins and more.
A great way to explore the north of Luzon Island is through the so-called Luzon Loop, a motorbike road trip that is becoming increasingly popular among backpackers.
Mount Taal
Mount Taal with its crater lake is a hike that, if you like, can be done as a day trip from Manila. On this page you’ll find a short description of the hike. To get to the volcano by public transport from Manila, you can check out this article.
Mount Mayon and Ruins of Cagsawa
The town of Legazpi in Albay province is the crossroads for anyone who wants to visit the Cagsawa Ruins and the iconic Mount Mayon, also known as the volcano with the perfect cone. In this article you’ll find a list of possible activities to do in the surrounding area.
Donsol
Donsol is considered the ideal destination for anyone who wants to see whale sharks ethically. Unlike Oslob and so many other destinations, sharks aren’t fed here and can only be observed during the natural migration period from November to May. You can find more information about this on this page.
Caramoan Islands (Camarines Sur)
The Caramoan Islands are a group of islands and islets located off the southeastern tip of the main island of Luzon. The islands are known for their white sand beaches and limestone cliffs. The archipelago is considered a secret paradise still little visited by travelers. If you’re looking for a destination away from the beaten path, the Caramoan Islands might be for you. You can find more information about them on this page.

Kids on the streets of Manila.
PALAWAN
Palawan is known for its white sandy beaches, crystal clear waters and sheer limestone cliffs. The island is one of the most touristy and popular in the Philippines.
El Nido
As far as I’m concerned, El Nido was a huge disappointment. The beauty of the islands, beaches and lagoons of Bacuit Bay, where the popular boat tours take you, is undeniable, but in my opinion mass tourism has reached such a level that it has completely ruined the atmosphere of these heavenly places. On top of all this, prices are crazy compared to the rest of the country.
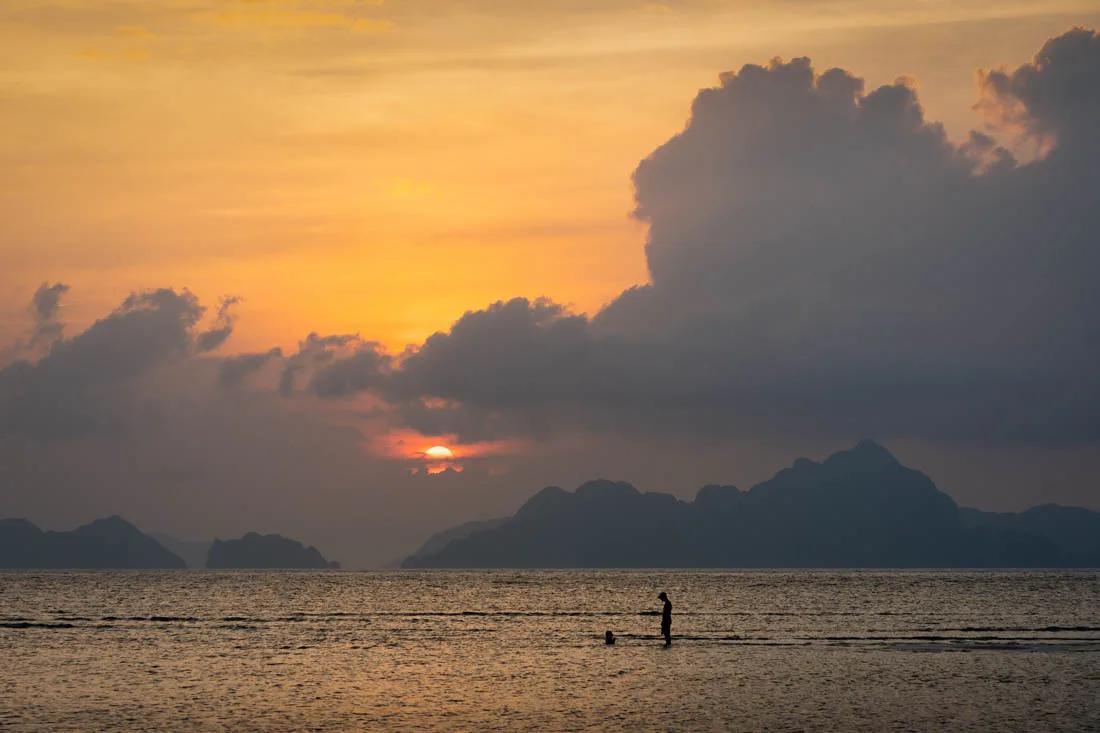
Sunset over Bacuit Bay.
What to do and see in El Nido
Having said that, El Nido can still be a pleasant place to spend a few days. There’s no shortage of activities but personally, on a trip to the Philippines, I think you’d be better off spending your time elsewhere.
Boat tours
The so-called island hopping tours are undoubtedly the favorite activity of travelers visiting El Nido. Four standard tours are offered: A, B, C and D. According to what locals say, the best are the A and C tours, which consequently are also the most popular. Tours cost between 1200 and 1400 PHP. I tried to get a last minute price on the morning of the tour itself but no agency offered me more than 200 PHP off. In the end I booked my tour with Brunch El Nido given the good breakfast included.
200 PHP environmental tax should be added to the tour price (it should be valid for 10 days in case you want to do more tours) and at least in the case of tour A the entrance to the lagoon costs extra (200 PHP) plus another 300 PHP for kayak rental, the latter can be shared with another person. All tours include lunch, which in my case was excellent.
I know for a fact that Outpost Hostel organizes private tours with non-standard itineraries for 1800 PHP, if I’m not mistaken. According to them these spots are less visited; how true that is, I don’t know. What’s certain is that tour A, which I took part in, is something I wouldn’t recommend. Maybe it was the time of year (late February), but every single place we went to was packed with people: to get into the secret lagoon I literally had to wait in line, and the same goes for getting a kayak to explore the Big Lagoon. Beautiful places, but way, way too many people in my opinion.
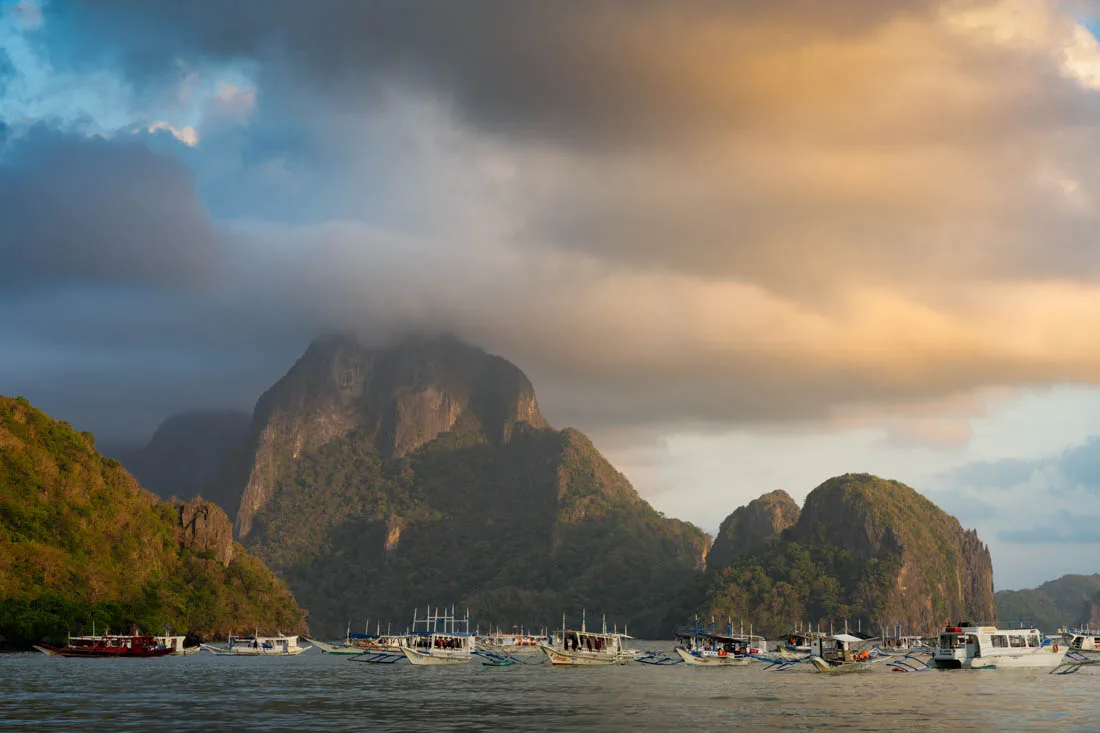
Sunrise in El Nido.
Expedition from El Nido to Coron (or vice versa)
If budget allows, you could invest the money from the island hopping tour to join one of several expeditions that shuttle from El Nido to Coron and vice versa. There are at least four companies that offer this type of experience: Tao Experience, Buhay Isla, Big Dream, and Keelooma. It’s a one-way trip of three to five days during which sailing alternates with semi-deserted islands where you can spend time on the beach or do some great snorkeling.
Tao Experience is considered the best in terms of boats, overnight accommodations and food, but it’s also the most expensive. I did the four-day tour with Buhay Isla paying 18500 PHP, discounted from the official price of 21500 PHP. That’s a lot of money but if you can afford it I think it’s really worth it, as far as I’m concerned it was a wonderful experience. The food was great, the crew nice and the accommodation for the night (changed every day) wasn’t bad at all. At least in the case of Buhay Isla, even the rum and cola is included in the price, personally I don’t drink but I assure you the other guys were thrilled.
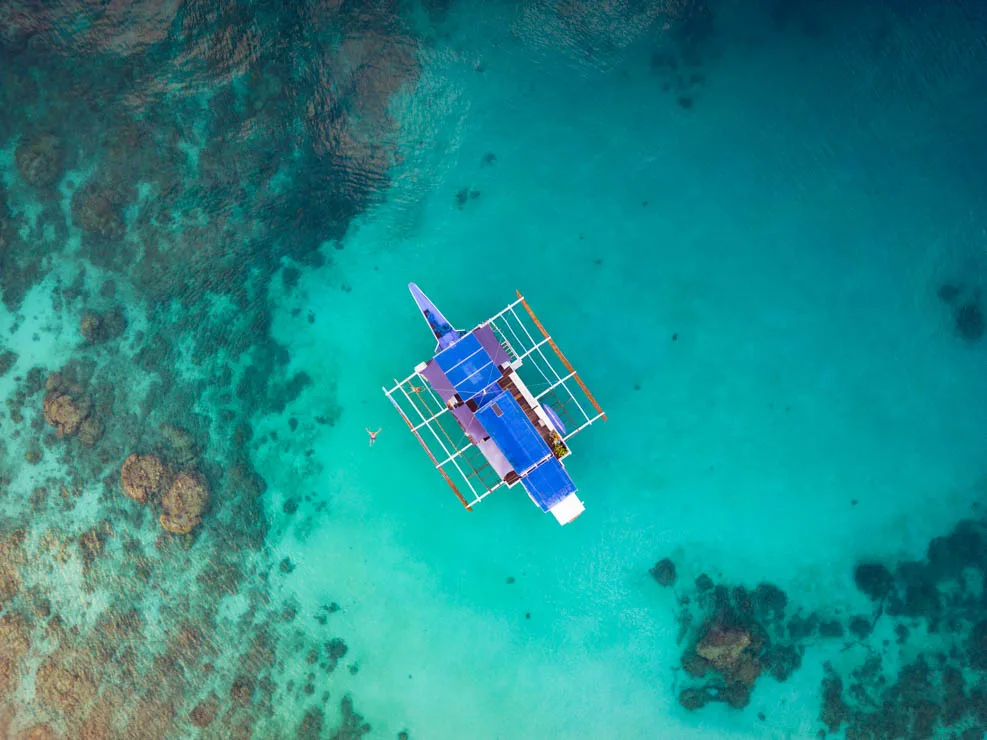
Our boat during the Expedition.
Beaches in and around El Nido
There are at least three beaches that are often recommended around El Nido: Nacpan Beach, Lio Beach, and Las Cabanas Beach. Nacpan Beach is the farthest from town and can be reached by scooter (the last stretch of road isn’t in very good condition) but some hostels also arrange shuttles. It’s a wide white sandy beach. Admission costs 50 PHP. Lio Beach is an easier alternative to get to and not bad at all. Admission is free. Las Cabanas Beach is the closest to town and at least during my visit there were quite a few people, but the beach is nice and admission is free.
Waterfalls at El Nido
If you decide to rent a scooter (they cost about 500 PHP per day) to go to Nacpan Beach or Lio Beach, you could visit a couple of waterfalls along the way that can be reached at the end of short treks. As you’ll hear me say several times throughout this guide, I decided to boycott the visit because the locals force you to hire a guide at “crazy” prices, which is absolutely not necessary. Looking at the photos, the falls aren’t even that impressive, quite the opposite. For Bulalacao Waterfalls they charge 300 PHP, while for Nagkalit-kalit Waterfalls they apparently charge as much as 350 PHP.
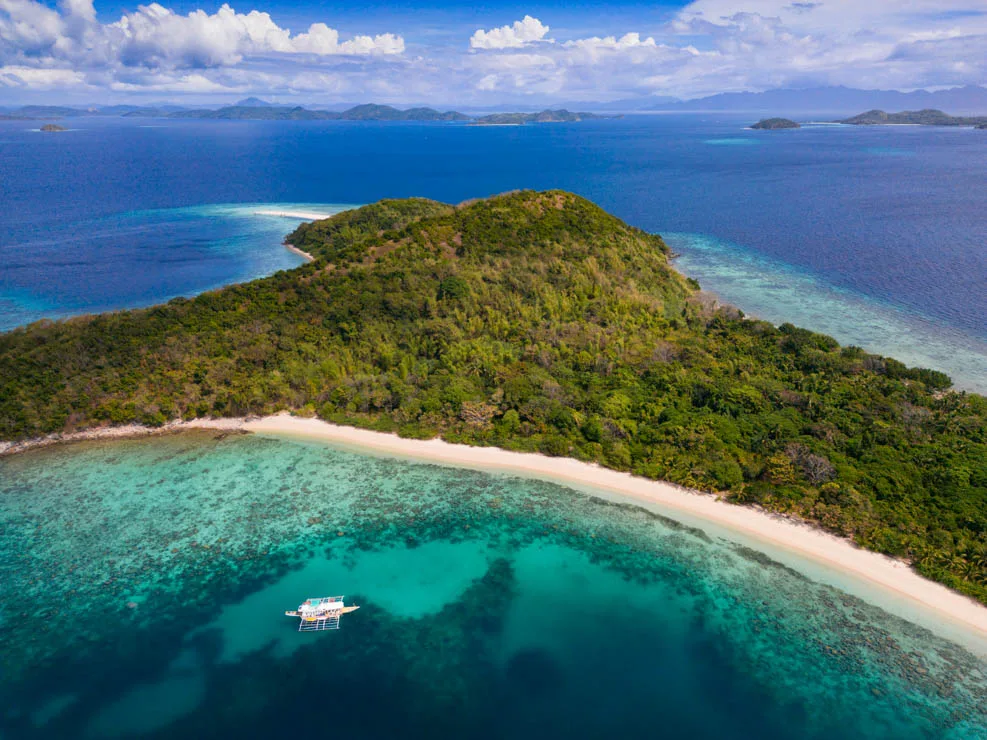
One of the islands visited on the Expedition.
Taraw Peak and Canopy Walk
These two hikes are often confused with each other, but they’re two quite distinct things. Taraw Peak or Cliff is a viewpoint where you have to “climb” up the rock, but the view really seems to be amazing. You’ll find the short trail described on this page; it’s not an easy route. I downloaded the GPS coordinates with the idea of going up on my own and then went on a scouting trip, but it really seems that you have to make your way through the inner courtyards of houses and it didn’t seem right, but at the same time I also didn’t feel like paying 500 PHP for a guide, so I gave up. If you do decide to go up, I recommend doing it at dawn and making arrangements with the guide the day before; just ask someone along this road to be directed to the right person.
The Canopy Walk or via ferrata, on the other hand, is a system of footbridges, suspension bridges and stairways. Essentially, it’s an equipped trail that winds through the same limestone cliffs, not far from Taraw Peak. Admission costs 400 PHP. It didn’t appeal to me at all, so I decided to skip it, but I’m sure more than a few people might find the experience interesting.
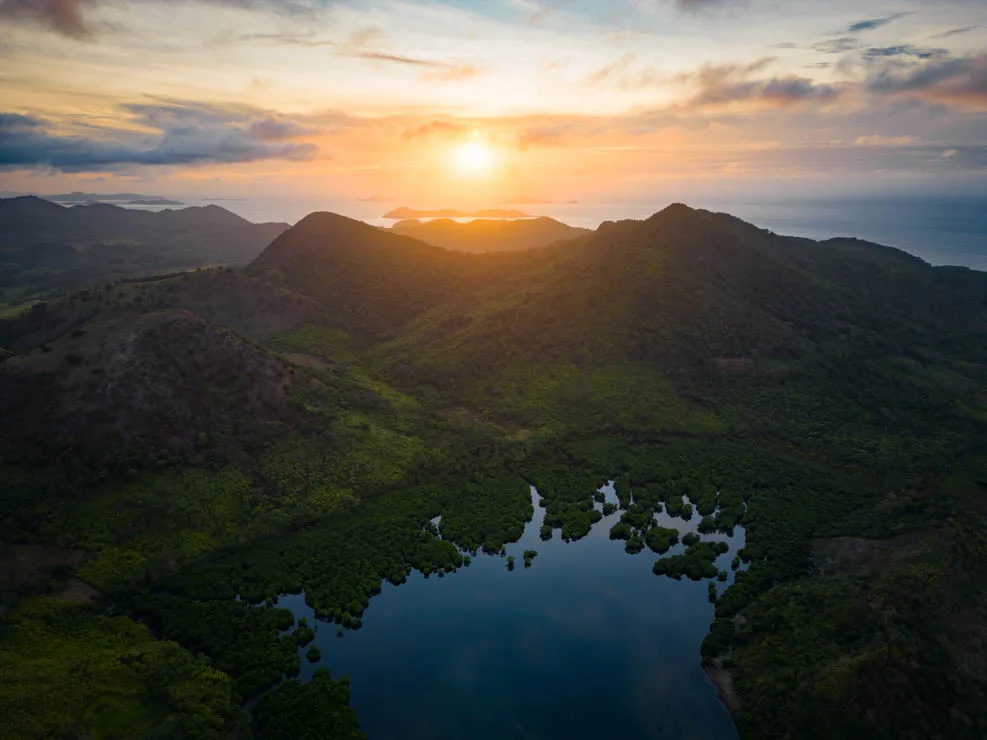
Sunrise on the Expedition.
How to reach El Nido?
You can take an air-conditioned “tourist minivan” from Puerto Princesa directly to El Nido. The trip takes 6 hours and costs about 700 pesos; the price varies depending on whether you book directly at the station and whether hotel/airport pickup is included or not. There are also daily minivans to and from Port Barton for 600 PHP. If you want to save some money, there are non-air-conditioned buses used by locals that leave at least once a day from both Puerto Princesa and Port Barton. Another local option is the jeepneys heading to Roxas from both Puerto Princesa and Port Barton, where you then have to change for El Nido; check the schedules. Here are the locations of the various stations: El Nido, Roxas, Port Barton, and Puerto Princesa.
By sea from Coron, there should be at least one ferry a day around 8:00 a.m. The trip takes about 8 hours and should cost about 1800 PHP. El Nido also has a small airport with direct flights to Manila and Coron. Finally, as mentioned earlier, you could reach El Nido from Coron on a multi-day expedition.
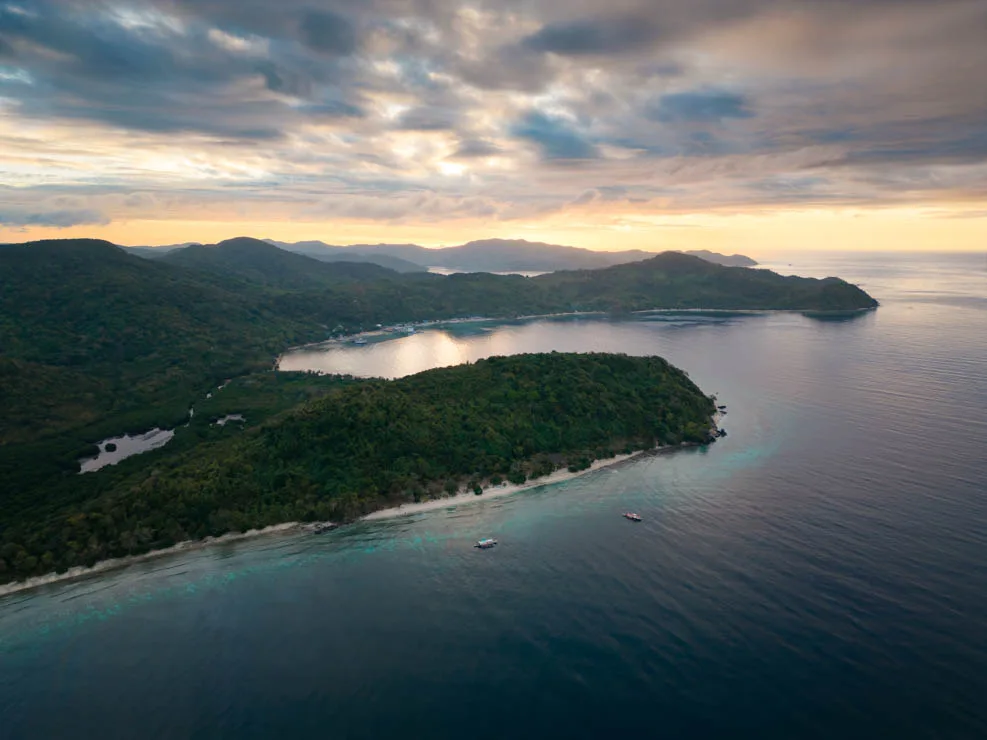
Sunrise on the Expedition.
Where to sleep in El Nido?
I spent a couple of nights at Frendz Hostel El Nido. All in all the hostel is nice and the location is great if you want to stay in the heart of El Nido. Lots of activities are organized for guests to socialize and there’s definitely a party hostel atmosphere on the terrace in the evenings but that wasn’t a problem even for people like me who go to bed early. Another nice option in downtown El Nido with a more relaxed atmosphere is Spin Designer Hostel. I spent a few nights at Outpost Beach Hostel. It’s located a few kilometers outside of town directly on the beach which isn’t very pretty but offers insane sunsets over the bay. It’s a very social and extremely popular hostel and should be booked well in advance. I didn’t find it that outstanding but it’s without a doubt a great hostel. A cheaper alternative in the same area is Kame House Backpackers. Finally, if you want to spend a few days away from the chaos of El Nido but are still looking for a social atmosphere check out Mad Monkey Hostel Nacpan Beach.
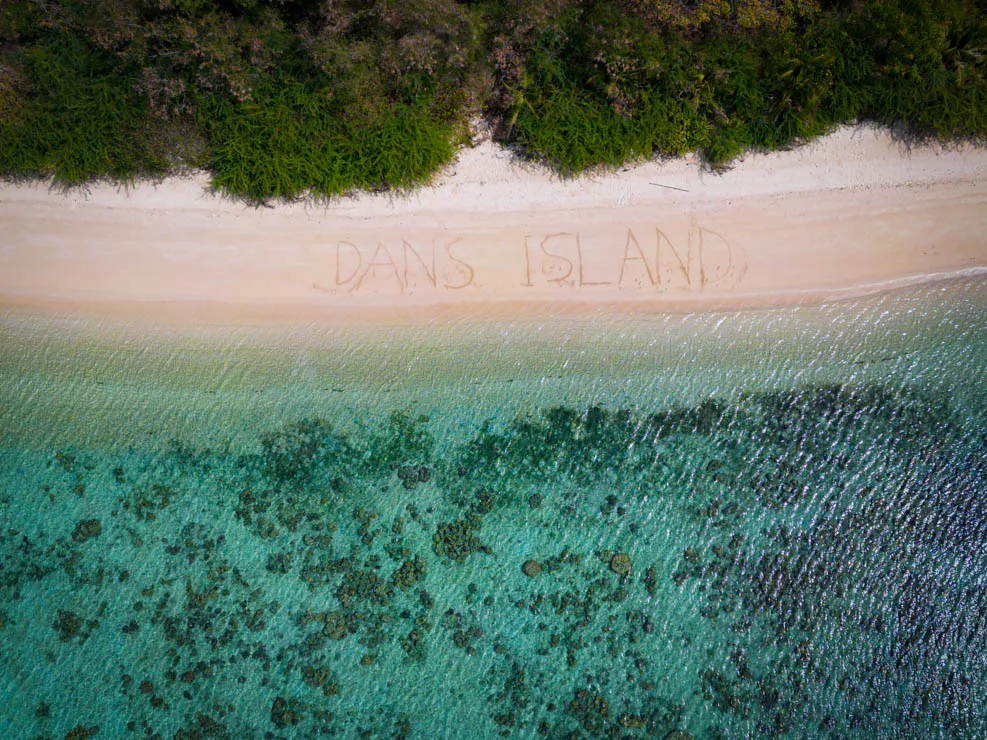
“Private” island during the boat tour.
Port Barton
If El Nido was the destination that most disappointed me during my trip to the Philippines, Port Barton was one of my favorites. The small village is gaining a lot of popularity but is still far from the mass tourism that characterizes El Nido.
What to do and see in Port Barton
This small village on the west coast of Palawan can be considered a smaller and quieter version of El Nido.
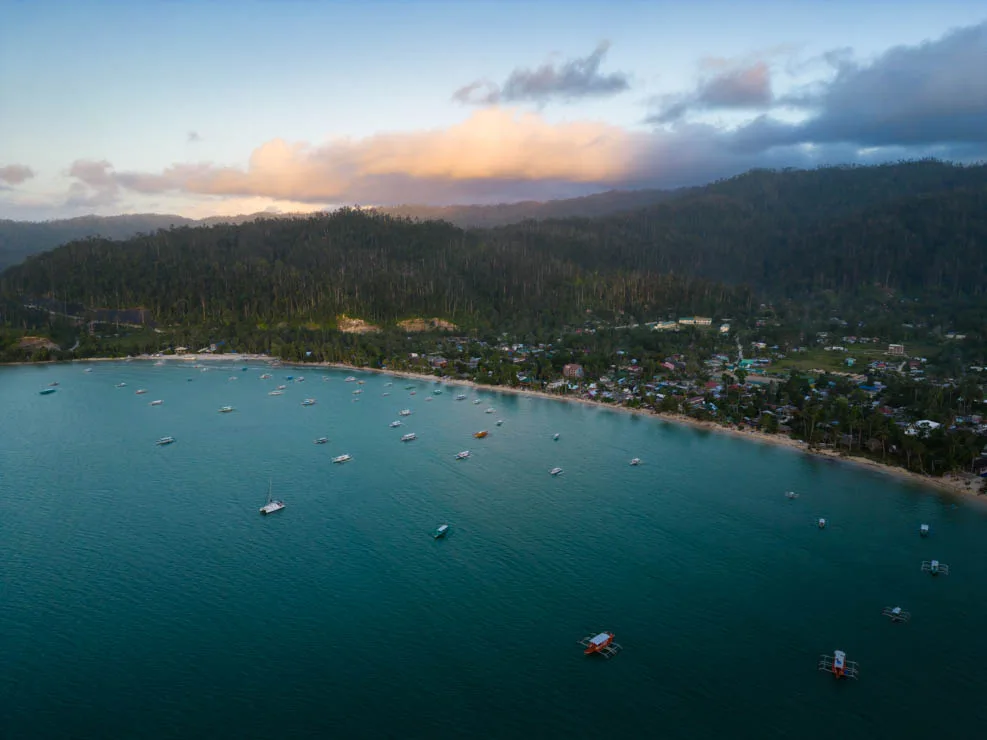
Port Barton.
Island Hopping
For the classic boat tour, there’s a kind of “standard” itinerary that is offered by pretty much everyone. It officially costs 1500 PHP but there’s no shortage of discounts, I paid 1100 + 50 for the eco card. In case you’re interested, CocoRico Hostel organizes a party boat with loud music and unlimited alcohol. The various stops may vary slightly but usually you visit Turtle Point, a sandbar full of starfish, a couple of beaches and some great snorkeling spots. Lunch is included in the price and at least in my case it was excellent. In my opinion a much better experience than the boat tour I did in El Nido.
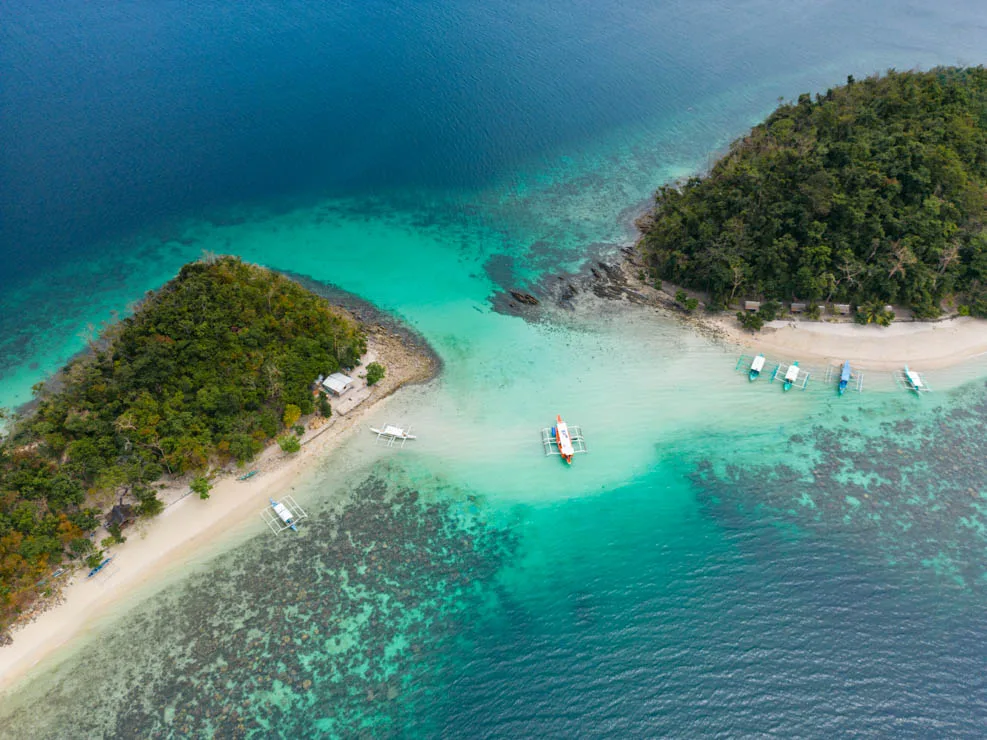
One of the places visited during the boat tour.
Beaches
Itaytay Beach, the beach Port Barton faces, isn’t that bad, but I strongly recommend going down the coast in the direction of Coconut Beach and especially White Beach. You could walk there, but most travelers prefer to rent a scooter; the road isn’t in good condition. Alternatively, there’s a taxi boat that goes to White Beach every morning and comes back at 17:00.
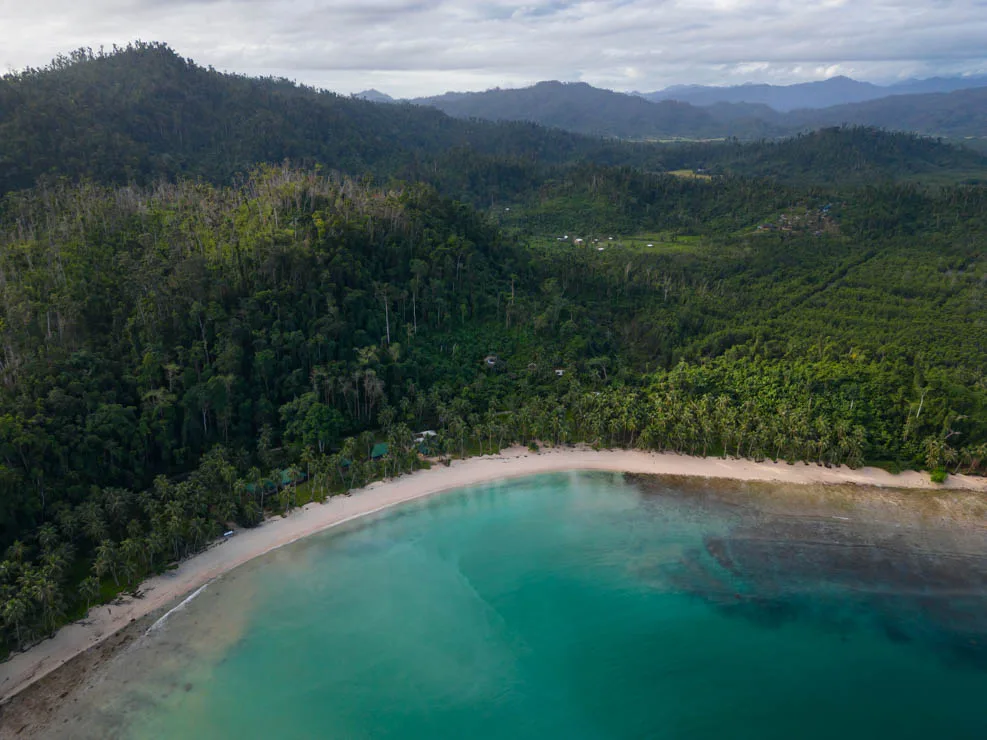
White Beach.
The owner of Coconut Beach asks 60 PHP, the beach is nice but White Beach is much nicer so I recommend going directly there, again the entrance fee is 60 PHP. Green Hill Restaurant & Cottages, not far from White Beach, is a really nice place to have lunch and potentially stay that came highly recommended but I didn’t get a chance to visit, the reviews are great, check it out.
Finally, north of Port Barton you could visit Pamuayan Beach. It was the last stop on my island hopping tour but if you wanted to, you could visit it in combination with the waterfalls I discuss below.
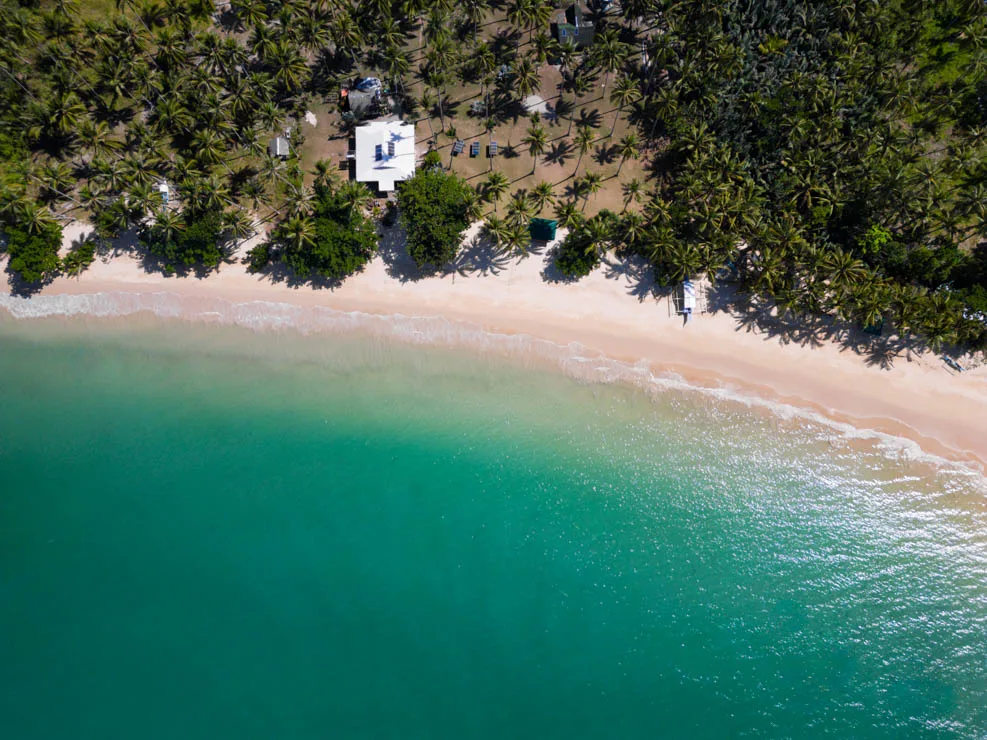
Pamuayan Beach.
Waterfalls
There are two pretty decent waterfalls that are easy to get to from Port Barton; the closest is Pamuayan Waterfalls (Google Maps). Admission is by donation. The waterfall is reached at the end of a short trail marked on Organic Maps. I walked there but if you wanted you could arrange a tricycle or rent a scooter.
Still on foot, I continued on to Bigaho Waterfalls (Google Maps). This is a long walk that I don’t recommend, much better to rent a scooter in this case. The waterfall is reached at the end of a short path in about 15 minutes. The entrance fee is 40 PHP. It seems to be less visited than Pamuayan; when I arrived there was literally no one there.
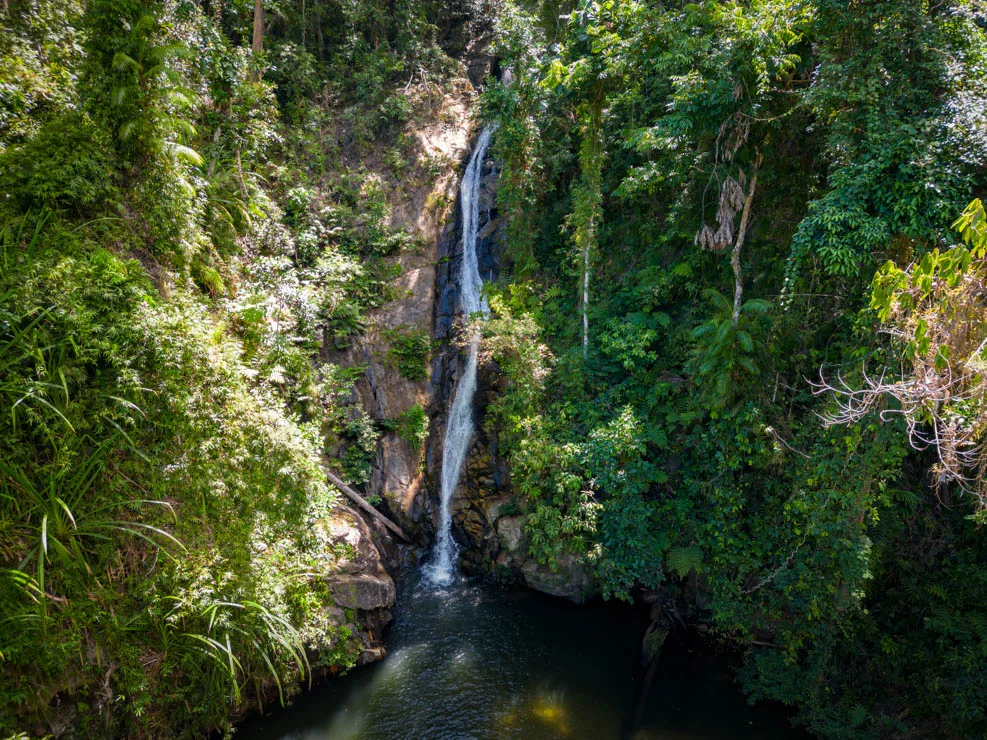
Pamuayan Waterfalls.
Where to sleep in Port Barton?
I slept at SHENAMAE Pension&Apartel, a small family-run guesthouse with cheap rooms and a great location. The two hostels normally recommended are CocoRico Hostel and Russell Place, the former is a party hostel in the center of town while the latter is slightly out of town and offers a more relaxed atmosphere. Finally, if you want a little piece of paradise all to yourself and the budget allows, check out Faith Tourist Inn. I met the young couple who run the bungalows while I was at Bigaho Falls. They’re extremely nice, we spent a few hours together, then since it was getting late they offered me a ride back to Port Barton and we stopped briefly at the property, which they proudly showed me. There are two other places nearby that offer beach bungalows, all very nice.
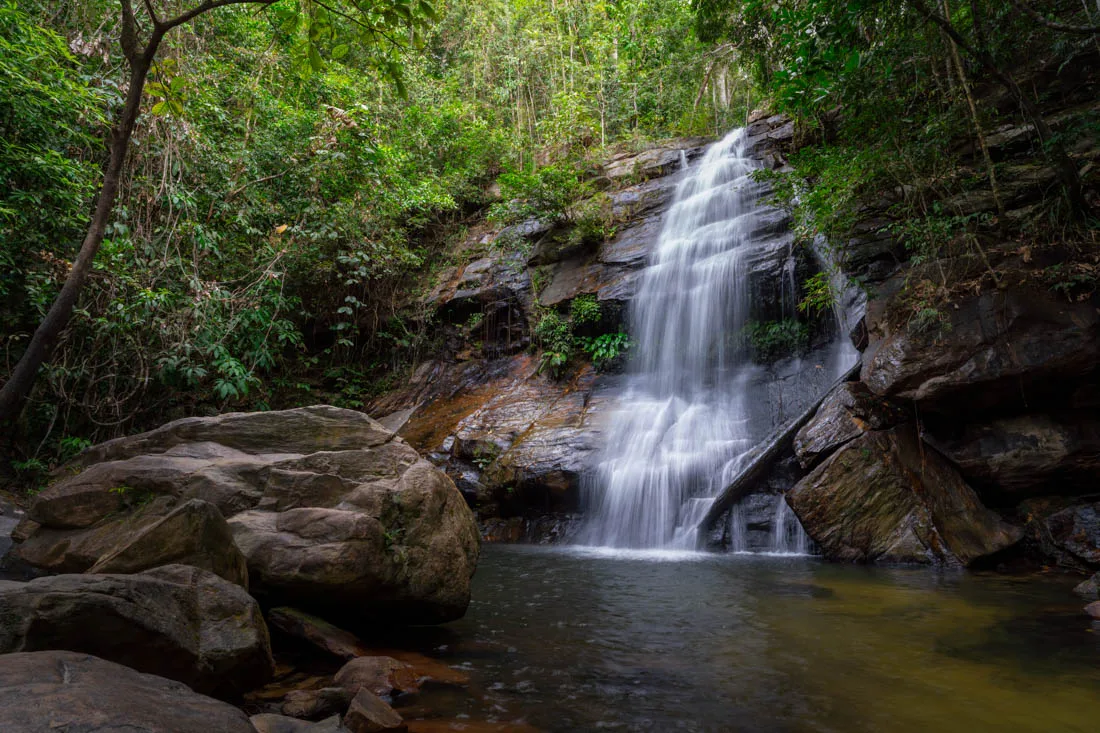
Bigaho Waterfalls.
How to reach Port Barton?
Minivan tickets from Puerto Princesa, if bought directly at the station, cost around 400-500 PHP, while with hotel or airport pickup they cost 550-650 PHP. Minivans from El Nido cost around 600 PHP. There should be at least one local bus without air conditioning that leaves daily from Puerto Princesa and should cost about 250 PHP. Here are the locations of the various stations: El Nido, Port Barton and Puerto Princesa.
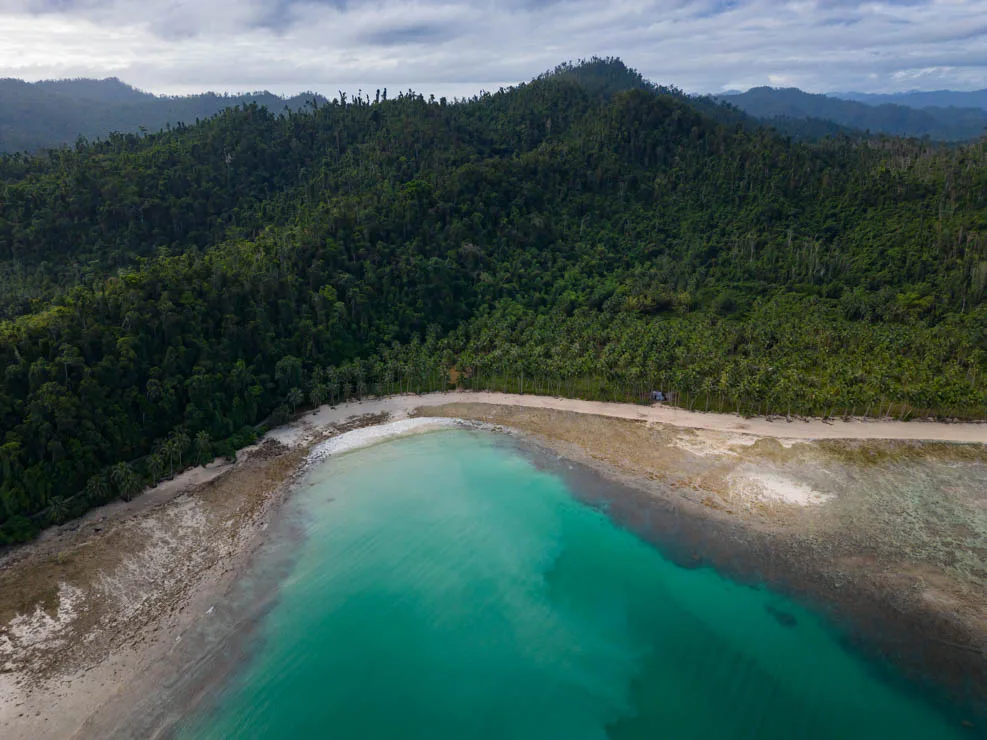
Coconut Beach.
Puerto Princesa
For most travelers, myself included, Puerto Princesa is merely a stopover.
What to do and see in Puerto Princesa
The city has nothing to offer but if you want, there are at least a couple of destinations to visit nearby.
Underground River
The Underground River (Google Maps) is the excursion that is often recommended in Puerto Princesa. It’s even part of the new Seven Natural Wonders of the World but according to my research and testimonies gathered from some travelers who had been there recently, absolutely nothing special, just another cave where you have to wait in line for a short 10-minute boat ride after almost two hours by minivan. I personally decided to skip it but in case you’re interested, the tours from Puerto Princesa cost about 2000 PHP, to save some money you could opt for DIY, you can find a detailed guide on this page. I’d like to stress that it’s important to get your permit in advance especially during high season because there’s a daily limit and most permits go to travel agencies.
Nagtabon Beach
Nagtabon Beach (Google Maps) is just over half an hour from Puerto Princesa. You can visit in a day but if you want there are a couple of options for sleeping, such as B&R Hostel Nagtabon. I haven’t been there, but the beach looks really nice and I really think it’s pretty quiet. Apparently the surf isn’t bad.
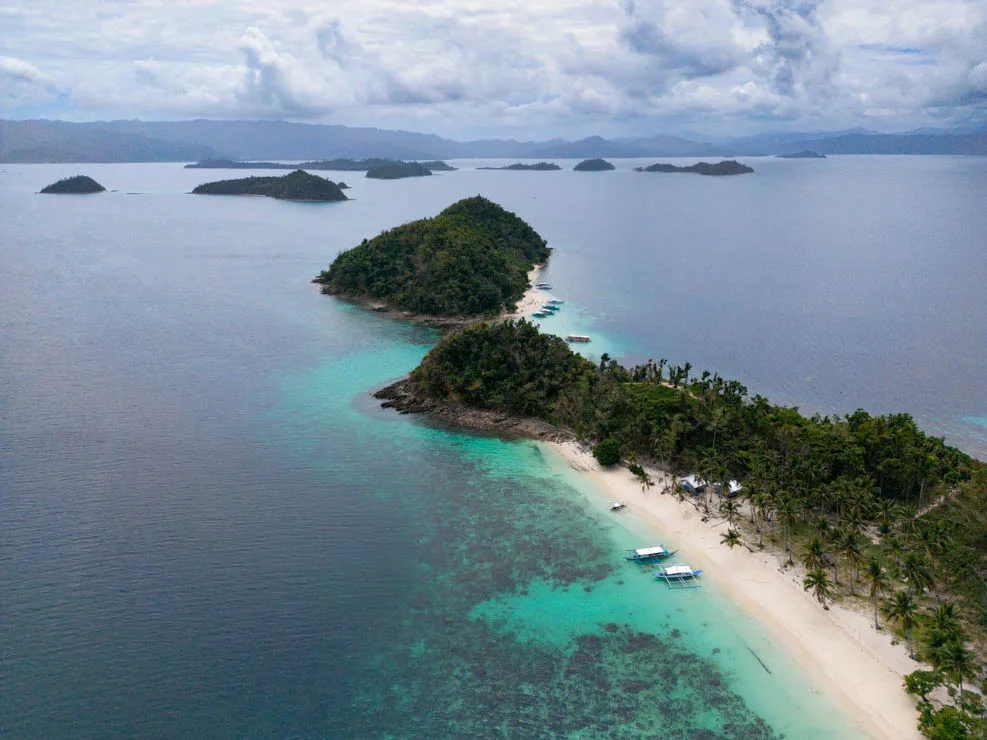
Boat tour in Port Barton.
Olangoan Waterfalls
If for whatever reason you decide to rent a scooter to visit the Underground River or explore the surroundings of Puerto Princesa on two wheels, north of town there’s a waterfall not far from the main road, Olangoan Waterfalls. From what I read, here too they charge astronomical amounts for the mandatory guide but it may be possible to haggle.
Balabac Archipelago
If you want an off-the-beaten-path experience, consider the Balabac Archipelago. This group of islands in the far south of Palawan is still little known, perfect for anyone who wants a “remote” experience. Tours similar to the expedition between El Nido and Coron are offered from Puerto Princesa, but don’t expect the same level of comfort. From what I’ve been told, the camps are extremely basic. You can find more information on this page.
How to reach Puerto Princesa?
There are direct minivans from El Nido and Port Barton.
Puerto Princesa Airport has several direct daily connections to Manila, Cebu and other cities in the country. Finally, by sea there are ferry connections to Manila with a stop in Coron (operated by 2GO) and also connections to Negros (operated by Montenegro Lines).
Where to sleep in Puerto Princesa?
I spent one night at Casaoro Homestay, an extremely cheap option and all in all not so bad considering the price. But if you’re looking for something more comfortable check out Green Turtle, Bamboo Nest and Balai Esperanza.
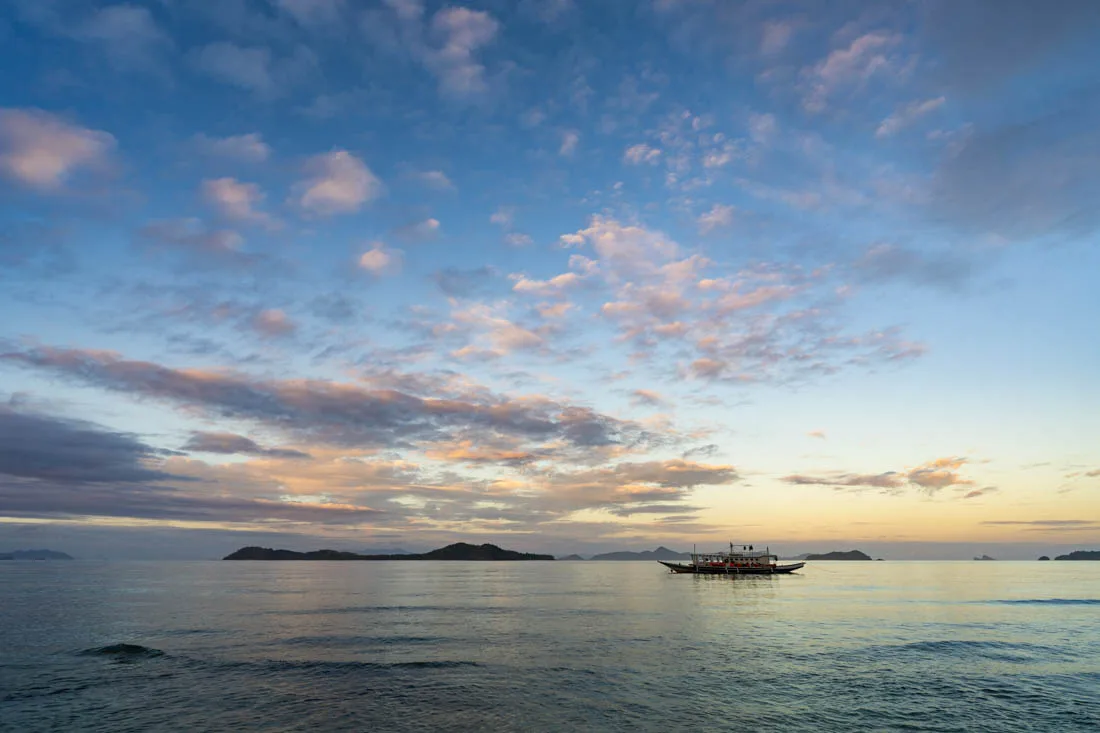
Expedition El Nido – Coron.
CORON
Given its proximity, Coron Island is often included in the itinerary of anyone visiting Palawan. Most travelers use Coron Town on Busuanga Island as their base where the airport is also located.
What to do and see in Coron
The classic boat tour to nearby Coron Island, where breathtaking cliffs plunging into the sea, famous lagoons and white sand beaches can be seen, is undoubtedly the most popular activity.
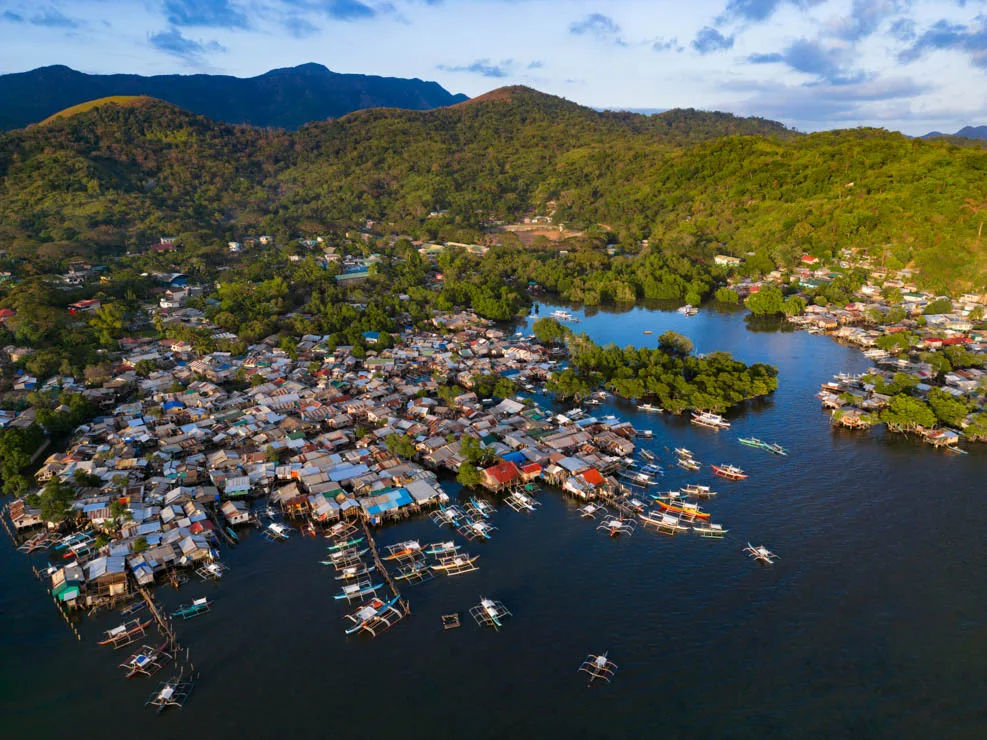
Coron Town.
Island hopping tour in Coron
In Coron the boat tours don’t have real standard itineraries like A, B, C and D in El Nido, but they still tend to go to the same places: Kayangan Lake, Barracuda Lake, Twin Lagoon plus a few beaches like Banul Beach or Smith Point Beach where you normally have lunch. Prices range from 900 to 1,500 PHP depending on the itinerary you choose and especially which lakes and lagoons you want to visit. For example, entry to Kayangan Lake and Barracuda Lake costs 300 PHP. Joining one of these tours is by far the cheapest option to see the highlights of Coron Island but, since they all depart at more or less the same time and follow the same rough itinerary, the crowds can be quite a big problem, especially in high season.
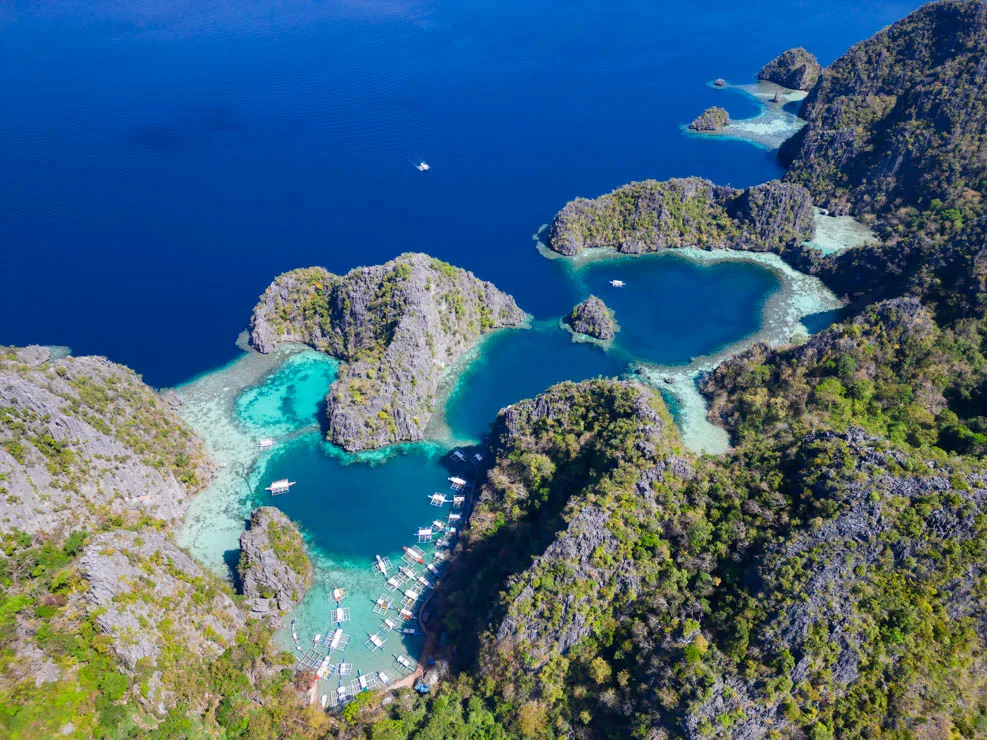
Entrance to Kayangan Lake.
For the more adventurous, or masochists like me, you can rent a kayak and basically create an ad hoc itinerary to avoid the crowds. At Kayangan Lake and Barracuda Lake I didn’t even go inside, I simply flew the drone. I rested at a small free beach (Google Maps) and then headed down the scenic shoreline to Twin Lagoon, where I arrived at lunchtime when there was hardly anyone there. If the tide isn’t too high, you can get your kayak through the small passage that connects the two lagoons. Finally, if you still have enough energy, finish the tour with Smith Point Beach. Theoretically you have to pay admission but no one asked me for anything and by late afternoon there were no more than ten people.
In the market/port area (Google Maps) from where island hopping tours also depart you can easily rent a kayak for the day. Unfortunately the various shops try to act as a cartel and ask 1000 PHP per day which is crazy to say the least, they quickly go down to 800 PHP which is still a lot, in the end after an all-out negotiation I found one that gave it to me for 550 PHP. This is definitely not something I’d recommend to everyone, after a full day of paddling in the sun I returned to Coron Town exhausted and with blistered hands. I think many people would prefer the comfort of the boat.
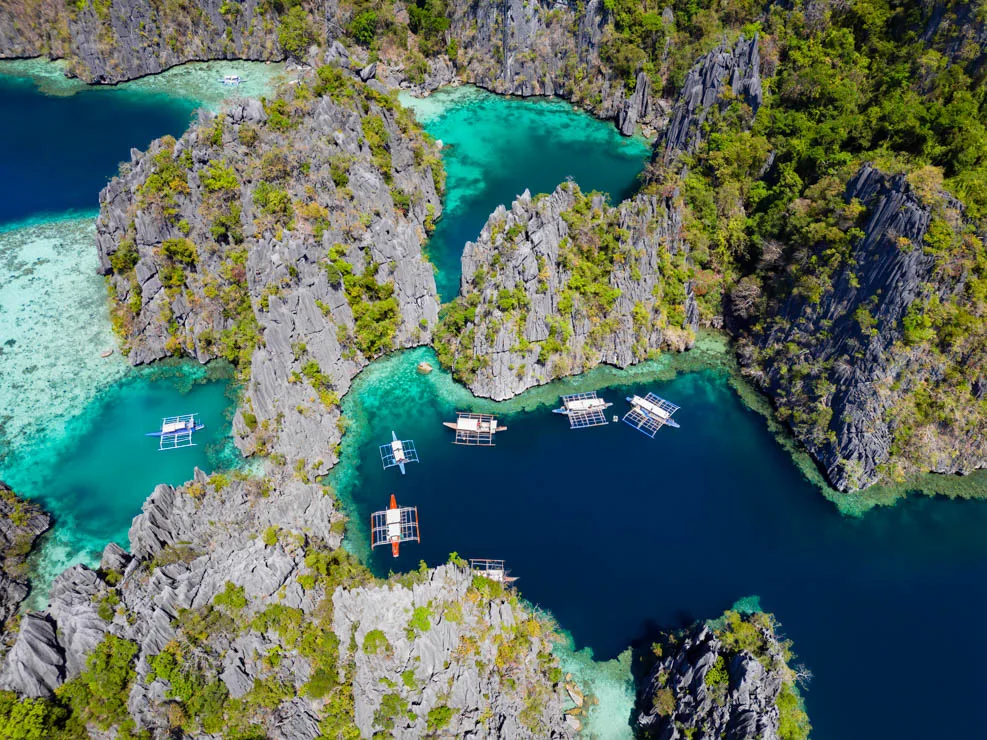
Twin Lagoon.
If you’re traveling in a group or don’t have budget concerns, consider arranging a private boat and leaving early in the morning, so you’re a couple of hours ahead of the tours’ schedule and can avoid the crowds.
To wrap up, the destinations just described are part of the classic island hopping tour in Coron, but there are many other islands and beaches that can be reached on a day trip from Coron Town. We visited some of these destinations on the last day of the expedition from El Nido; in case you’re interested, here are some examples: Malcapuya Island (Google Maps), Banana Island (Google Maps), Bulog Dos Island (Google Maps) and Black Island (Google Maps).
Siete Pecados
Siete Pecados (Google Maps) is a small archipelago of islands not far from Coron Town where you can do some great snorkeling. I haven’t been there but apparently snorkeling is really special. A tricycle from Coron Town should cost around 600-700 PHP including a couple of hours of waiting. Once on site you could rent a kayak or arrange a boat tour among the islets. Alternatively you could rent a kayak as described above and paddle up the coast to the islands.
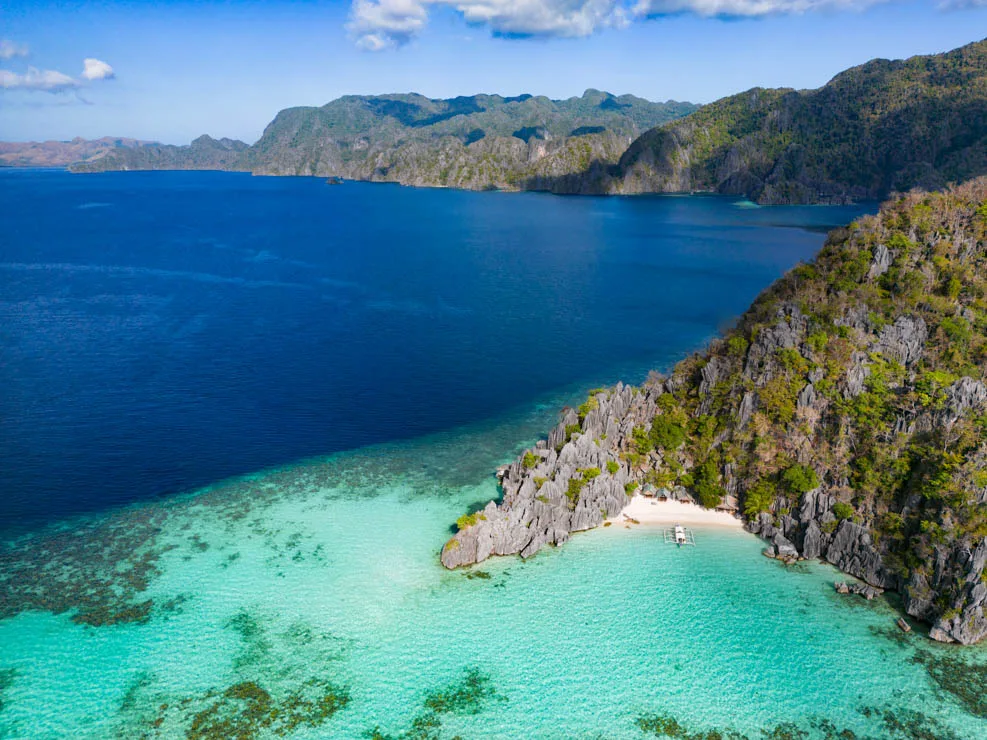
Smith Point Beach.
Mount Tapyas
From the top of Mount Tapyas (Google Maps) there’s an excellent panoramic view of Coron Town and the surrounding islands. The beginning of the staircase to the top is at this point, from here it’s about 700 steps, 10-30 minutes depending on pace. Recommended especially at sunset.
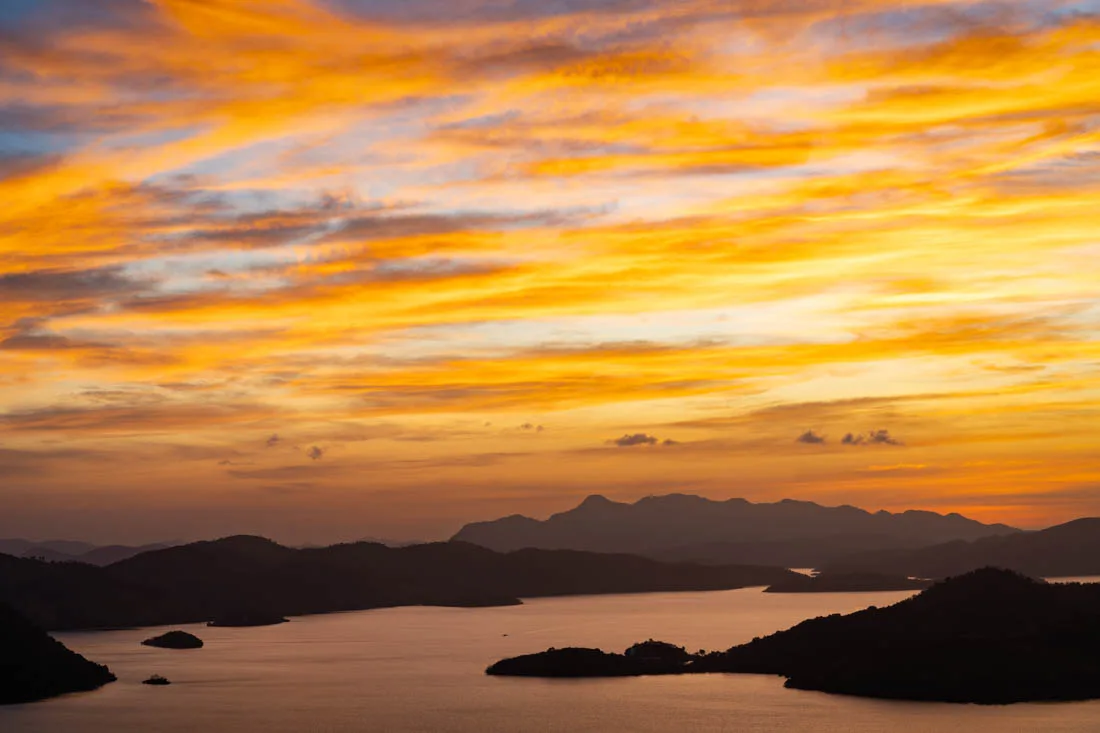
Sunset from Mount Tapyas.
Maquinit Hot Spring
The hot springs (Google Maps) are located just outside of town and are really nice. I was there early in the morning, there were no more than five people but after a while it started to get way too hot. I think they’re only worth visiting if it’s bad weather or maybe in the evening after sunset, but that’s what many people do so it can definitely get crowded. The entrance fee is 250 PHP. I walked, just under an hour along the quiet road, but most people arrive by tricycle, about 400 PHP including a couple of hours of waiting.
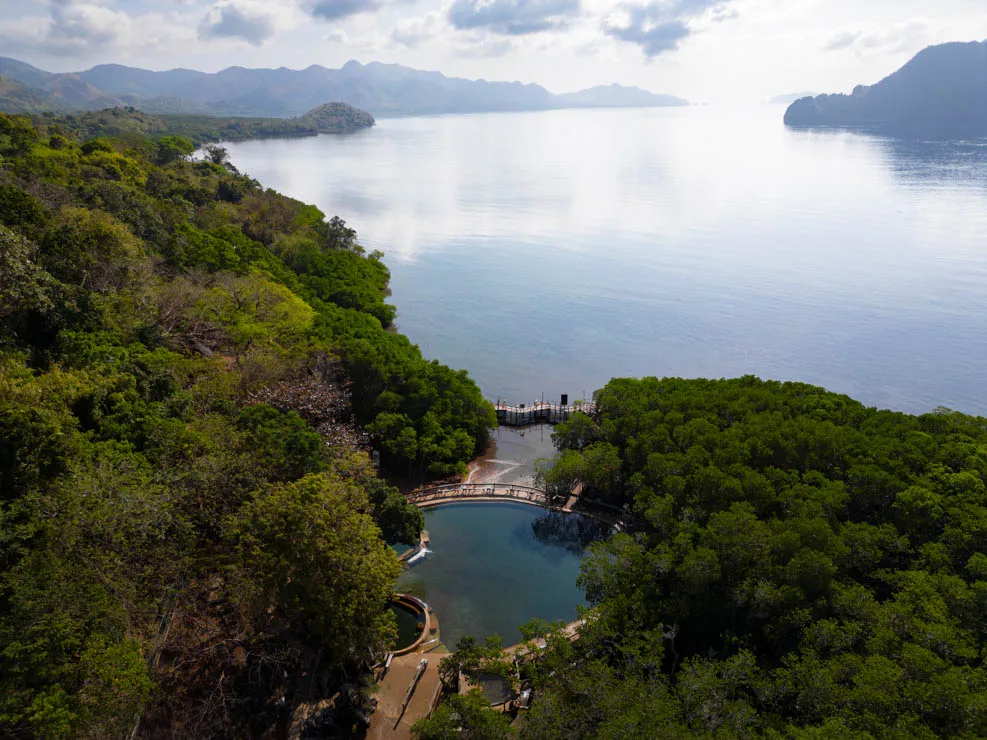
Maquinit Hot Spring.
Diving in Coron
I personally haven’t done any diving in Coron, but the island is known for its dive sites where you can explore the wrecks of some Japanese warships from World War II. Basically, if Shipwreck Diving is something you’re interested in, you might consider doing some diving in Coron.
Where to sleep in Coron?
I slept at Avisala Hostel, great value for money and all in all recommended. Other interesting options are Dayon Hostel, Happy Camper Hostel and Outpost Coron.
How to reach Coron?
Transfers to and from the airport cost 250 PHP with pick up/drop off directly to your accommodation. If you arrive by ferry, the port (Google Maps) isn’t far from town. I walked to the hostel but if you want there’s no shortage of tricycles waiting at the exit. Finally, as discussed earlier, you could reach Coron on a multi-day expedition from El Nido.
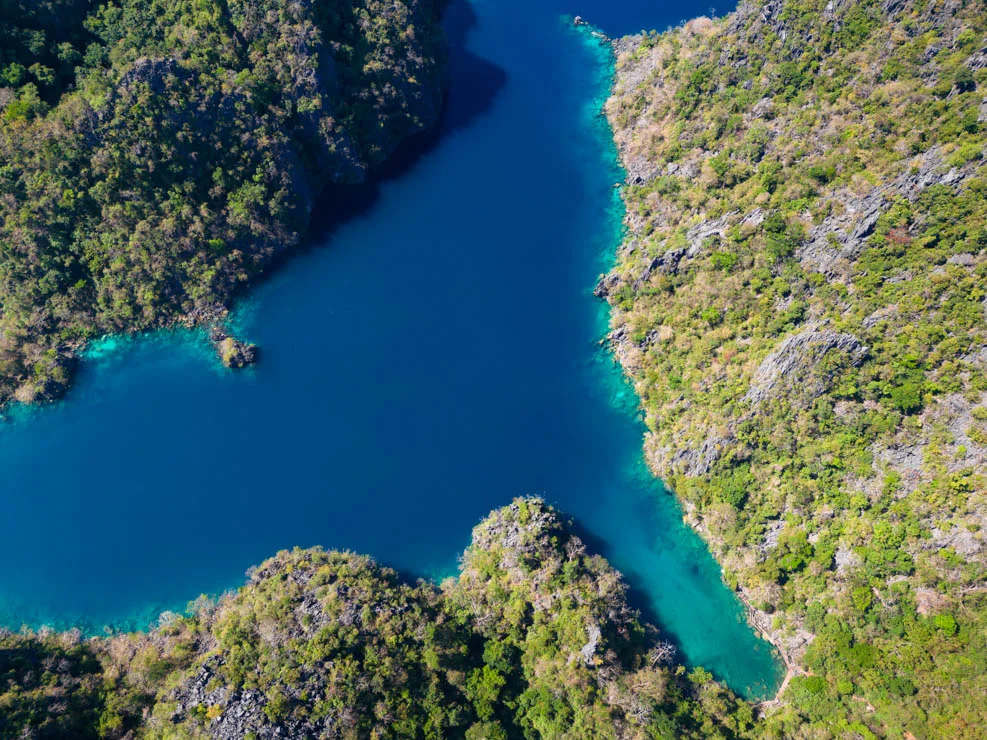
Barracuda Lake.
CEBU
The island of Cebu is among the Philippines’ most populous. Its central location gives easy access to many other surrounding islands, so the island is often included on a trip around the country.
Cebu City
Cebu City is the island’s main city and serves as a transportation hub. Honestly, it doesn’t have much to offer travelers so much so that many don’t even spend the night in the city, but in case you have a day to spare you should still be able to keep busy.
What to do and see in Cebu City
Magellan’s Cross (Google Maps), which was planted by Ferdinand Magellan when he arrived in the Philippines in 1521, and the nearby Fort San Pedro (Google Maps) next to Plaza Independencia (Google Maps), are some noteworthy historical sites that can keep you busy for a few hours. Just outside of the city you can also visit the Sirao Garden (Google Maps) and the Temple of Leah (Google Maps); on this page you’ll find a guide on how to get there by public transport. Also in this area there’s a viewpoint (Google Maps) where you can admire the city from above.
Where to sleep in Cebu City?
For almost all travelers, Cebu is just a gateway city, so I strongly recommend choosing a convenient location. I slept at HappyNest Hostel both times I was in Cebu. It’s nothing exceptional and the neighborhood isn’t the best, but it’s in a strategic location halfway between the south terminal and the north bus terminal (the direct bus to the airport leaves from here) and close to the port with all the ferry connections. Other interesting options are Murals Hostel and Cafe and Shejoje Poshtel Hostel.
How to reach Cebu City?
As I mentioned, Cebu City is a real transportation hub; by land it offers connections to virtually any other destination on the island. There are two bus stations: South Bus Terminal (Google Maps) and North Bus Terminal (Google Maps), which unsurprisingly serve destinations to the south and north of the city, respectively. For connections to and from the airport, there’s a bus that leaves frequently during the day and has the North Bus Terminal as its last stop. It costs only 50 PHP (official website). Besides direct connections to much of the country, the airport also boasts more than a few international destinations. To conclude, the port of Cebu (Google Maps) has direct ferry connections to numerous destinations including: Bohol, Dumaguete, Surigao City, and many more.
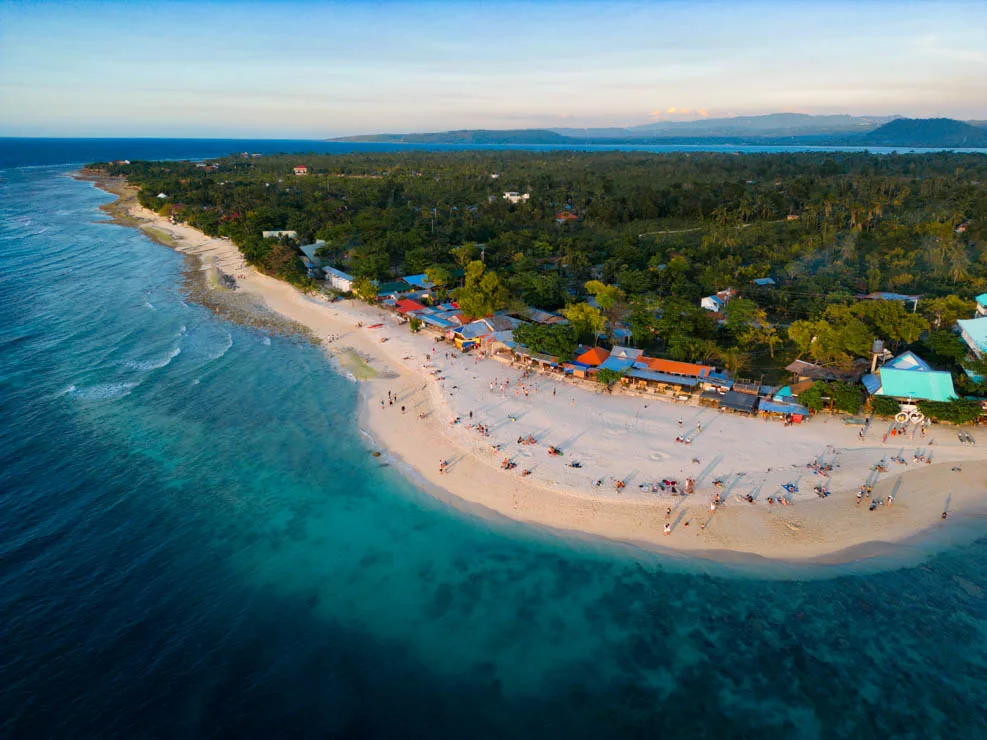
White Beach, Moalboal.
Moalboal
Moalboal is by far the most popular destination on Cebu Island. This small seaside town is famous for the giant school of sardines that lives just steps from the beach, but it’s also a great base for exploring some of the island’s iconic waterfalls.
What to do and see in Moalboal
Between snorkeling, scuba diving, canyoneering, beaches, waterfalls and a bit of nightlife, Moalboal offers activities to suit just about every taste.
Sardines Run
The huge sardine school is truly unique. It can be observed any day at any time, but I recommend going early in the morning to avoid the crowds. The area is the one in front of the Chili Bar (Google Maps). There are plenty of stores on the waterfront where you can leave your things in storage and rent snorkeling equipment. Swim to the point where the seabed drops steeply and enjoy the show. It’s not uncommon to see a few turtles near the shore as well. Some people will try to offer you a tour for 300 PHP or so; it’s absolutely not necessary. If you do dive, I met a German couple who paid only 1,000 PHP each for a sardine dive. Staying on the diving theme, Pescador Island, about 3 kilometers off the coast, is a popular dive spot with an underwater cave called Cathedral.
As for snorkeling directly from the beach, two other nice spots are Kasai Point (Google Maps) and Talisay Point (Google Maps).
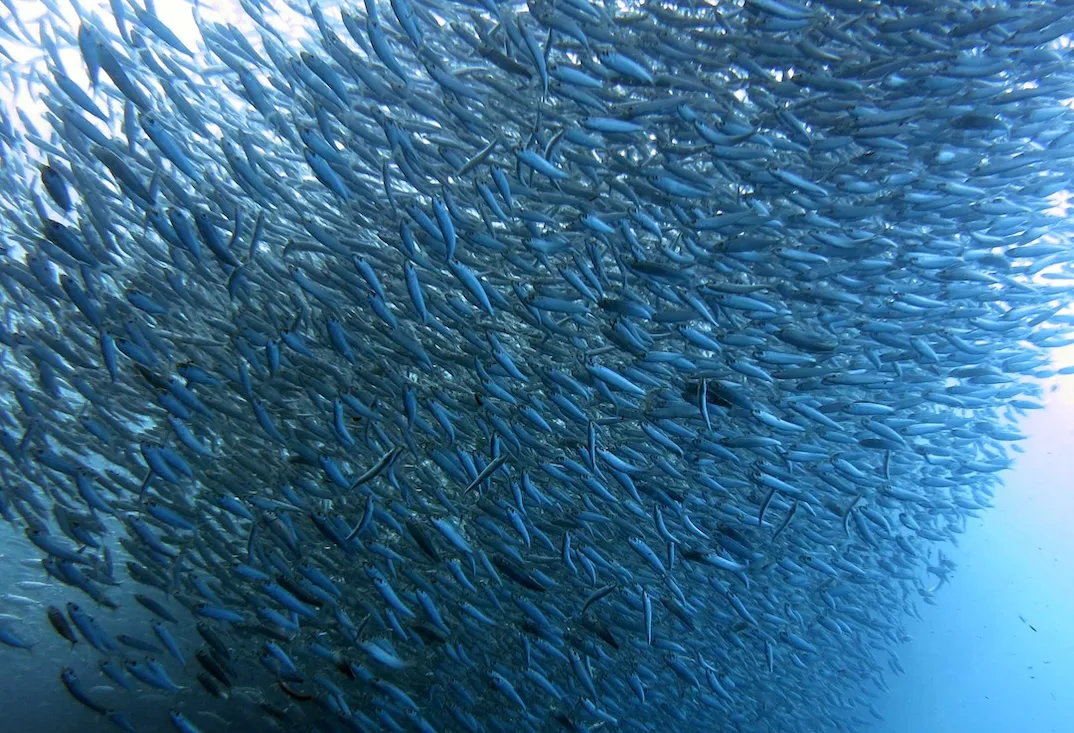
Sardines Run.
Kawasan Waterfalls
After the sardine run, Kawasan Falls seems to be another must-do in Moalboal. If you wanted to, you could visit just the main falls by parking at this spot and then walking back up along the trail marked on Organic Maps. In this case the best option I think is to rent a scooter (about 400 PHP per day) but you could also use the bus since the falls are along the main road. The entrance fee is 45 PHP.
Most travelers, including yours truly, however, decide to visit the falls on a canyoneering tour. The tour ranges from 1200 to 1500 PHP, depending on where you book and how much you negotiate. Helmets and life jackets are provided. In the morning you’re taken to a point upstream of the falls where, for an extra 600 PHP, you can take a zip line; they say the alternative is to walk for 45 minutes but I’m pretty sure I didn’t walk for more than 15 minutes. You then go down the canyon for about three hours, between jumps, waterfalls and a few stretches on foot. The tour ends at Kawasan Falls, from where you then walk to the main road and, at least in our case, have a buffet lunch before going back to Moalboal.
All in all, a nice and fun experience, but at times there was literally a line along the route. According to the guide, 800 people do the tour on weekends! That said, the cost isn’t over the top, so unless you’re on an extremely tight budget, it’s still something I’d recommend.
Other waterfalls
South of Moalboal are numerous other waterfalls that can be visited over the course of one or more days. Unfortunately, according to my research, it really seems that a guide is mandatory just about everywhere, not to mention that for the most beautiful ones you have to drive over an hour. I can understand a mandatory guide when it comes to canyoneering, but from what I read they’re often short trails that present no difficulty at all. In my opinion it’s an unfair way of making money. Honestly, I lost interest, but they do look really nice, so I’ll leave it up to you. The three that are often recommended and can be visited within the same day are: Aguinid Falls (Google Maps), Binalayan Hidden Waterfalls (Google Maps) and Dau Falls (Google Maps). However, there are numerous other waterfalls such as: Inambakan Falls (Google Maps), Kabutongan Falls (Google Maps) and Dao Waterfalls (Google Maps).
White Beach
White Beach (Google Maps) is the prettiest beach around Moalboal, entry costs 25 PHP. To get there a tricycle costs about 100/150 PHP per person, three of us paid 200 PHP. I recommend going there in the afternoon and staying until sunset. It’s a popular spot so don’t expect a deserted beach, if possible avoid weekends.
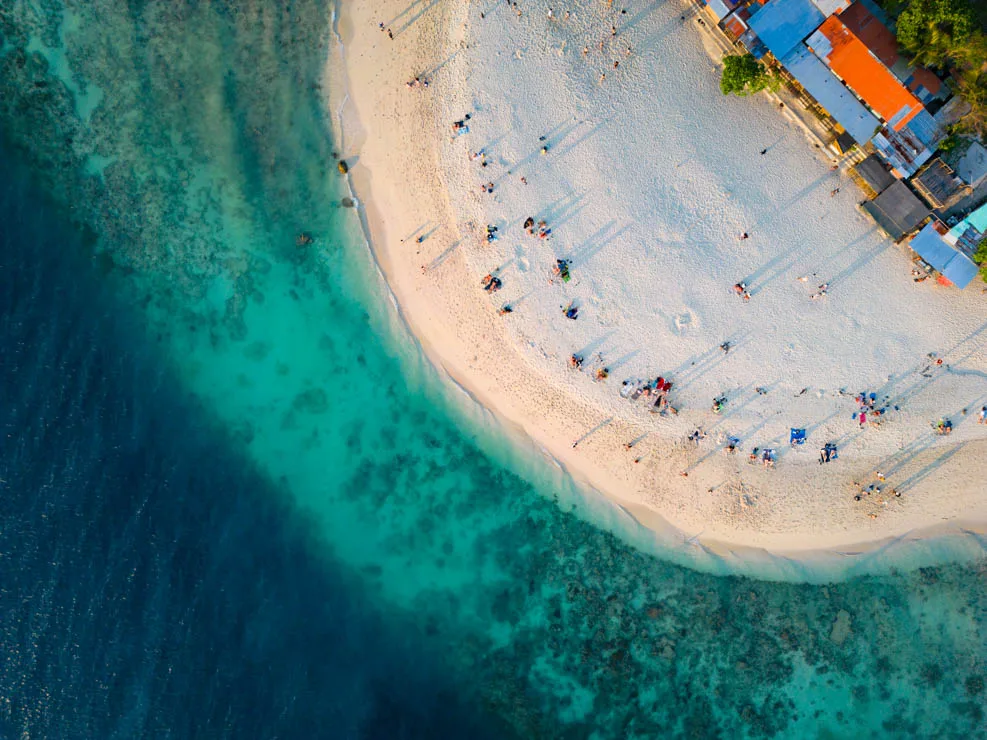
White Beach, Moalboal.
Osmeña Peak and Casino Peak
Finally, Osmeña Peak (Google Maps) is a scenic viewpoint located about an hour from Moalboal. It’s especially recommended at sunrise and sunset but at least during my visit the roads weren’t in very good condition, the idea of driving in the dark didn’t appeal to me at all, and the organized tours were fairly expensive. Either way, it looks really nice. Not far away is another viewpoint called Casino Peak (Google Maps).
How to reach Moalboal?
Getting to Moalboal from Cebu City is really easy. From the south terminal (Google Maps) there are very frequent connections, I paid 209 PHP with Ceres Liner. You’re dropped off at this point (Google Maps) along the main road. From here tricycles ask 150 to get to the center of Moalboal, but if you start walking, the shared ones stop and you can pay 50 PHP or less. On the way there I ended up walking, but on the way back I set off on foot and after two minutes a guy on a motorbike gave me a ride for 50 PHP.
Where to sleep in Moalboal?
I slept at Maayong Hostel and recommend it, perfect location within walking distance of the center but far enough away to be quiet. That said, there are a lot of great hostels in Moalboal, a close friend had strongly recommended Chief Mau to me but it needs to be booked in advance. Pig Dive Hostel and Momo Hostel are two other options to consider, although slightly out of the center. If you decide to visit Moalboal during the weekend, I recommend booking in advance because there are a lot of local tourists coming in from Cebu City.
Oslob
I didn’t go to Oslob; the idea of swimming with whale sharks kept in semi-captivity didn’t appeal to me at all. On top of that, it really seems to be a mob scene, so much so that your time in the water is literally timed to make room for the next group.
In case you’re interested, without necessarily spending the night in Oslob, they organize day trips to swim with whale sharks from Moalboal. Departure is at 4:00 a.m. and tours cost about 2500 PHP. If you decide to sleep in Oslob instead, you could take the opportunity to visit the nearby Tumalog Waterfalls (Google Maps).
How to reach Oslob?
From the bus stop along Moalboal road (Google Maps) you can take a direct bus to Bato for 130 PHP, the last stop is the bus station where you can board a direct bus to Oslob for 50 PHP, about two hours total.
Where to sleep in Oslob?
Sharky Hostel Oslob is often recommended as the owner makes sure to get you on the first boat of the day to see the whale sharks while avoiding the crowds.
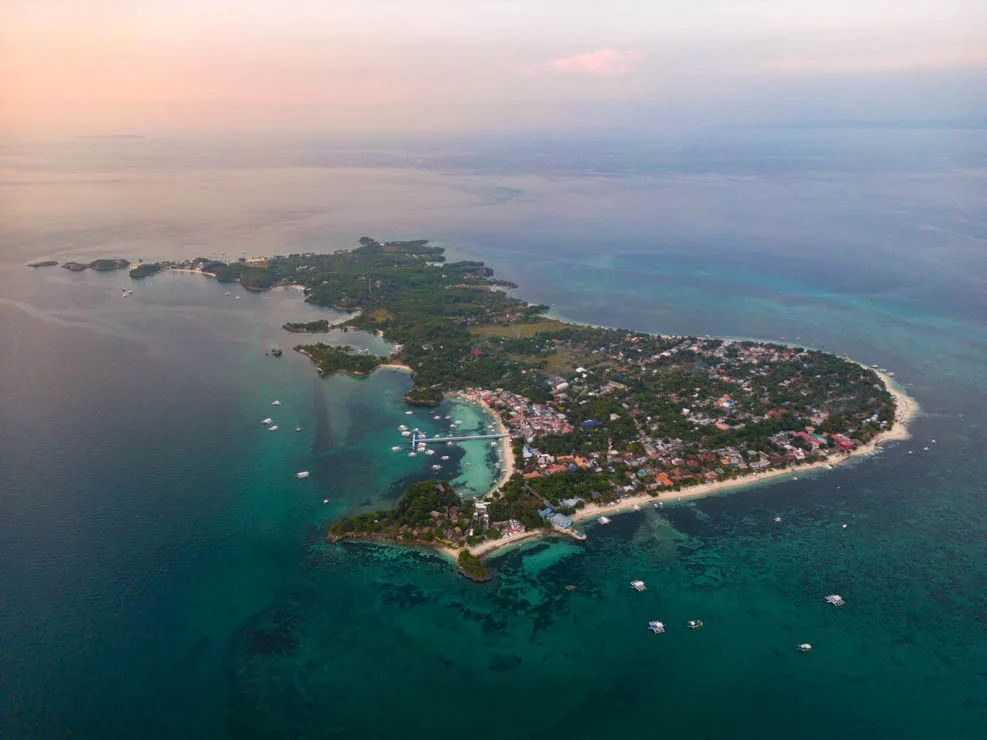
Malapascua Island.
MALAPASCUA
This small island north of Cebu is literally the only place in the world where thresher sharks can be seen almost daily, and it’s therefore an almost “mandatory” destination for all diving enthusiasts visiting the Philippines.
What to do and see in Malapascua
If you don’t dive, I personally don’t think there’s much point in visiting the island, there’s no shortage of nice beaches but if you’re in the Philippines, you don’t need to end up in Malapascua to find them.
Diving with thresher sharks
Diving with thresher sharks was a fantastic experience that I recommend to anyone with a diving certification. I paid 3400 PHP for two dives with Sharks Tail Dive Resort (Google Maps), one of the cheapest options on the island. The equipment isn’t brand new, but the boat was really spacious, the instructors professional, and we were literally the first to arrive, so during the first dive we were the only ones in the water.
I only did the two thresher shark dives but another site often recommended is Gato Island where there’s a 30-meter underwater tunnel that allows you to cross the islet.
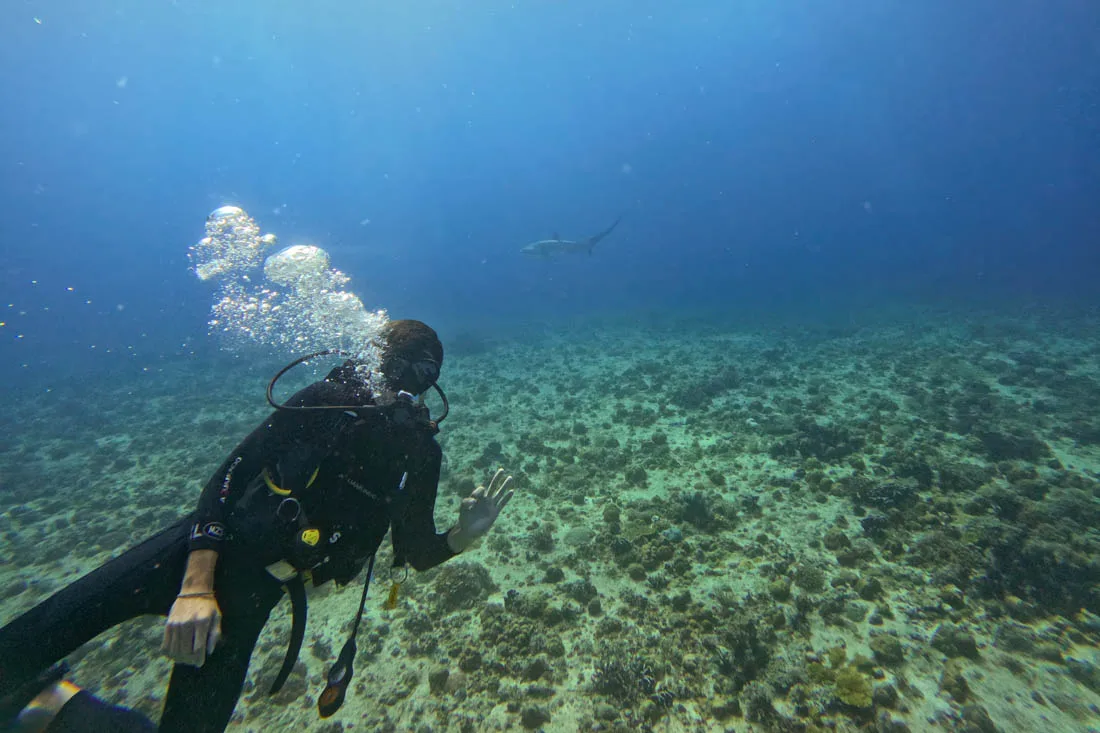
Diving with thresher sharks.
Shark Point
Shark Point or Sunset Beach (Google Maps) is a nice place to snorkel and watch the sunset. The small beach is managed by the Tepanee Beach Resort, which compared to many other resorts complies with the law and still grants access for free if you arrive by going through the cemetery (the route is clear on Organic Maps), but if you try to access it from Logon Beach thus going through the resort, they charge admission.
That said, the snorkeling is nice because there are a lot of small blacktip reef sharks in the bay. Recommended especially in the afternoon so you can stop and watch the sunset.
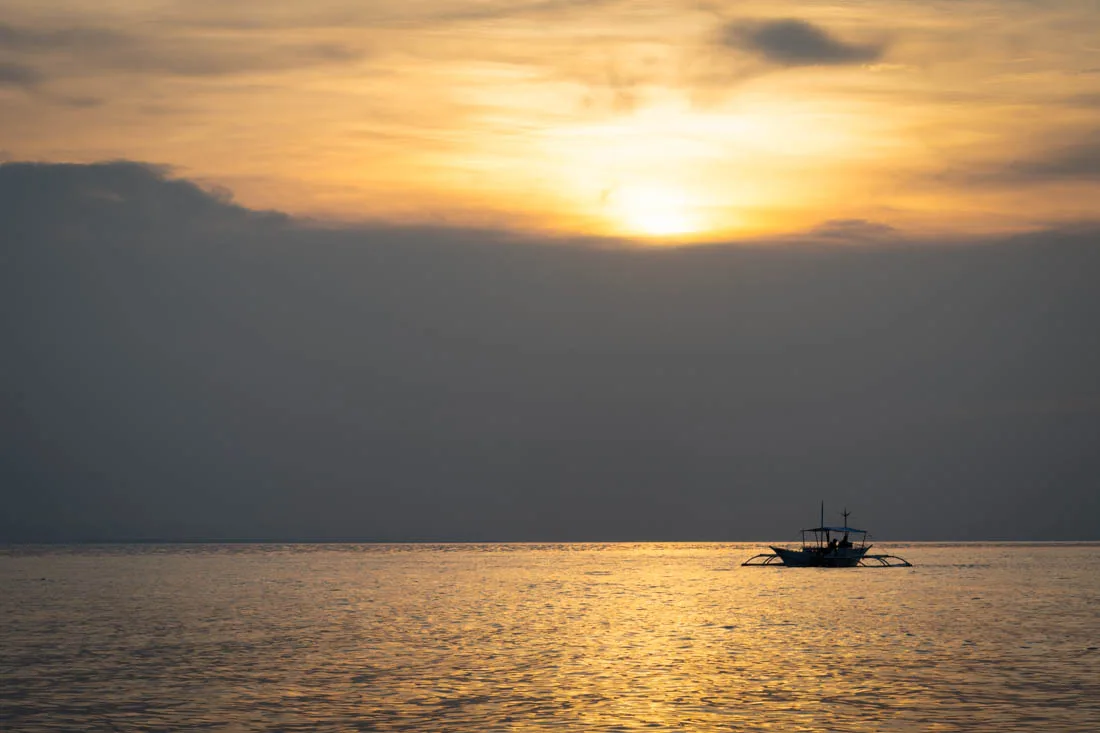
Sunset at Shark Point.
Langob Beach
Langob Beach (Google Maps) is perhaps the nicest beach on the island. It’s located far from the harbor area where the main accommodations are located but can be easily reached on foot or alternatively by mototaxi. Not far away another nice, semi-deserted beach is Bantigue Beach (Google Maps).
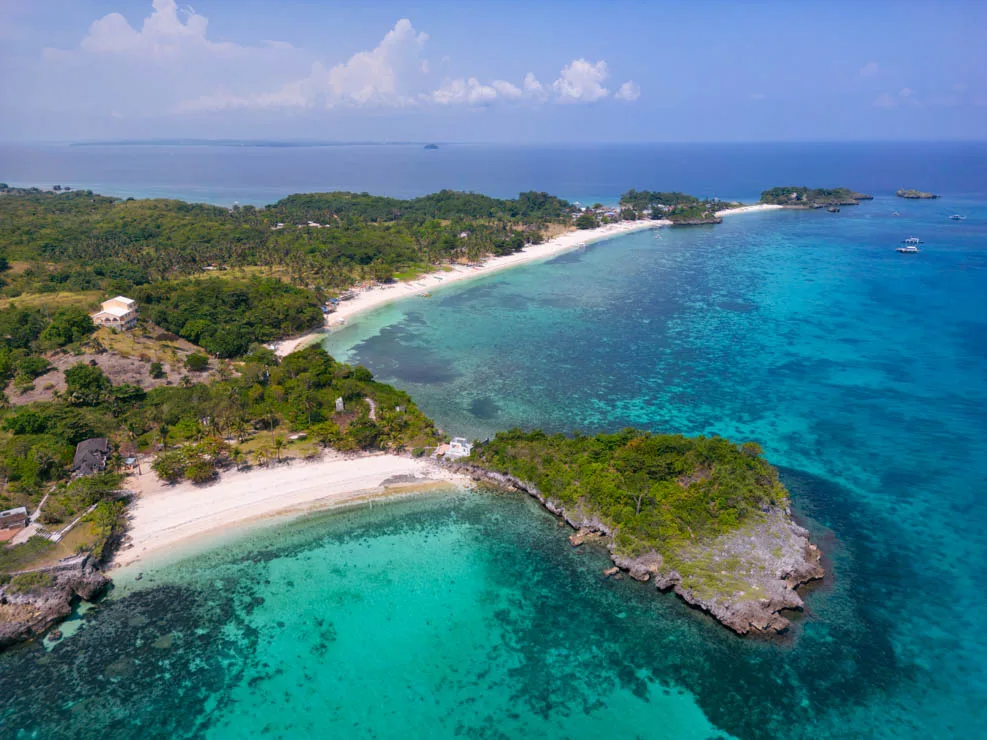
Langob Beach and Bantigue Beach.
Kalanggaman Island
The Kalanggaman Island excursion seems to be fairly popular. It takes two hours by boat to reach the island and its iconic sandbar. The tour costs about 800 PHP plus 500 PHP for island admission. Personally, I thought it was a lot of money to see yet another island but I’m sure it could be an interesting excursion for someone.
How to reach Malapascua?
Getting to Malapascua from Cebu is really easy, from Cebu North Terminal (Google Maps) there are frequent connections to Maya, air-conditioned buses cost 260 PHP, without air-conditioning they should cost a little less, minivans are slightly faster and cost 350 PHP. I was dropped off directly at the pier but in any case the terminal isn’t far away (Google Maps). Boats to Malapascua depart frequently during the day and cost 200 PHP. You also have to pay a fee of 120 PHP to access the island.
Where to sleep in Malapascua?
I slept at Malapascua Budget Inn and all in all I recommend it. The place has seen better days but the dorm is comfortable and the location within walking distance of the night market is great. Threshershack Inn is another interesting budget option.
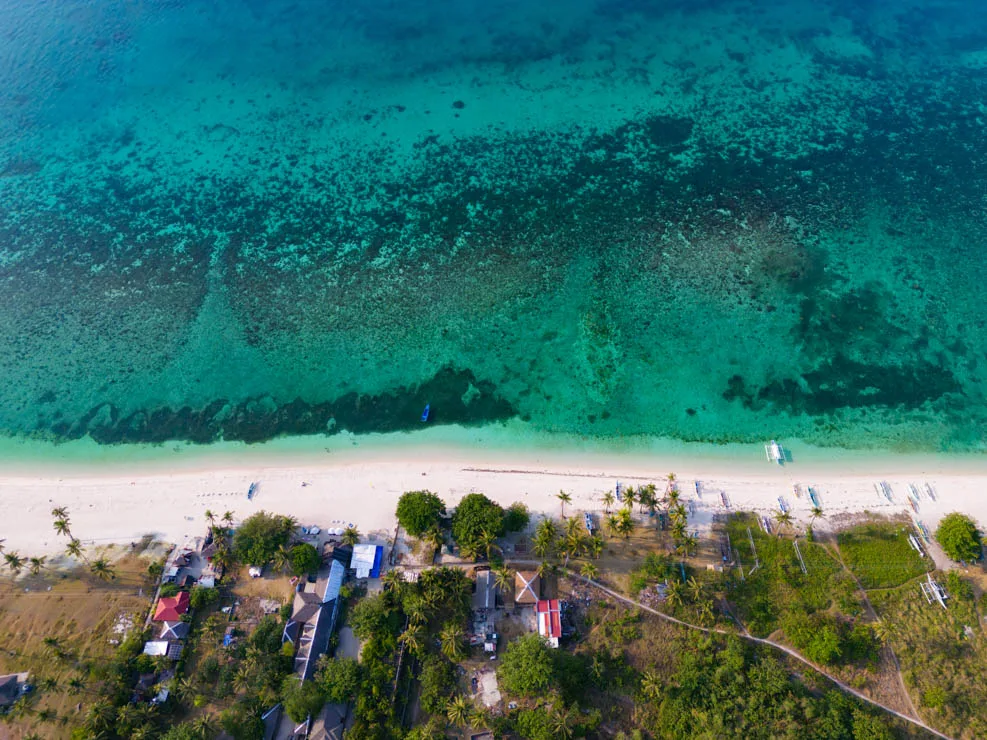
Langob Beach.
BANTAYAN
The island of Bantayan is located not far from Malapascua and being slightly off the classic itineraries I think it can be an interesting destination for anyone who wants an alternative to the more popular islands.
What to do and see in Bantayan
Bantayan was supposed to be the last stop on my trip to the Philippines but unfortunately I didn’t have enough time. From Malapascua I returned to Cebu and boarded a direct flight to Malaysia the same day. So I can’t speak from direct experience but in case you’re interested, you can find more than a few insights in this article.
How to reach Bantayan?
From Cebu’s North Terminal (Google Maps) there are frequent connections to Hagnaya, buses cost 170 PHP, boats to Bantayan cost 205 PHP.
Where to sleep in Bantayan?
Casa Isabel Hostel seems to be a great budget option.
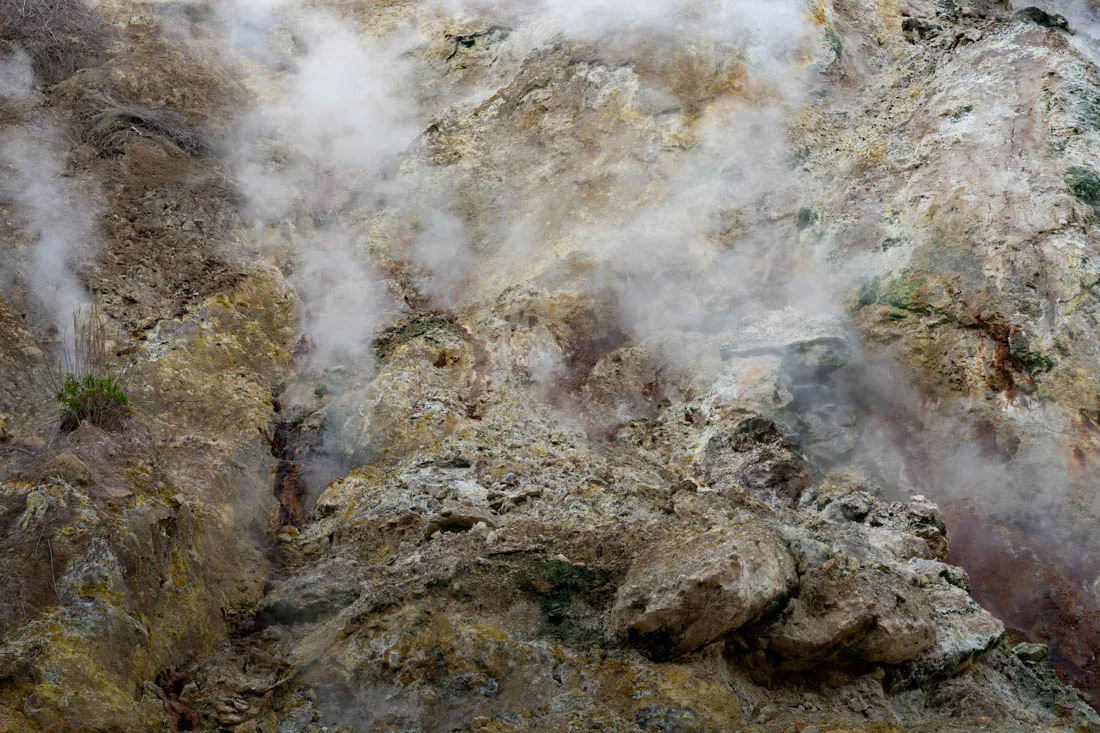
Fumaroles near Red Rock Waterfall.
NEGROS
Negros is the fourth largest and third most populous island in the Philippines. Except for a few destinations along the south coast of Negros Oriental, the island isn’t particularly popular with travelers.
Dumaguete
Dumaguete is the main city of Negros Oriental, i.e. the region in the southeast of Negros Island.
What to do and see in Dumaguete
The city doesn’t have much to offer, but it’s a good base for exploring the attractions in the area. It’s also an almost unavoidable stop for getting to or leaving the island. In case you want to spend a few hours walking around the town, Casa Arrieta provides a self-guided walking itinerary. Some notable historical sites are the Campanario de Dumaguete (Google Maps), the nearby cathedral (Google Maps), and Silliman University Hall (Google Maps), which was built in 1902-1903, is the oldest U.S. structure still standing in the Philippines.
Balinsasayao Twin Lakes
These twin lakes are about an hour from Dumaguete (Google Maps). I recommend renting a scooter for the day and combining the visit with other destinations I talk about below. I rented mine at Hey Dudz bike’s rental (Google Maps) for 400 PHP per day. The scooter was in great condition. In any case, the lakes, as pretty as they are, are certainly not must-sees; if you’re short on days, I’d probably suggest doing something else. Entry costs 100 PHP, 15 PHP for the scooter and 5 PHP for parking, 120 PHP in total. There’s a short trail about 1 km long that leads to an observation tower from where you can see both lakes. Alternatively, you can take a boat for 250 PHP that takes you directly to the base of the tower. As I mentioned, nothing exceptional, but definitely a nice way to spend a couple of hours.
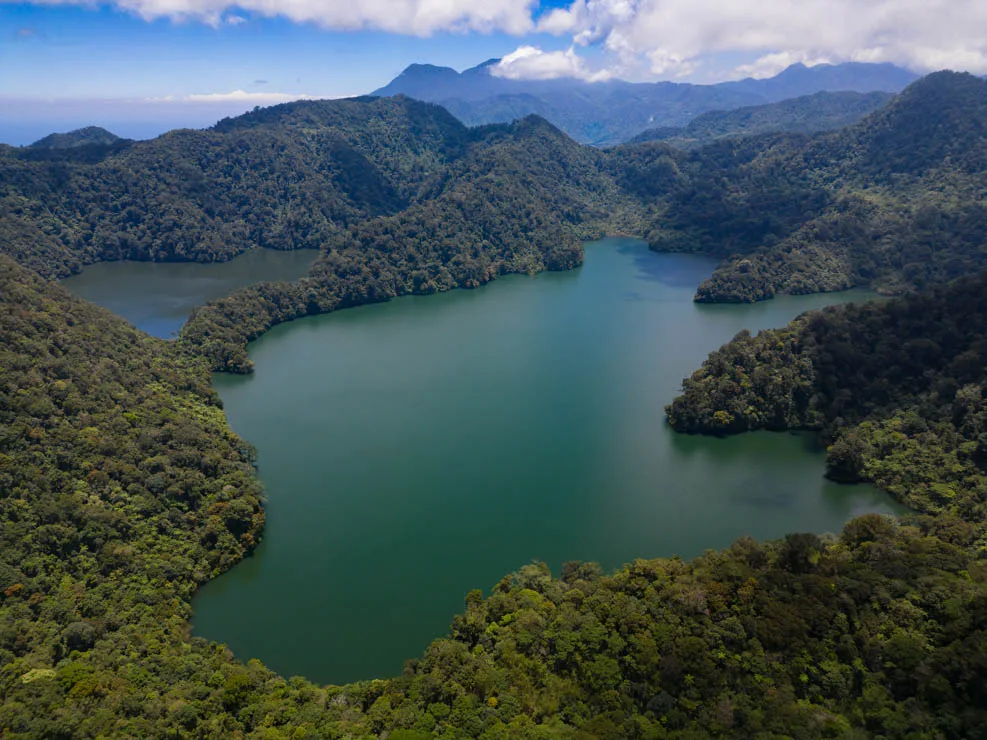
Balinsasayao Twin Lakes.
Casaroro Falls
Casaroro Waterfall (Google Maps) is undoubtedly the most popular in and around Dumaguete. The entrance costs only 20 PHP but unfortunately when I arrived at the place I found out that even here you have to have a guide to complete the short trail, they ask for 250 PHP, maximum three people per guide. I left more out of principle than money but you do you. If you arrive early in the morning and are willing to put in some effort, it’s also possible to continue on to Twin Falls (Google Maps). I imagine the guide would cost more in this case but I don’t know how much.
Pulangbato Falls and Red Rocks waterfall
So instead of visiting the Casaroro waterfall, I decided to go to Pulangbato Falls (Google Maps) and Red Rocks waterfall (Google Maps); along the road to the falls there are also some fumaroles where you can make a short stop (Google Maps). The falls are located inside a small “resort” where they charge 100 PHP for entry. I recommend ending the day at the nearby Red Rock Hot Spring (Google Maps). Entry costs 100 PHP and, at least during my visit, it wasn’t crowded at all.
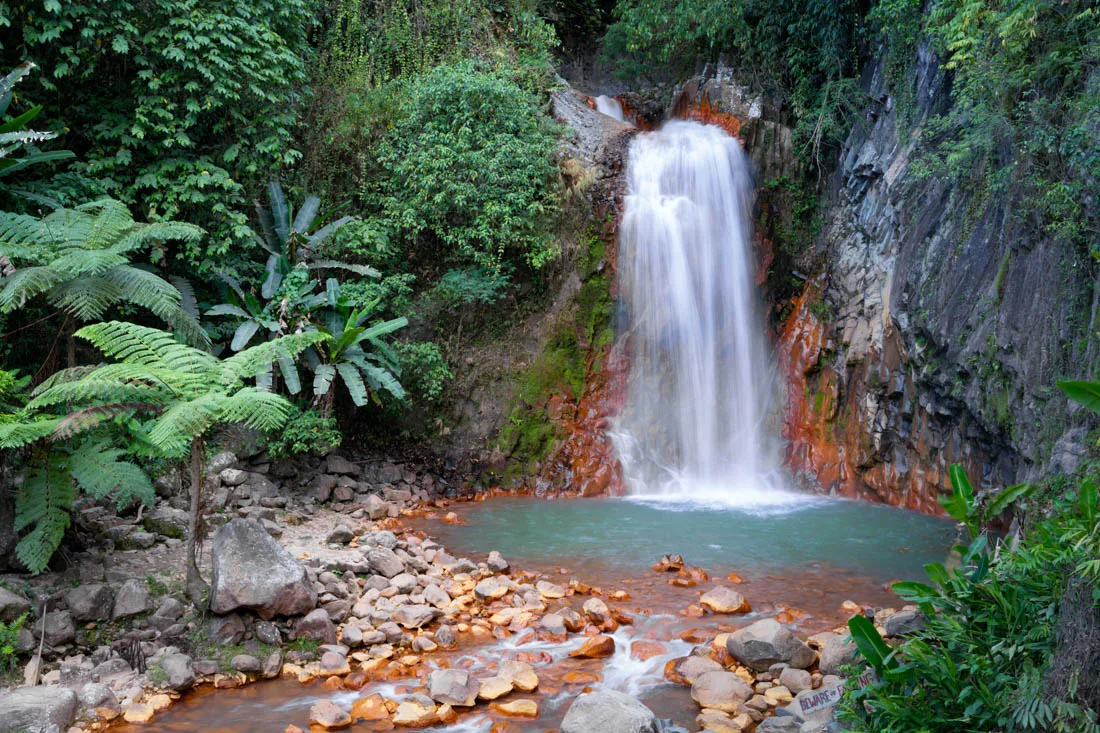
Red Rocks waterfall.
Apo Island
Apo Island (Google Maps) is a true paradise for diving enthusiasts. It’s a marine sanctuary, the reef is in excellent health and home to a wide variety of sea creatures. I did three dives on a day trip from Dauin and was thrilled, but clearly you can also do some excellent snorkeling. If you aren’t planning to continue on to Dauin, which I talk about further down, you can visit the island on a day trip from Dumaguete. These are the instructions provided by Casa Arrieta for a do-it-yourself tour: “take a tricycle to the bus station (Google Maps), get on any southbound bus that goes through the Malatapay market (let the conductor know you want to go to Apo Island), walk from the road to the pier through the empty market (it’s only packed on Wednesdays), then look for Mila and tell her you’re from Casa Arrieta.”
The cost depends on the number of people you share the boat with, but it should be cheaper than the tour. Expect to pay 300 PHP.
In case you want to spend a few days on the island, there are a couple of guesthouses. A friend spent two nights at Mario’s Homestay (Google Maps) paying 300 PHP per night. An alternative is Liberty Lodge (Google Maps). At least at the time of writing this guide, the two facilities don’t have an online presence but you can call to make reservations.
Manjuyod White Sandbar
I don’t understand this obsession with sandbars but the excursion to Manjuyod White Sandbar (Google Maps) seems to be really popular among local tourists. Besides visiting the sandbar, “dolphin-watching” is normally included. I haven’t participated in the tour so I won’t comment.
Mount Talinis
Mount Talinis is a volcano whose last eruption was in 1641. It’s surrounded by a series of crater lakes, including Lake Yagumyum, Lake Nailig and Lake Mabilog. I haven’t personally done the hike but it looks very interesting. Find all the relevant information in this article.
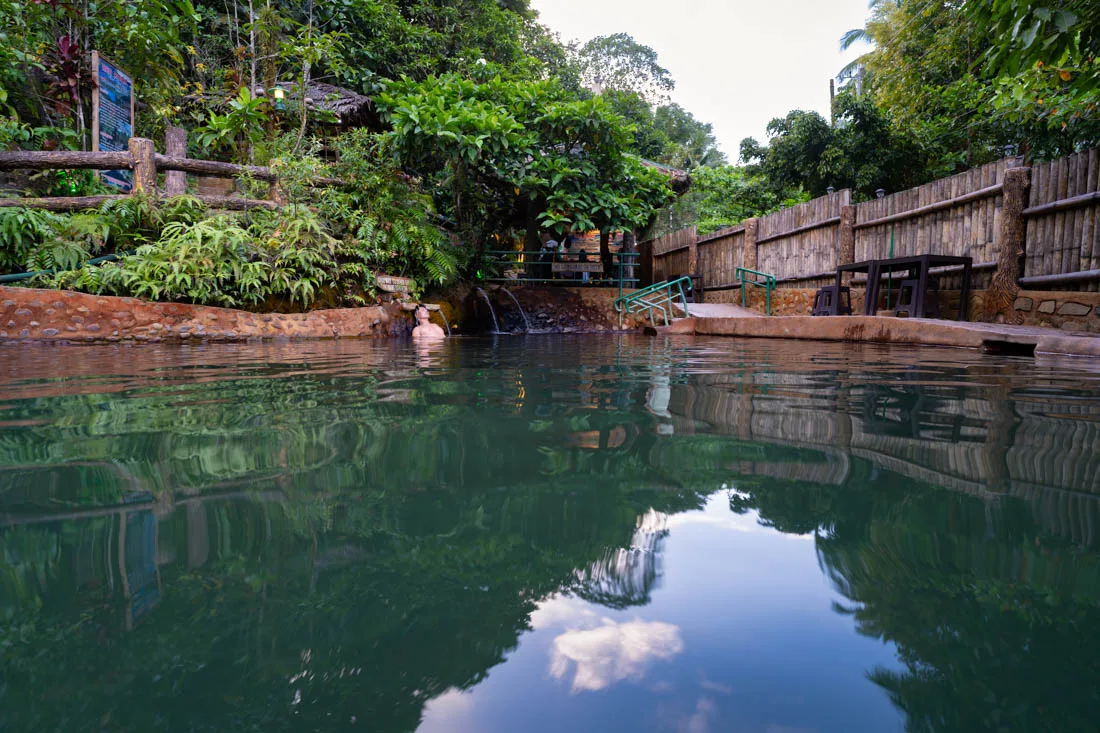
Red Rock Hot Spring.
How to reach Dumaguete?
From Moalboal you have two options: I took the bus to Bato for 140 PHP and then the ferry from the Port of Bato (Google Maps) to Tempi (Google Maps) for 120 PHP; out of the port, I crossed the road and took the first jeepney heading to Dumaguete for 30 PHP, alternatively, once you get to the terminal in Bato (Google Maps) you can take any southbound bus and get off at the Port of Liloan (Google Maps) from where you then take the ferry to Dumaguete, again once you get out of the port you should have no difficulty catching a jeepney bound for Dumaguete. By sea from the city’s main port (Google Maps) there are direct daily connections to and from more than a few islands, including Bohol and Siquijor. Lastly, Dumaguete airport has more than a few daily flights to Manila and Cebu.
Where to sleep in Dumaguete?
What with one thing and another, I ended up spending more than a few nights at Casa Arrieta Hostel and highly recommend it. Quiet and clean environment, very friendly staff. The Flying Fish Hostel is another interesting option not far away.
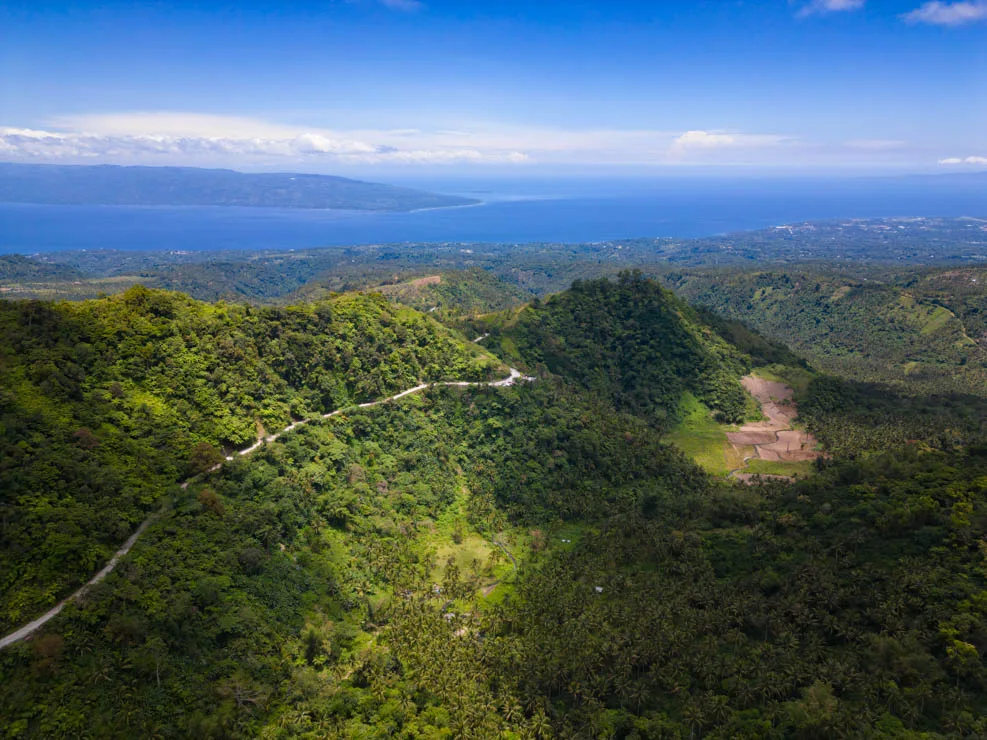
Road leading to Balinsasayao Twin Lakes.
Dauin
This small town south of Dumaguete is a destination I recommend to all scuba divers but also to anyone who wants to do some great snorkeling.
What to do and see in Dauin
Dauin looks right out onto a marine sanctuary with a coral reef in excellent health, and you can dive and snorkel straight from the beach. If you’re not certified, both because of the cost and the excellent state of the reef, I think it’s a great place to get your Open Water or Advanced. The prices aren’t much higher than those on Koh Tao in Thailand, which many consider the absolute cheapest destination to get your certification. I stayed and did my dives, including the excursion to Apo Island, with Bongo Bongo Divers and I recommend them; there was also a couple on the boat who only did snorkeling, so it could be an option if you’re interested. Here’s the official website with updated prices and all the relevant information. Another cheap dive resort often recommended by travelers is La Tortue; it’s located slightly out of town, prices are similar and the reviews are great.
Both places accept payments with Wise, which is really convenient. If you’re not registered yet, by using this link your first transfer up to 500€ is completely free.
How to reach Dauin?
From the Dumaguete terminal (Google Maps) you can take any bus heading south. They usually have Bayawan as their final destination. I took a jeepney paying 25 PHP, besides being slightly cheaper, it has the closest stop to the center at this point. A tricycle from Dumaguete should cost about 300 PHP.
Where to sleep in Dauin?
As I mentioned, I slept at Bongo Bongo Divers, a very nice environment a short walk from the beach, friendly staff and great prices. Another recommended option is La Tortue Diving Resort Dauin.
Sipalay
To conclude this section on Negros Island, if you’re looking for an as yet little-known destination, check out Sipalay. I haven’t been there, but according to what I’ve been told, its beaches and surroundings aren’t bad at all. To get there, there are direct buses from Dumaguete station, alternatively you could take a jeepney to Zamboanguita and then change to Sipalay.
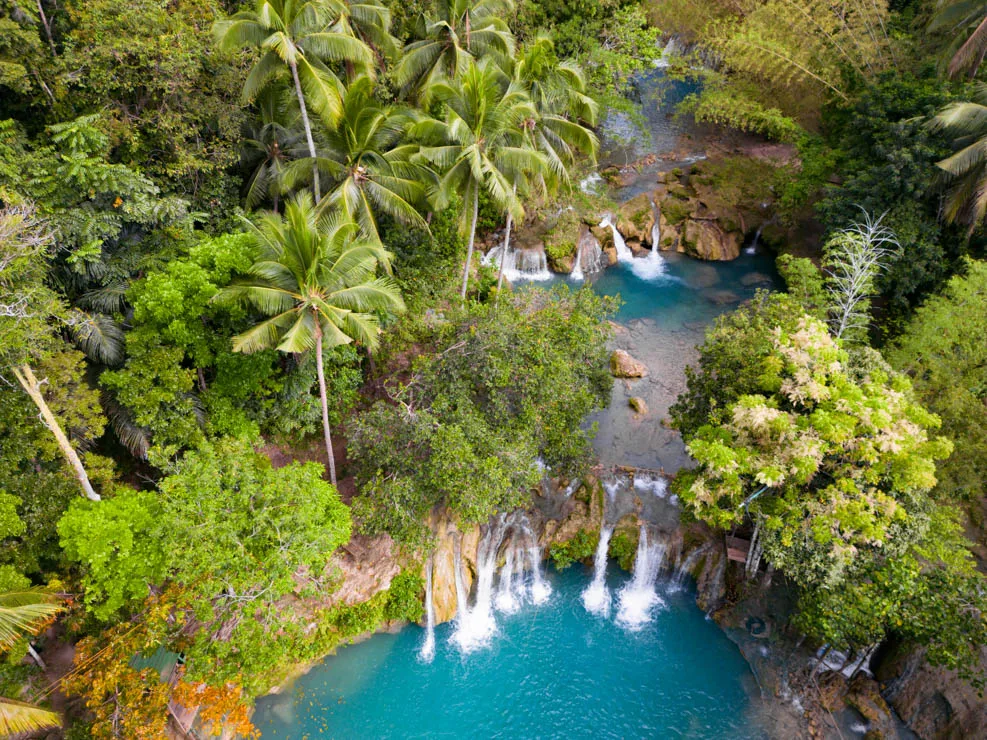
Cambugahay Falls.
Planning your trip? If you still need travel insurance, you can find my guide to the best travel insurance here. Purchasing through the links in the guide supports this site at no additional cost to you.
SIQUIJOR
The small island is known as “Magic Island” or “Witchcraft Island” for its long history of traditional healing practices and witchcraft. That said, there’s no shortage of white beaches, waterfalls, and lush forests, all topped off with a quieter, more relaxed atmosphere than on other more popular islands.
What to do and see in Siquijor
Considering that, at least at the moment, the island is reached exclusively by sea, there’s only one port, and public transportation isn’t an option for exploring Siquijor, I recommend renting a scooter as soon as you arrive. Many travelers do this and in fact there’s no shortage of options around the harbor. I rented it for four days with PLS MOTORBIKE RENTAL (Google Maps) paying 300 PHP per day after tough haggling. Officially they all charge 400 PHP per day.
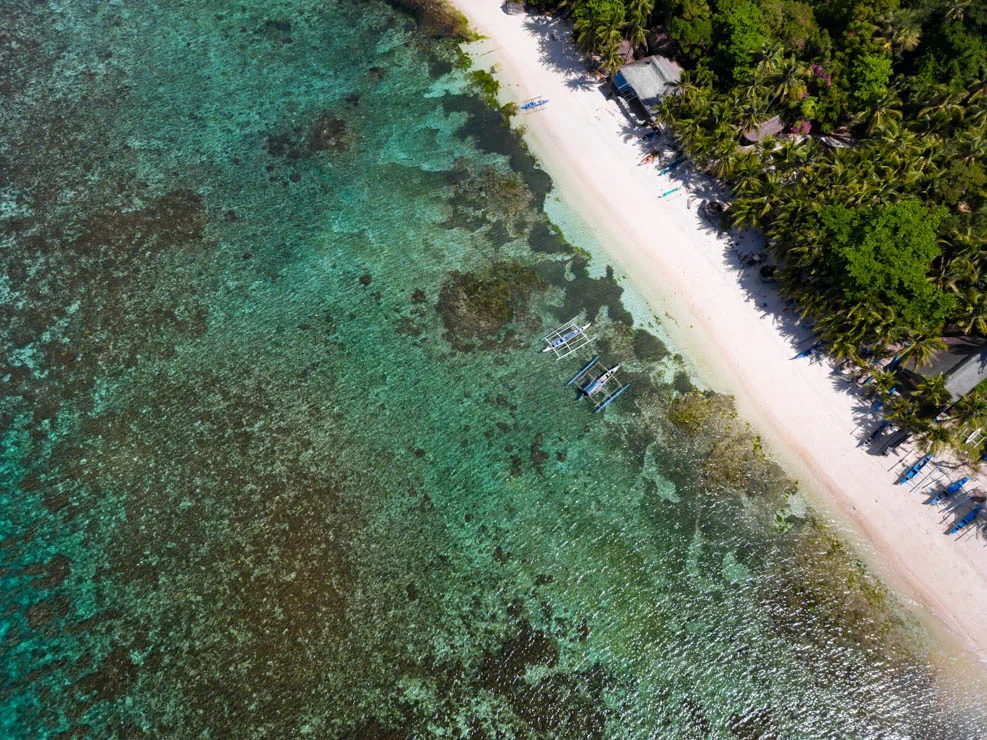
Tubod Marine Sanctuary.
Beaches and Marine Sanctuaries
Paliton Beach (Google Maps) is by far the most popular beach, and the most touristy part of the island, with lots of restaurants and hostels, has grown up around it. The beach is divided into two: the southern part is smaller, the situation can get crowded especially in the late afternoon while the northern part is wider. I haven’t been there, but Wonderland Restaurant (Google Maps) is a popular option for eating within walking distance of the beach.
Maite Marine Sanctuary (Google Maps) offers some great snorkeling and the beach isn’t that bad, at low tide however you have to walk a lot to get to the deep water and there are some sea urchins so be careful. The entrance fee is 100 PHP. An alternative not far away, and in my opinion better, is Tubod Marine Sanctuary (Google Maps). Great snorkeling and a beach that’s well kept by the resort. Admission costs 100 PHP.
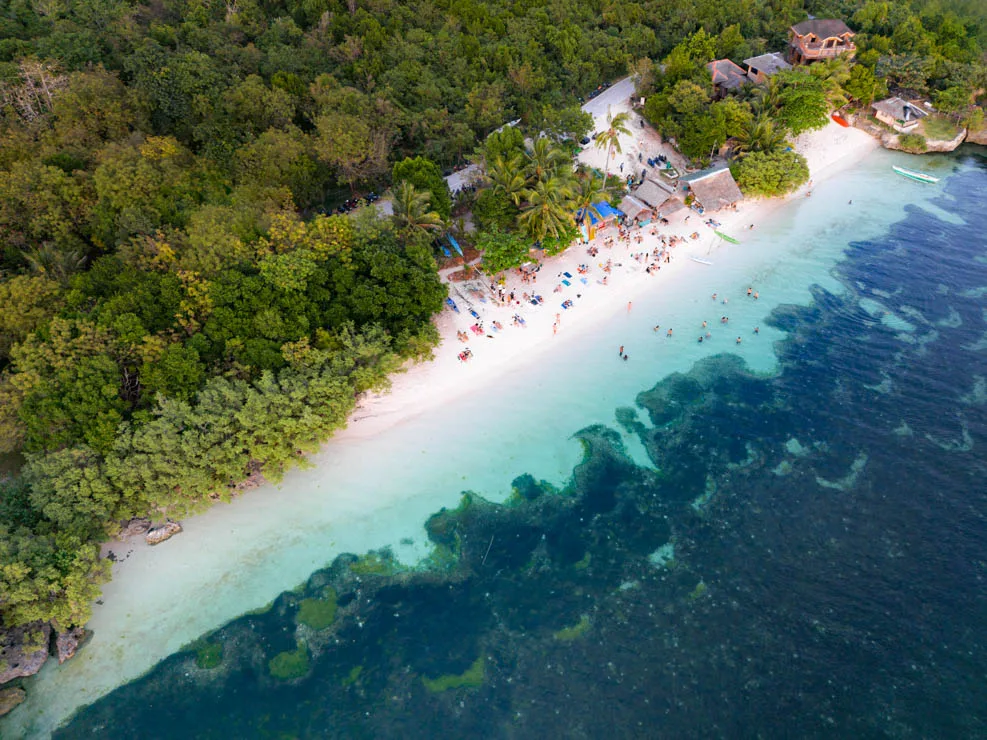
Paliton Beach.
Tulapos Marine Sanctuary (Google Maps), on the other hand, is located on the west side of the island, where you can see reef sharks, barracuda and generally larger fish. I haven’t been there but hiring a guide is mandatory. 250 PHP for the guide plus 100 PHP for admission.
Finally, Salagdoong Beach (Google Maps) is a nice beach in the east of the island, during my visit they were doing some work in the resort so for safety reasons (???) it was impossible to swim, but the work will have to finish sooner or later.
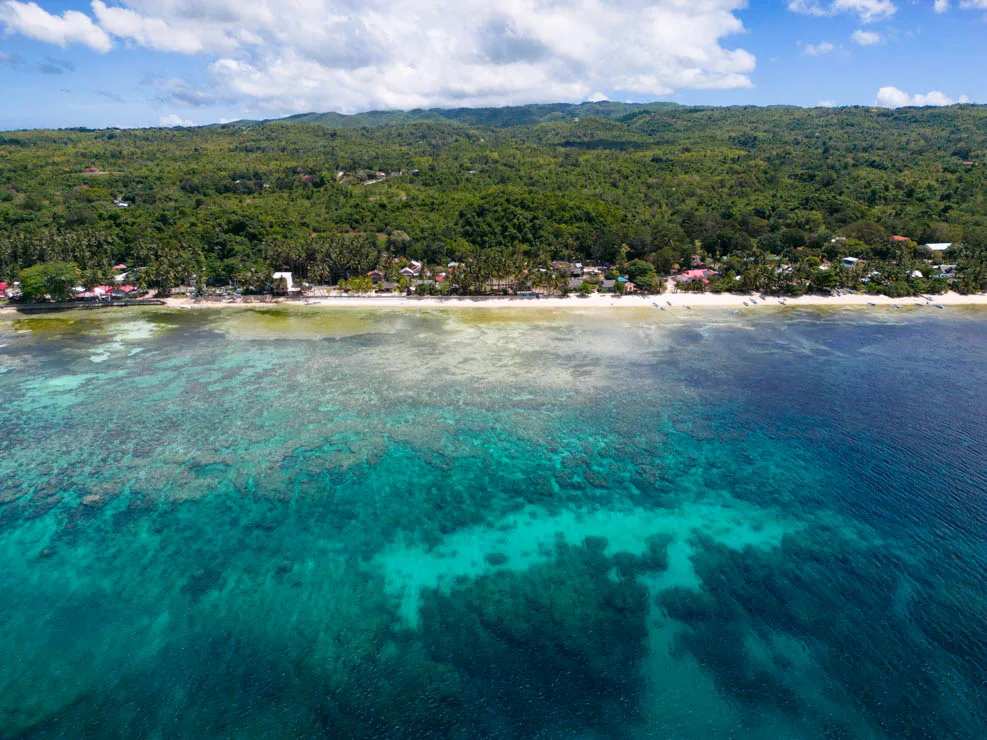
Maite Marine Sanctuary.
Siquijor Waterfalls
The island has more than a few beautiful waterfalls. Cambugahay Falls (Google Maps) is by far the most popular and spectacular. The waterfall is on several levels with large natural pools to swim in. I was there early in the morning so there weren’t many people but it can get crowded during the day. Admission costs 20 PHP plus another 10 PHP for scooter parking.
There are at least three other waterfalls nearby. At the entrance to Lagaan Falls (Google Maps) there’s a sign saying that a guide is required but when I told them I didn’t want one they let me through without making any fuss. The trail is short and easy to follow. The entrance fee is 50 PHP. There was hardly anyone there, there was a kind of natural slide and the classic swing for diving.
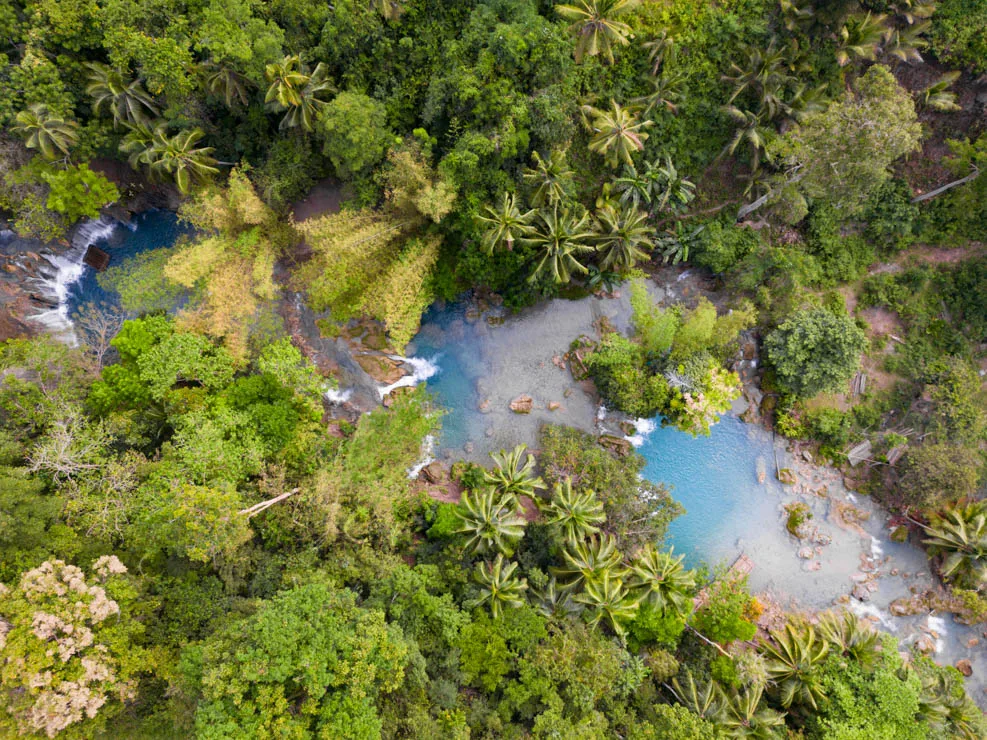
Cambugahay Falls.
Locong Falls (Google Maps) and Kawasan Falls (Google Maps) are two other waterfalls in the area. As the crow flies, they’re no more than a few hundred meters apart along the same waterway but have different entrances. I haven’t been to either of them because it was starting to get repetitive. But if you want to spend all day going from one waterfall to another, they’re two more options to consider.
Also in the same area you could visit the Sambulawan Underground River (Google Maps). I haven’t been here either, but basically you swim through a cave for about 20 minutes. Admission costs 350 PHP including the mandatory guide.
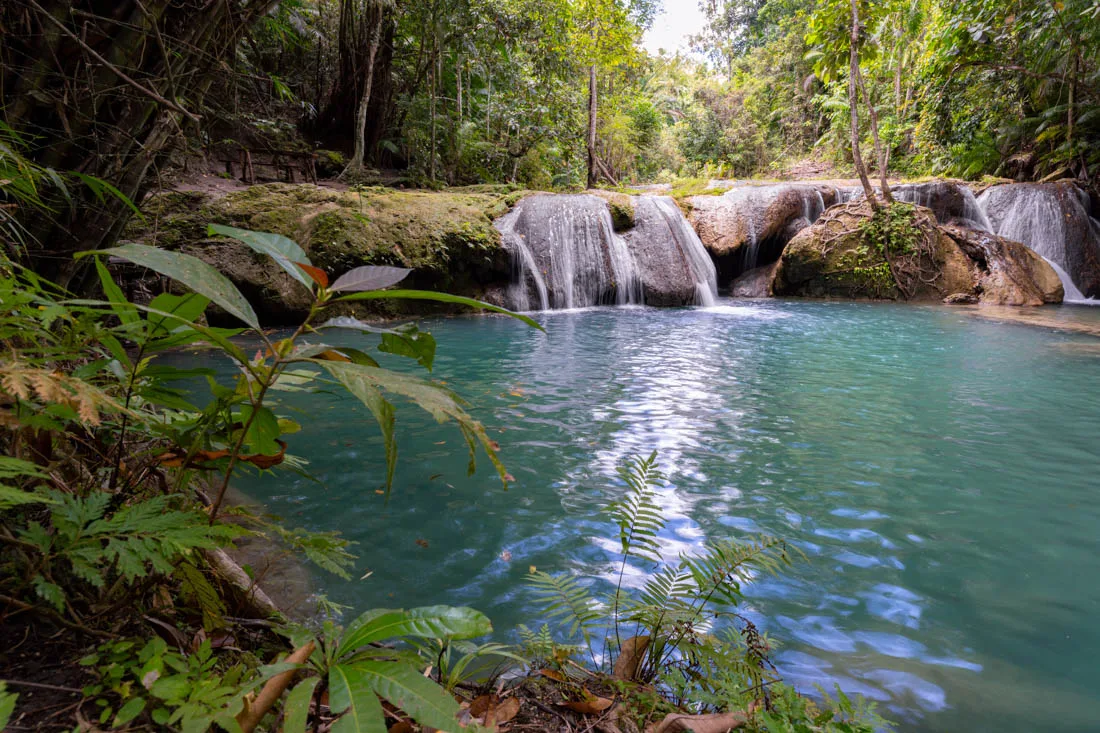
Lagaan Falls.
Another easily accessible waterfall, though not in the same area, is Lugnason Falls (Google Maps). I was there early in the morning shortly after sunrise so there was literally no one there. Technically, admission costs 20 PHP.
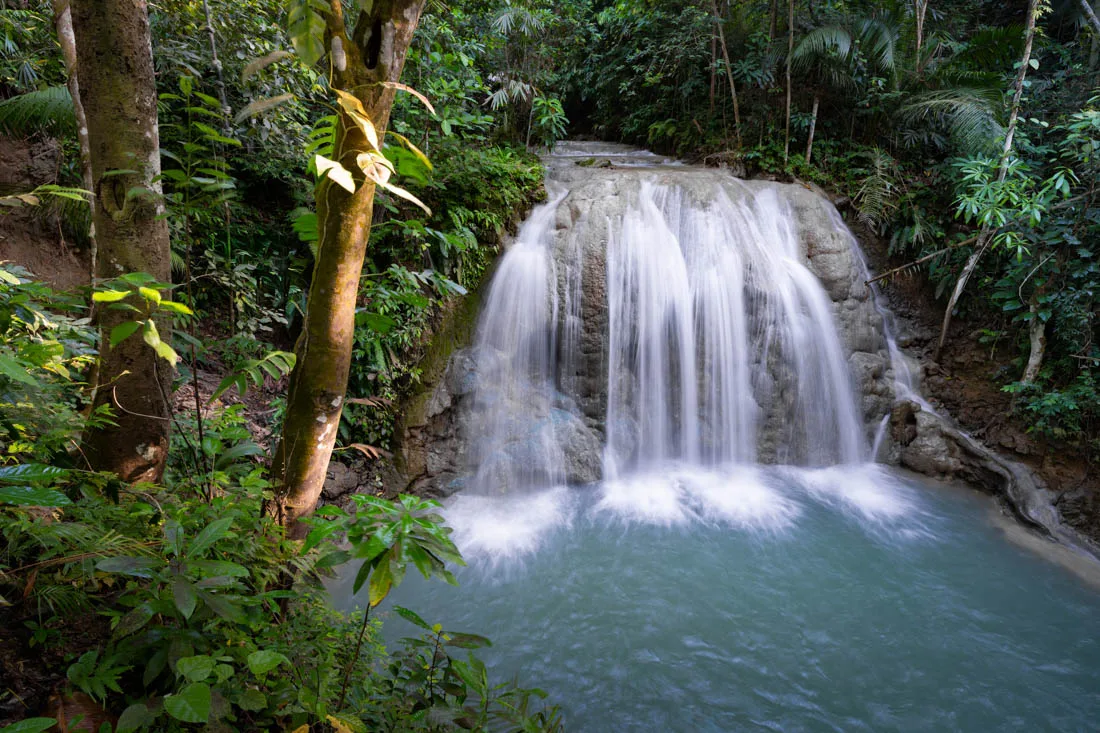
Lugnason Falls.
Finally, if you reach the falls from the east coast of the island where most travelers are based, along the main road you might make a brief stop at the old enchanted Balete tree (Google Maps). The tree is 400 years old and there’s a natural spring at its base where visitors get their feet nibbled by fish. Admission costs 20 PHP. On the way back you could instead take the coastal road at this point: you pass through a lot of villages that offer a window into the rural life of the locals, plus more than a few nice viewpoints. Alternatively, stop at Hidden Valley (Google Maps) for a meal with a view.
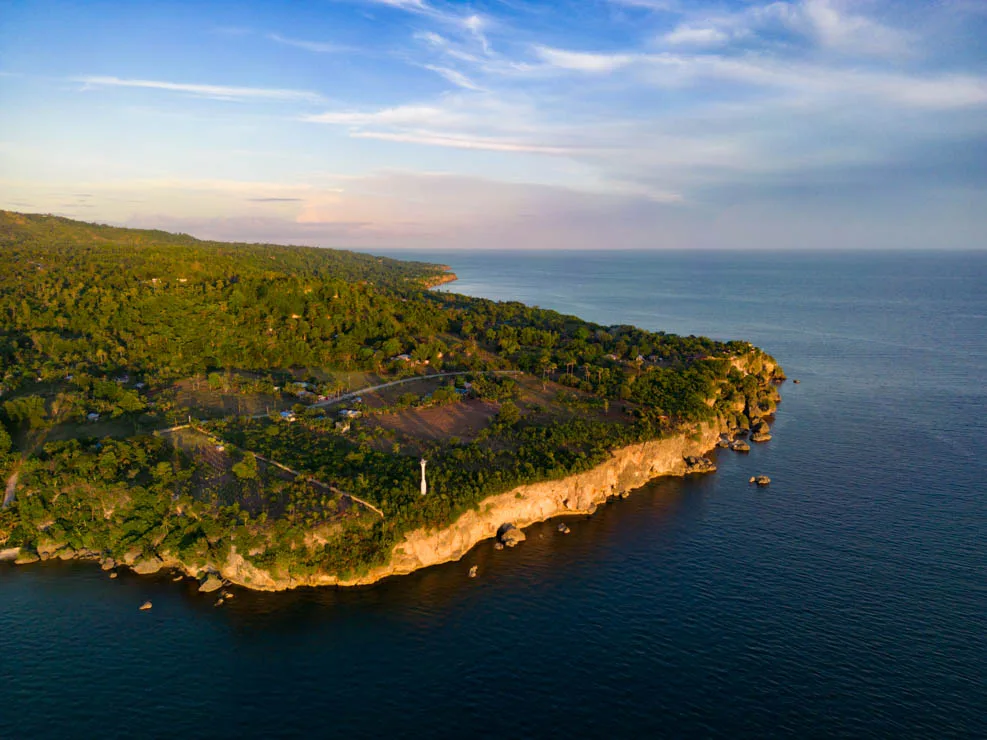
Along the coastal road.
Lazi Convent
Lazi Convent (Google Maps) is considered Asia’s largest and oldest. It was built in 1887 with coral stone and wood. Inside is the small Siquijor Heritage Museum where there are religious artifacts and historical exhibits. Not particularly interesting in my opinion but admission costs only 20 PHP. I recommend visiting it after you’ve been to Cangbangag Falls and then go for lunch at Twenty4 Restaurant (Google Maps).
Staying on the restaurant theme, Roch Cuisine (Google Maps) offers good food with a great view at honest prices. The “restaurant” opens only in the late afternoon, just in time to dine while watching the sunset.
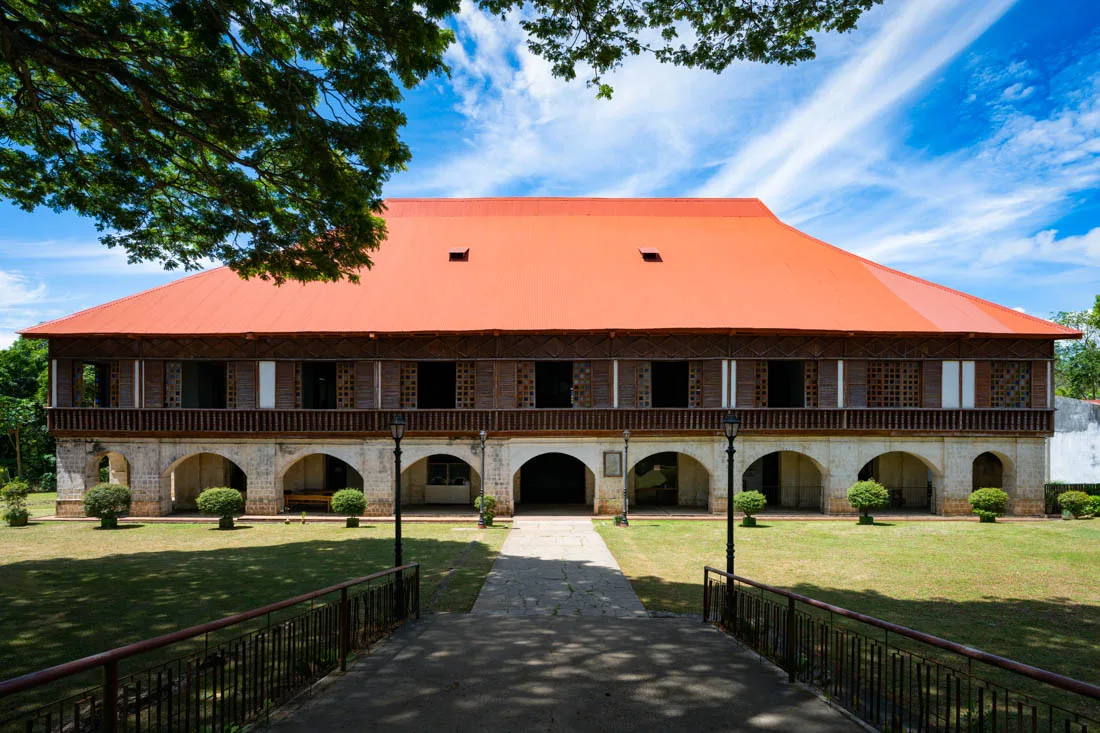
Lazi Convent.
Mt. Bandilaan National Park
The park covers the mountainous area in the central part of the island where, at an elevation of 1,009 meters, you’ll find Siquijor’s highest point. To my knowledge there are no real trails to do other than the short hike to the observation tower (Google Maps) from where you have excellent 360-degree views of the island. That said, even just riding the scooter on the roads that make their way through the lush forest is an enjoyable experience.
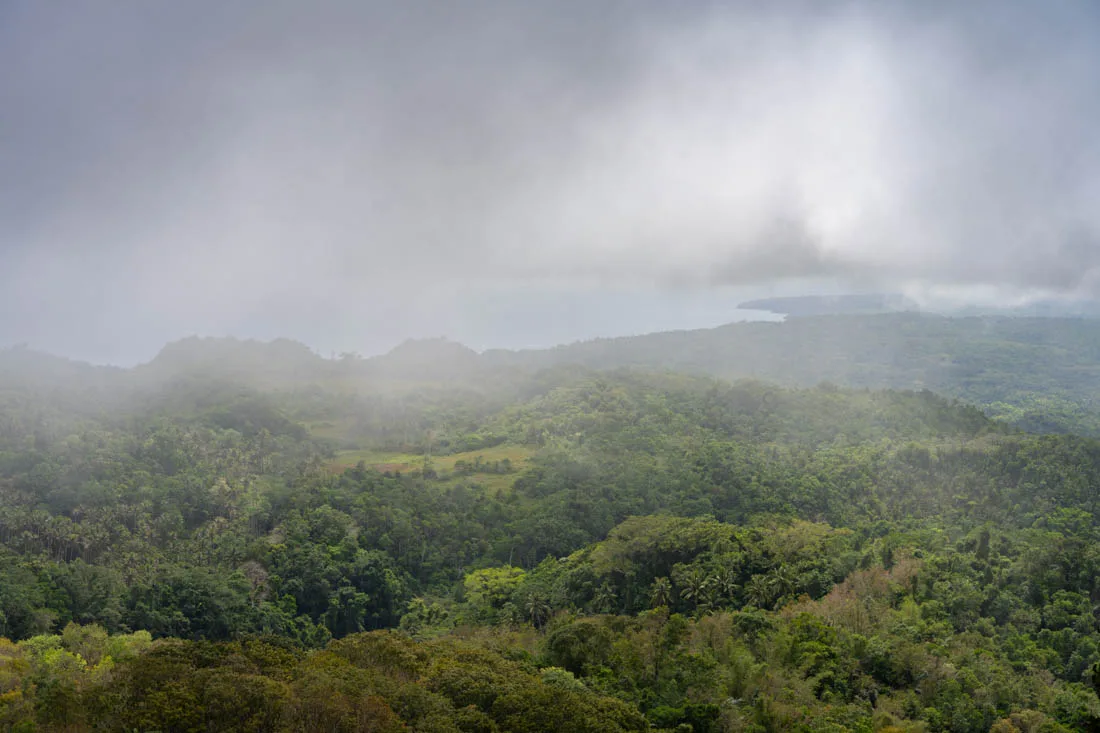
View from the observation tower.
Other destinations within the park are Cantabon Cave (Google Maps) where you need not one but two guides to enter, at a cost of 500 PHP. You also have to pay the 20 PHP entrance fee. I personally thought it was too much to visit what in the end is just another cave, so I skipped it.
Instead, I did go into the Butterfly Sanctuary (Google Maps) where they ask for 100 PHP. Honestly, I think the price is excessive in this case too, but it seems to be a nice conservation project. The owner is really nice and ready to answer any questions. Finally, you could visit the Cangbangag Falls (Google Maps). The road is in bad condition in places and the trail isn’t always clear but with some luck and help from locals I made it to my destination. I was there in March, there was little water but the height of the waterfall is very impressive. The entrance is free.
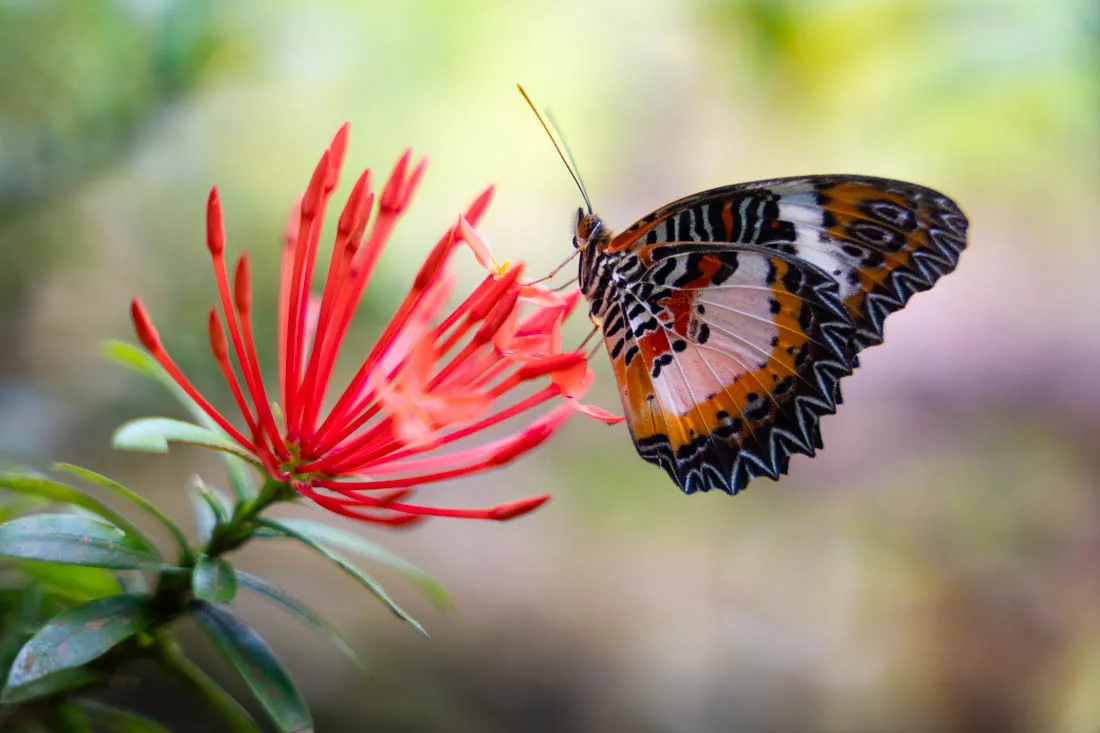
Butterfly Sanctuary.
How to reach Siquijor?
From the port of Dumaguete (Google Maps) there are several daily departures. On this page you’ll find an article that seems to be updated frequently. I paid 200 PHP + 15 PHP port fee. From the island of Cebu, you could reach Dumaguete as described above and then take a ferry from there. But a quicker alternative is to reach the port of Santander (Google Maps). At least during my visit, there was only one ferry to and from Bohol per day, so you should book in advance especially during peak season. To conclude, they’re expanding the island’s small airport but currently it doesn’t offer commercial flights.
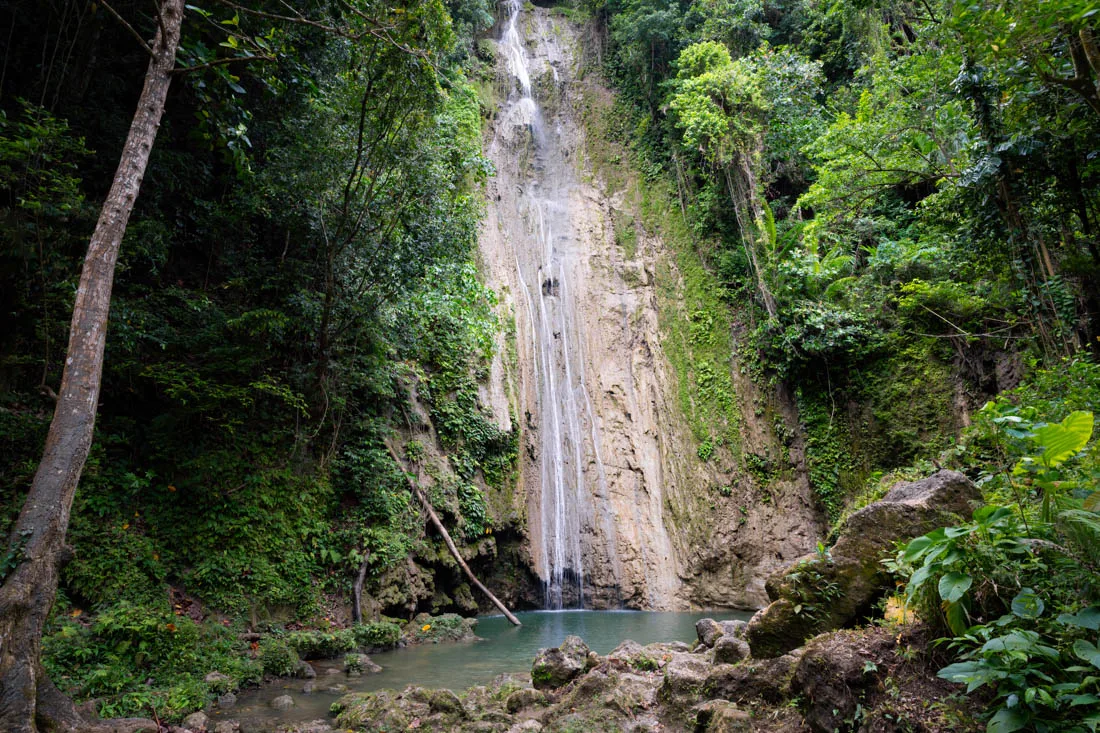
Cangbangag Falls.
Where to sleep in Siquijor?
I slept at Little Nomads eco-guesthouse, it’s a basic but nice accommodation. It’s slightly away from the main beaches so I recommend staying here only if you plan to rent a scooter for your stay. The owners, Olivier and Sophie, are two lovely people, and she even speaks excellent Italian. If you prefer to be closer to the beach and nightlife of San Juan, I was strongly recommended Love Shack Hostel & Cafe.
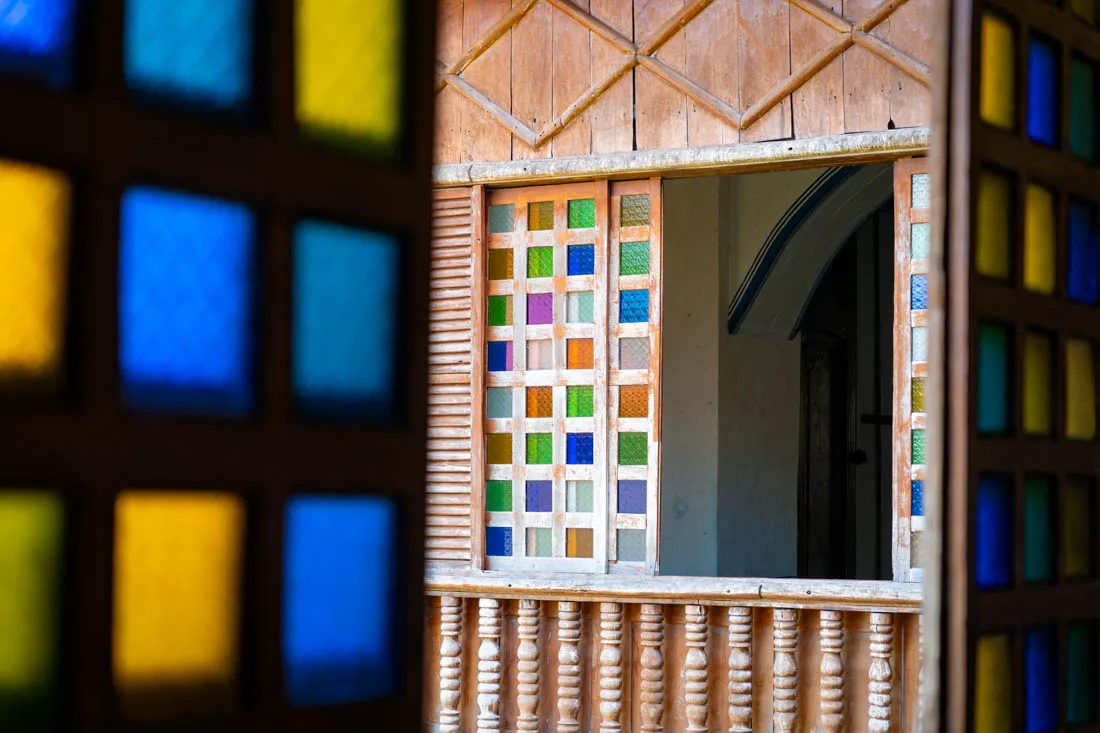
Lazi Convent.
BOHOL
The island of Bohol with its iconic Chocolate Hills that are also depicted on the 200 PHP bill is undoubtedly one of the most popular islands among travelers. Given its proximity to Cebu and Siquijor, it’s often visited in a sort of “triangle” itinerary.
What to do and see in Bohol
Bohol is much larger than it looks. Although the main roads are in excellent condition, travel from one side of the island to the other can take hours. As discussed in the “Where to sleep” section, if you have enough time on your hands, I recommend splitting your stay in two, spending a few days in Panglao and then moving east to visit the rest of the island.
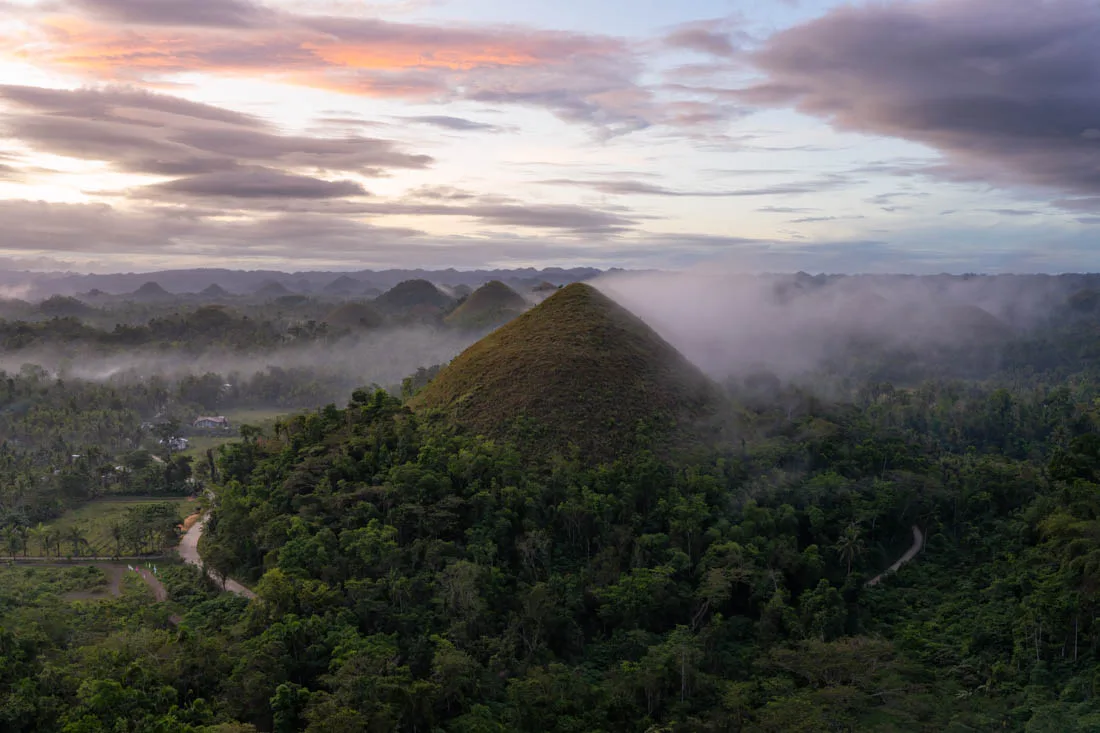
Sunrise at Chocolate Hills.
Panglao
Panglao is the small island where the airport is located that is connected to the main island by two bridges. Ironically this is the most touristy area of “Bohol” or at least where most of the accommodations are located.
Alona Beach (Google Maps) is the “main” beach in Panglao. The beachfront is extremely developed with lots of restaurants and stores but all in all it’s not that bad. Of the beaches I saw in Panglao, in my opinion the most beautiful is the one at the South Palms Resort (Google Maps) aka Dumaluan Beach (Google Maps). One of the hostels I stayed at was nearby, so I visited the beach more than a few times. You have to go through the resort to get there, but they absolutely don’t make a fuss, partly because, even though many places turn a deaf ear, the law requires them to let you through.
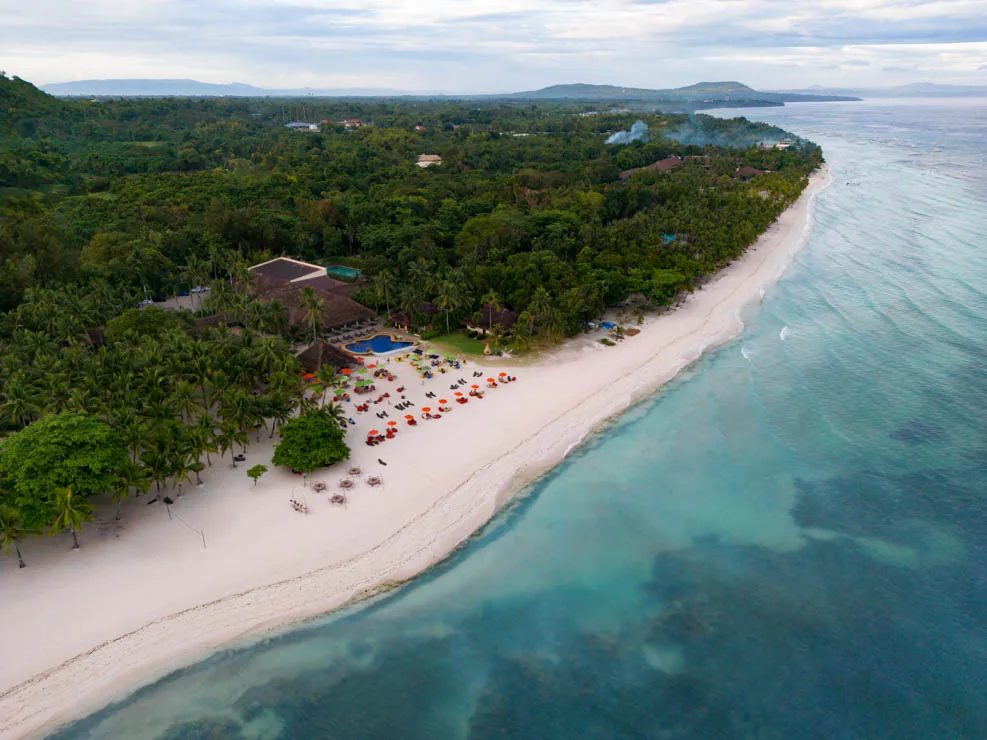
Dumaluan Beach.
Hinagdanan Cave (Google Maps) is a cave with a small natural pool along the north coast of Panglao. Admission costs 50 PHP but if you want to swim you have to pay another 75 PHP. I was there early in the morning so there was hardly anyone but it seems to get crowded during the day and given the confined spaces I think the experience would suffer quite a bit.
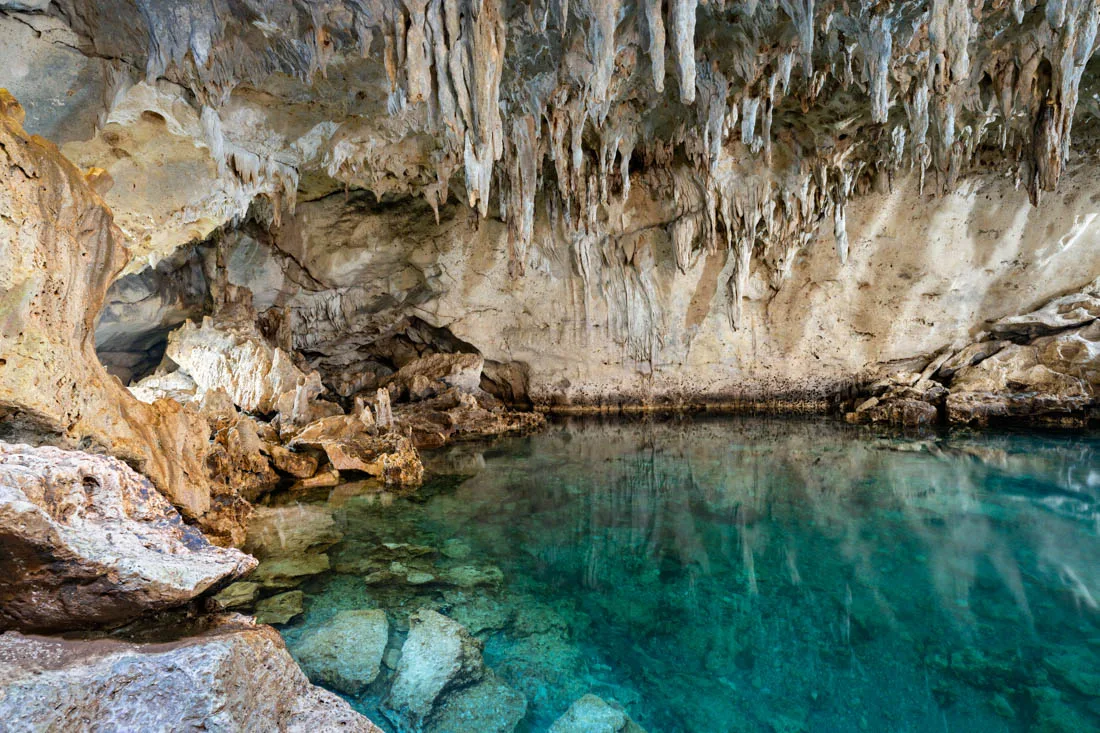
Hinagdanan Cave.
Island Hopping
A “standard” boat tour is offered in Panglao that starts early in the morning with some Dolphin Watching before continuing to Balicasag Island (Google Maps) where you go snorkeling and finally Virgin Island (Google Maps). Honestly it’s not something I’d recommend, seeing dolphins early in the morning was nice but the snorkeling in Balicasag Island was probably the worst of my entire trip to the Philippines, so many dead corals and an incredible amount of people in the water.
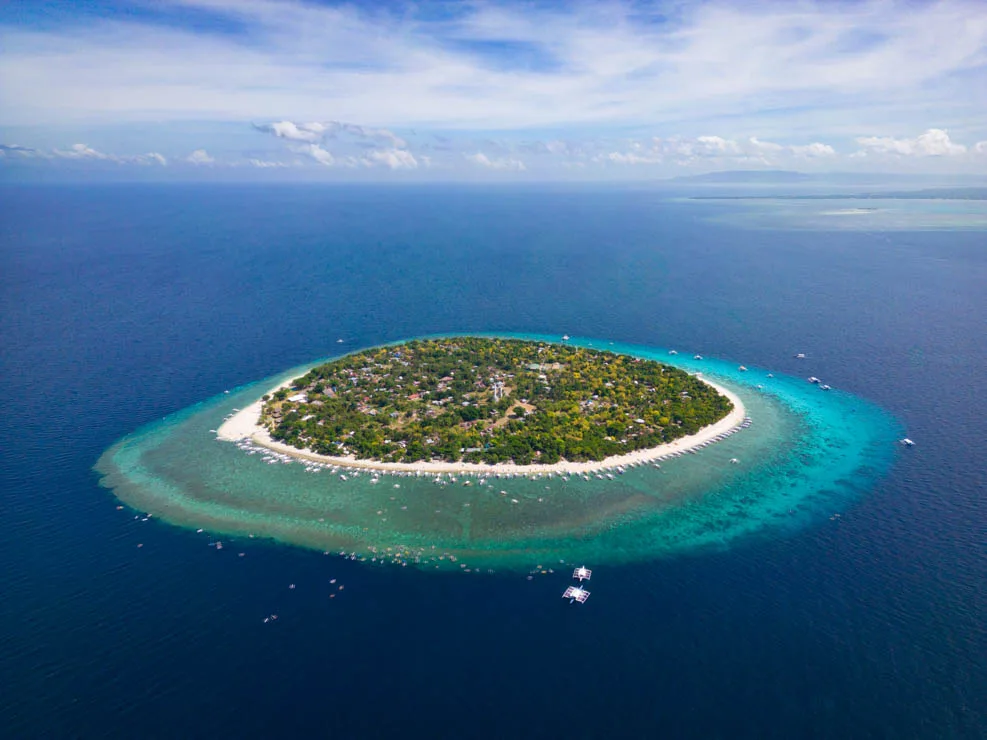
Balicasag Island.
Finally, Virgin Island is yet another sandbar that locals seem to love. They even wanted 100 PHP for entry to the island, which at the time of our visit was literally submerged by the high tide. I stayed on the boat. I booked the tour through the hostel because it was the cheapest option, 750 PHP including mask and snorkel rental or 700 PHP without.
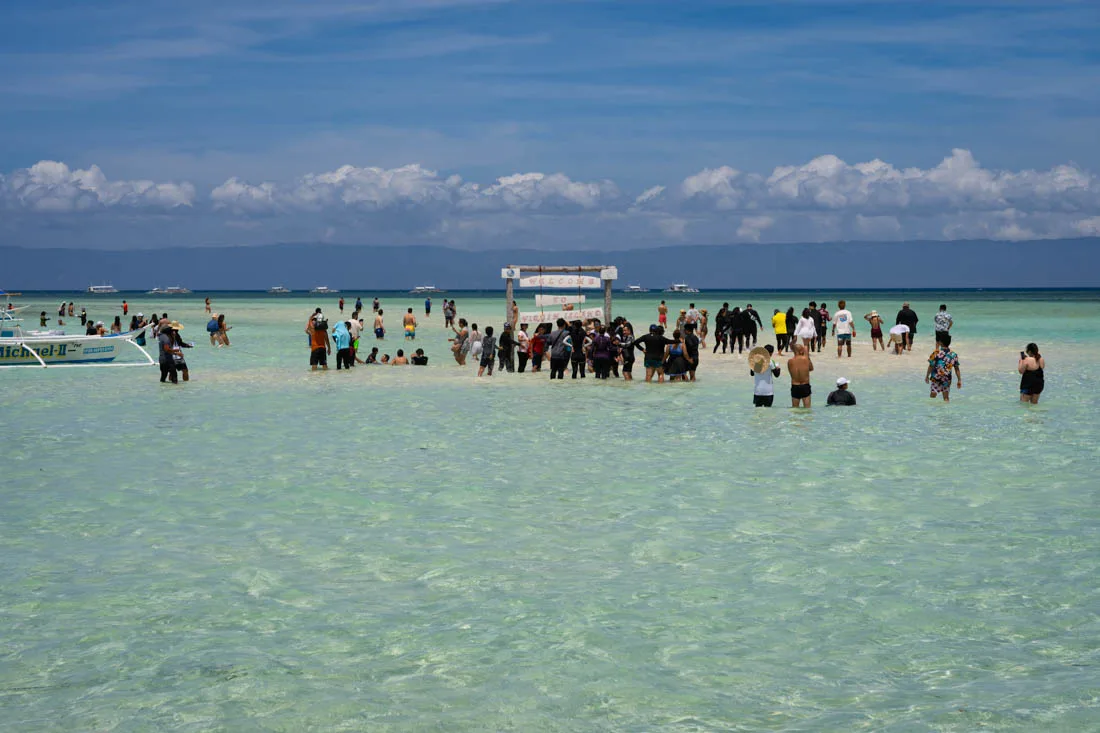
Virgin Island.
Tarsier Sanctuary
The Tarsier Sanctuary (Google Maps) is the place to see the world’s smallest primate! A nonprofit organization with the primary goal of protecting Philippine tarsiers and their habitat from extinction runs the center. They’re very shy and purely nocturnal animals, and I doubt being surrounded by people taking pictures is ideal. More like a zoo than a sanctuary. That said, without the revenue from tourism the conservation project probably wouldn’t even exist so perhaps it’s the lesser of two evils. Admission costs 120 PHP.

Tarsier Sanctuary.
On the way to the sanctuary you pass through the Bilar man-made forest (Google Maps), a stretch of road about 2 km long where a reforestation project has created a particularly photogenic forest given the even height of the various trees. Nothing special but you can stop and take some nice pictures.
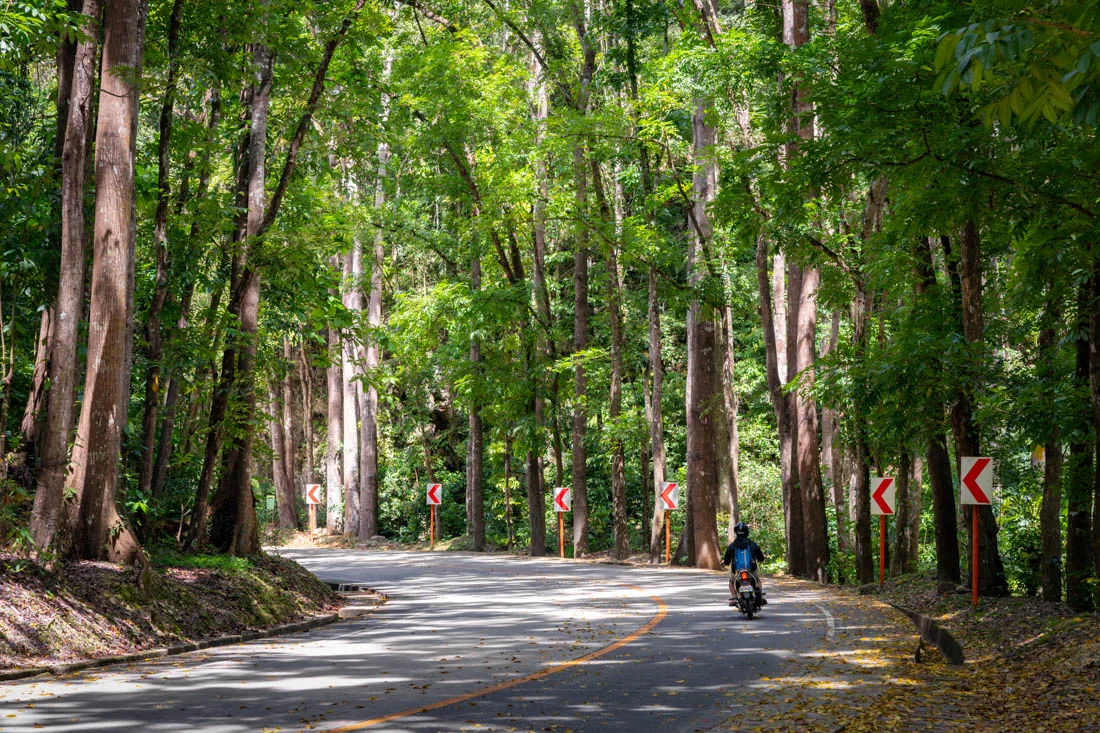
Bilar man-made forest.
Loboc River
At this spot (Google Maps) they offer cruises on the Loboc River. It looked like a classic tourist trap to me, so I passed. A girl in the hostel took the tour and told me that the buffet lunch wasn’t bad but the cruise was nothing special. That said, you can take the road along the river to the Tarsier sanctuary and enjoy some interesting sights. In case you’re interested in the tour, the cost is about 850 PHP including lunch.
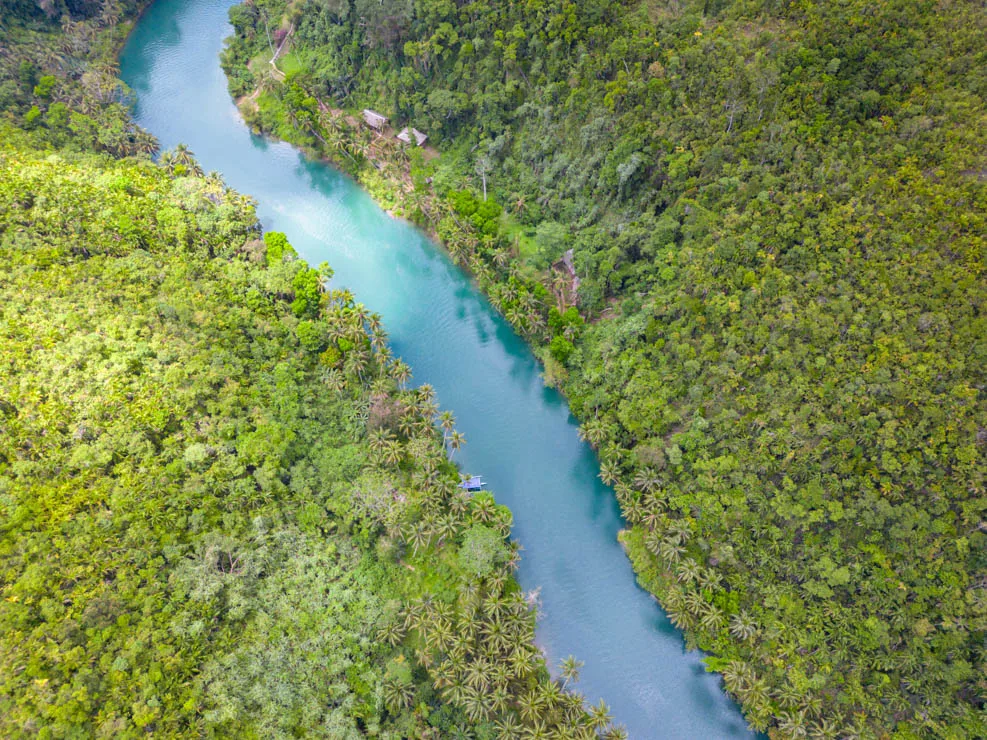
Loboc River.
Chocolate Hills
On the island there are more than a thousand of these curious geological formations spread over an area of over 50 square kilometers. The hills can also be admired from the road, but from higher up you get to appreciate the extent and the beauty of this interesting geological phenomenon.
The most popular viewpoint by far is at the Chocolate Hills Complex (Google Maps). I was there at dawn, no one asked me anything but the entrance should cost 100 PHP. Also, from what I understand during the day you can’t reach the top of the hill where there’s the short flight of steps leading to the viewing platform driving your own vehicle, you have to park here and then get to the top on the minivans that shuttle back and forth.
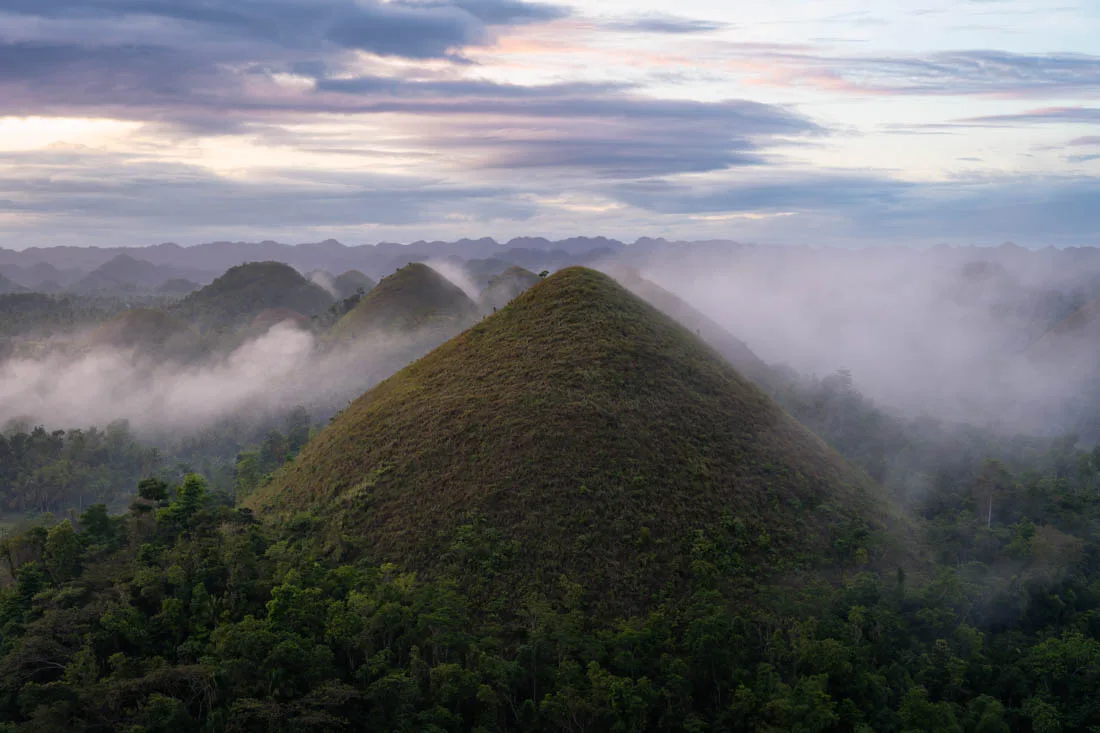
Sunrise at Chocolate Hills Complex.
Another very nice viewpoint is located here. It’s known only to locals and the trail isn’t marked on any map. I found out about it because every morning Bohol Hammock Hostel organizes a short hike to go see the sunrise so you could ask the hostel for directions or just stay there.
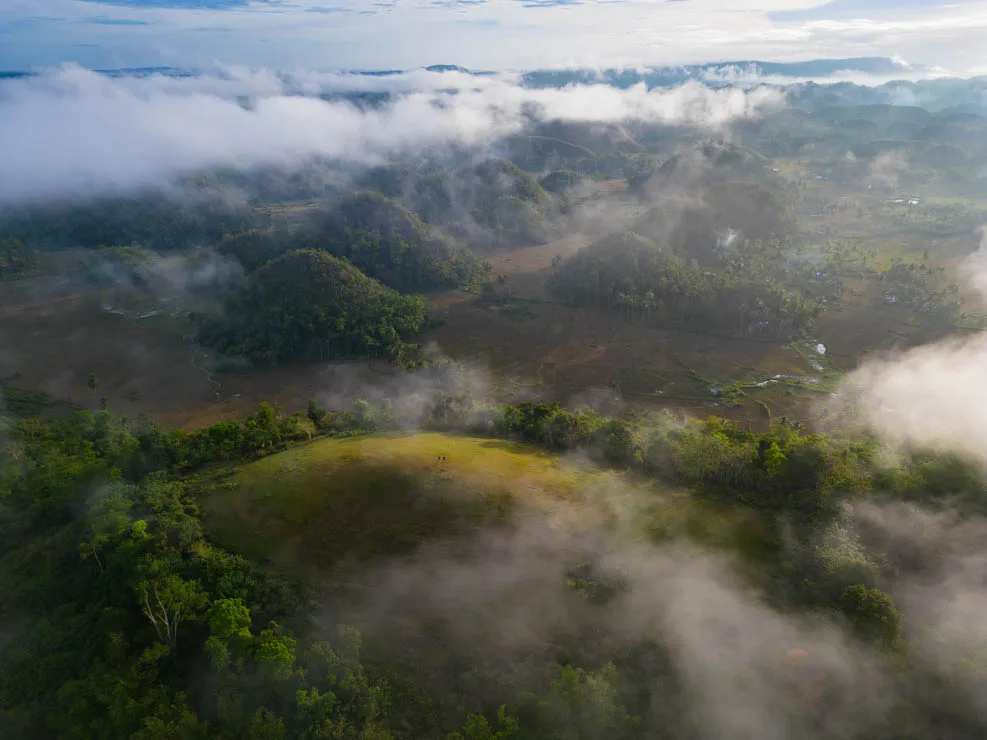
Sunrise at Bohol Hammock Hostel viewpoint.
Waterfalls in Bohol
Bohol also has its fair share of waterfalls, the most accessible from Panglao being those north of Tagbilaran. They’re not too far from each other so you can easily combine them. During my stay they were all officially closed to the public; according to what some locals I met told me, the local government was discussing their management as well as possible maintenance work on the facilities there. Long story short, I didn’t pay a single euro to enter but I doubt this will be the case in the future.
Kawasan Falls (Google Maps) is very pretty. I visited on Sunday and there were a lot of locals but during the week I think it’s much quieter. The road to the parking lot isn’t perfect but not terrible either, once you get there there’s a short flight of steps to the waterfall.
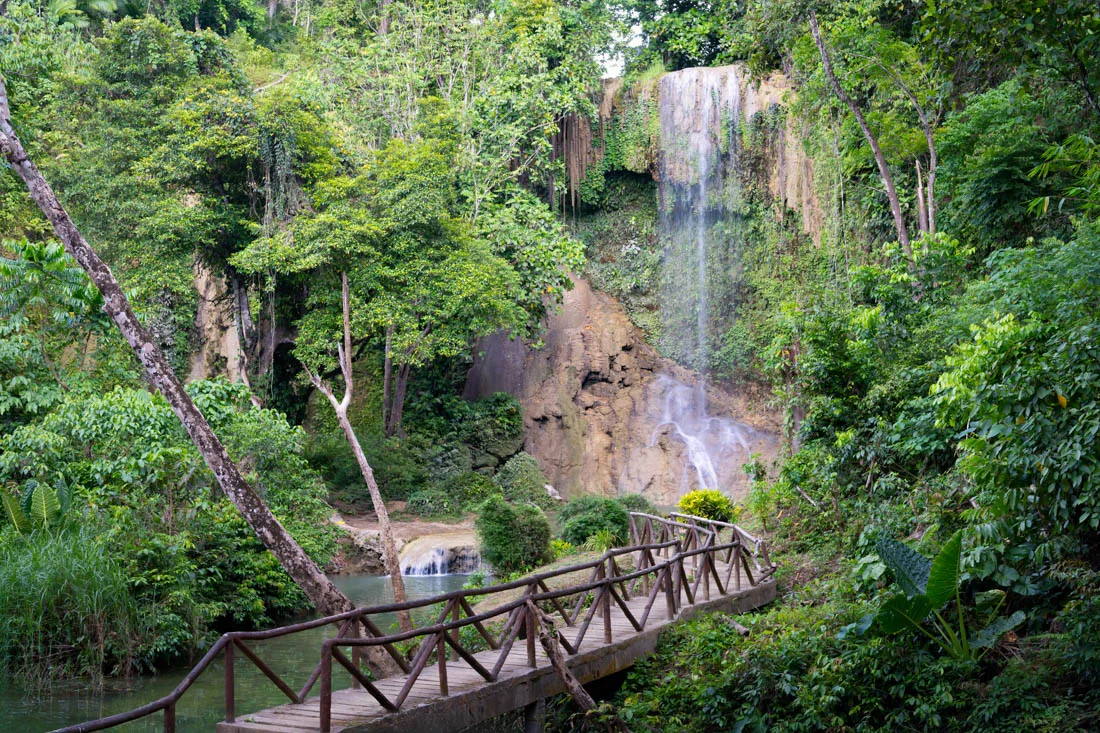
Kawasan Falls.
Mag-Aso Falls (Google Maps) was technically closed to the public but the locals gave me the all clear. Along the trail there were actually more than a few fallen trees, but you can easily make your way to the base, where there’s a really pretty, if not impressive, waterfall.
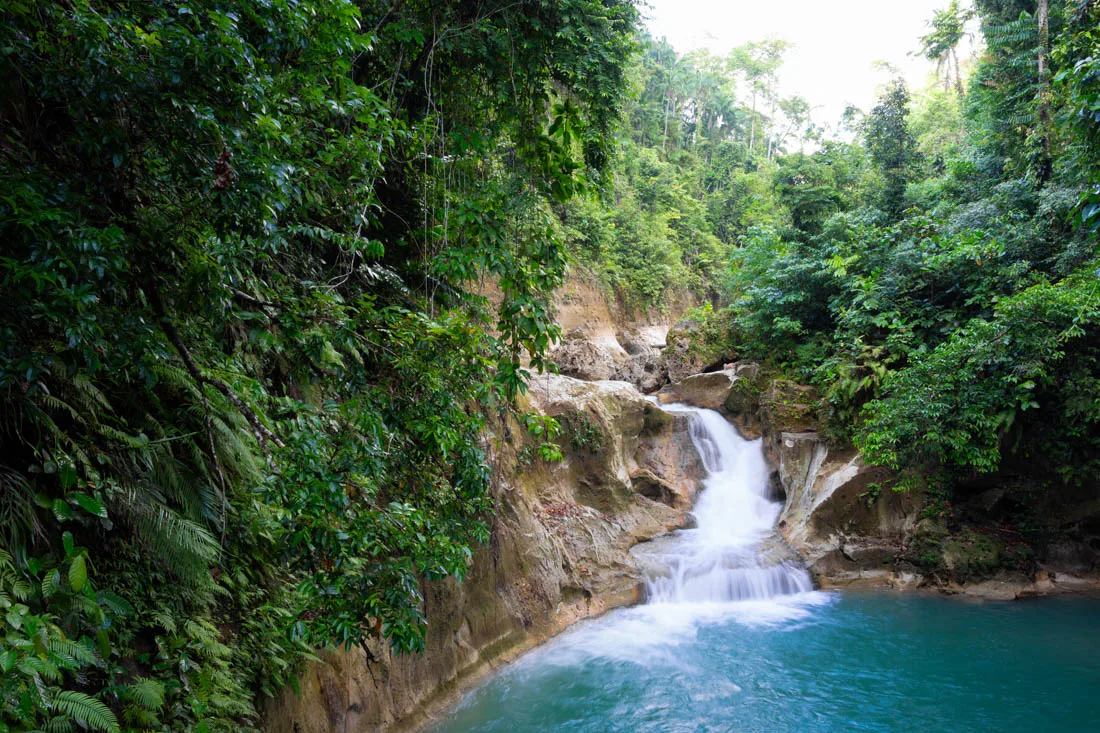
Mag-Aso Falls.
Camugao Falls (Google Maps) here unlike the other two waterfalls the locals told me that the waterfall was actually closed to the public so I left.
Further east, in the Dimiao area, I visited:
Pahangog Falls (Google Maps) is my favorite waterfall of the ones I’ve visited. The last stretch of road is terrible so if you’re not comfortable on two wheels I don’t recommend it. In any case, admission is free and you’ll likely have to share it with only a few others.
Ingkumhan Falls (Google Maps) is located not far away, nothing special. They ask 30 PHP for admission.
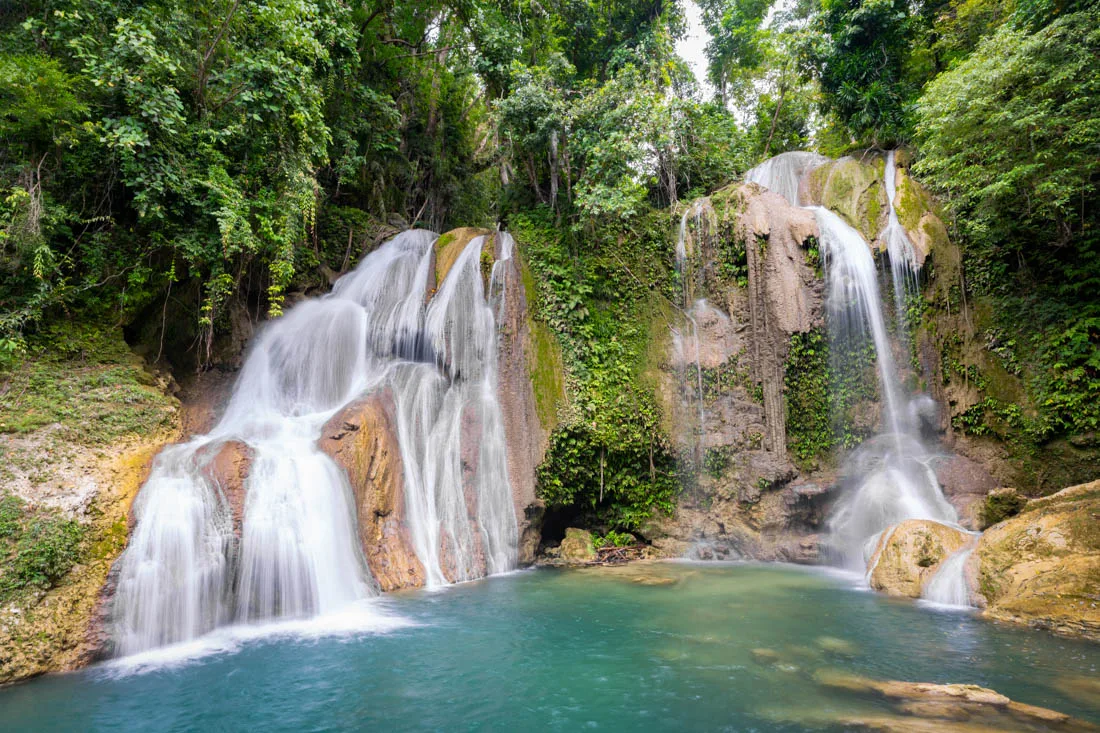
Pahangog Falls.
Anda
Anda is a town that is located in the southeast of the island, if you stay in Panglao, it’s almost a three-hour drive, honestly I don’t think it’s worth spending the whole day on the scooter but if you decide to sleep somewhere else on the island or maybe split your stay between multiple locations as I did, Anda and its surroundings offer more than a few attractions.
Cabagnow Cave Pool (Google Maps) is a natural pool reminiscent of cenotes in Mexico, very pretty and at least during my visit, not at all crowded. 50 PHP for admission plus another 10 PHP for scooter parking.
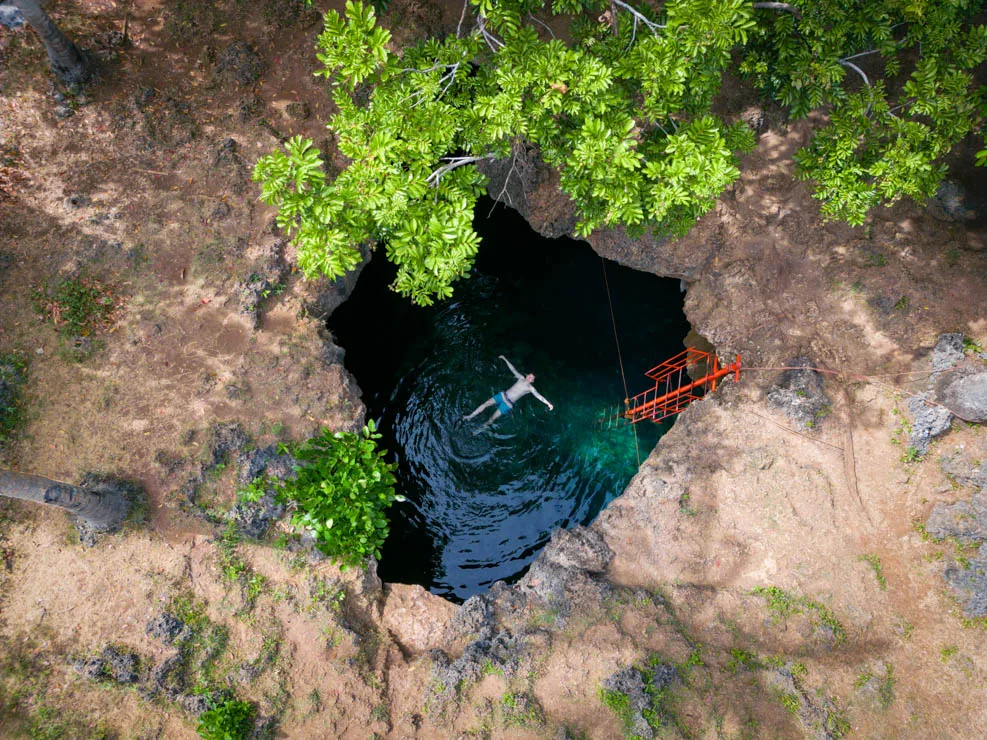
Cabagnow Cave Pool.
Quinale Beach (Google Maps) is the beach located in the center of Anda, very nice and uncrowded. Theoretically, admission costs 30 PHP but no one asked me for anything.
About thirty kilometers from Anda are some beautiful terraced rice fields, the Cadapdapan rice terraces (Google Maps). I recommend having something to eat at Eleuterio’s Restaurant and Rice Terraces where you can enjoy the surrounding views, and if you feel like going for a short hike you can go down to the Can-umantad waterfall (Google Maps). The steep staircase starts directly from the restaurant, entrance is free as long as you buy something.
In conclusion, I didn’t do any diving in Bohol. But according to a friend, Anda offers some excellent diving.
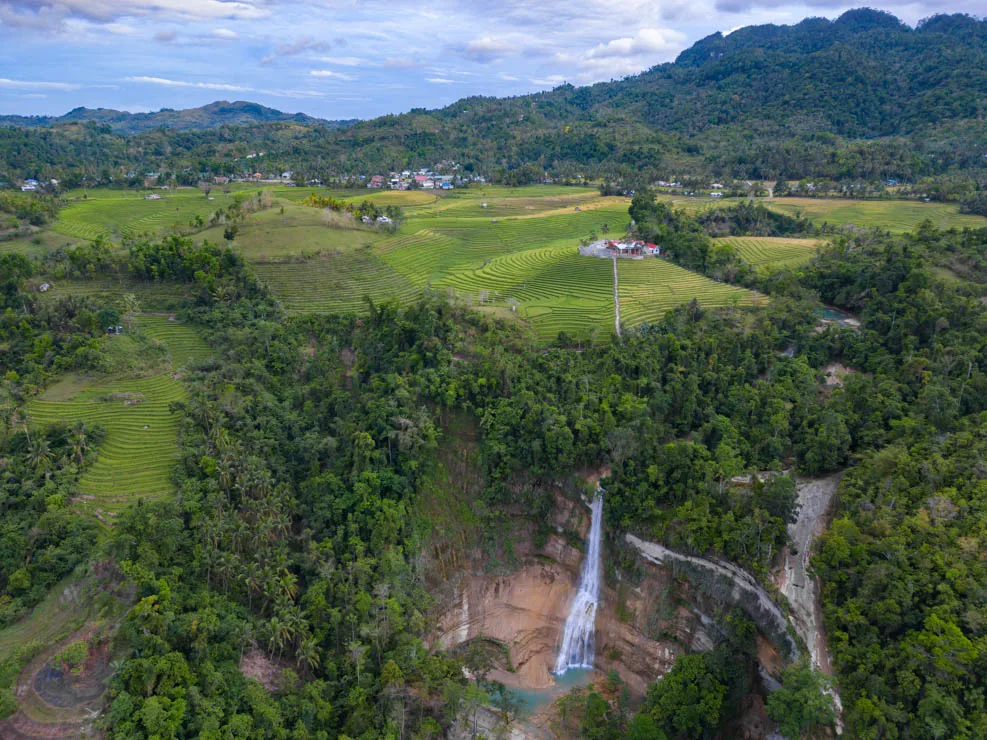
Cadapdapan rice terraces and Can-umantad waterfall.
How to reach Bohol?
By sea there are direct connections to Dumaguete (OceanJet Ferry), Siquijor (OceanJet Ferry), Cebu City (OceanJet Ferry and Lite Ferry) and Camiguin (Super Shuttle Ferry). Apparently there’s also a speed boat that leaves from Oslob. I want to point out that ferries from Dumaguete and Siquijor arrive at Tagbilaran port (Google Maps) but some ferries from Cebu City arrive at Tubigon port (Google Maps) and Getafe port (Google Maps), which I don’t recommend. Ferries from Camiguin leave from Balbagon Port (Google Maps) and arrive at Jagna Port (Google Maps) three times a week (Super Shuttle Ferry).
If you’re arriving by sea and plan to depart from the same port at the end of your stay in Bohol, it’s absolutely worth considering renting a scooter right away to reach your accommodation and explore the island in the following days. That said, public transportation on the island isn’t bad, from the Dao Bus Terminal (Google Maps) in Tagbilaran there are frequent connections to the rest of the island while from the Jeepneys Station (Google Maps) there are frequent connections to Panglao, I paid 50 PHP from Alona Beach and 20 PHP to get to Panglao Beach upon my arrival.
Finally, Bohol Airport (Google Maps) has direct daily connections to Manila, El Nido, and a few international destinations as well.
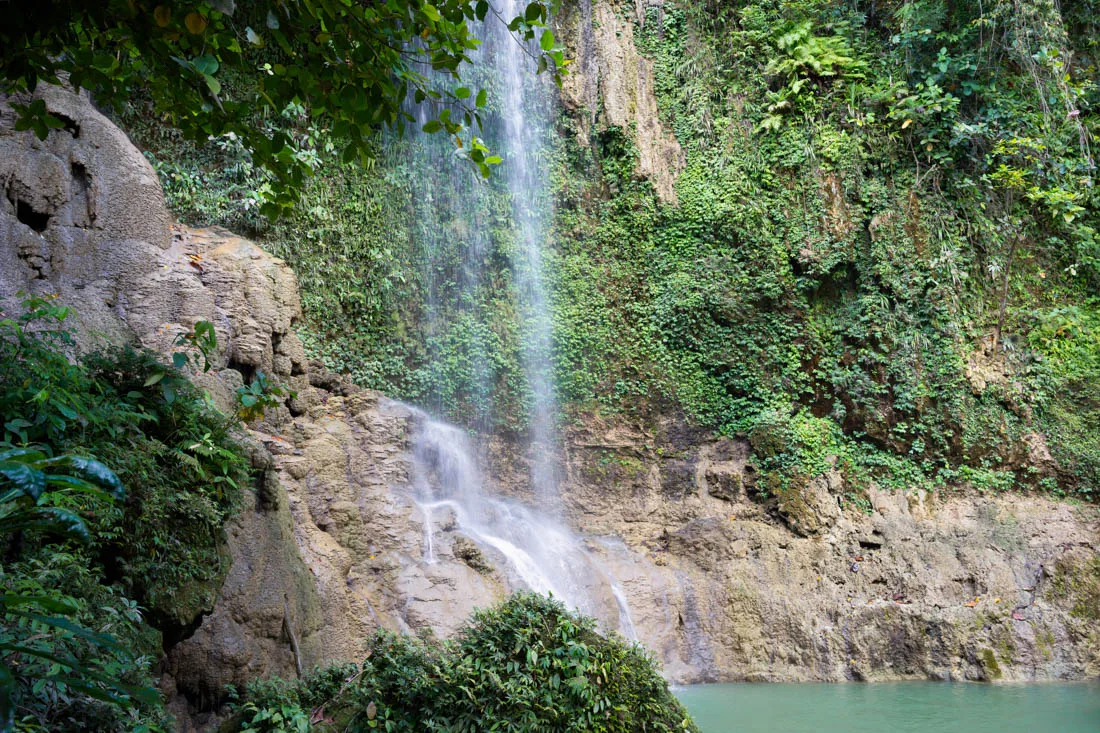
Kawasan Falls.
Where to sleep in Bohol?
Most travelers don’t even sleep in Bohol but in Panglao, which is the small island where the airport is located, connected to the bigger island by two bridges. Here I spent a few nights in Natura Vista, the hostel is nice but the nearby beach isn’t the best, also in Panglao I then spent a few days in Izla Soanna and I strongly recommend it, the hostel is really cheap and comfortable, the owner is an incredibly kind and hospitable person. Recommended!
Lastly, I spent a few days at Bohol Hammock Hostel, which is very close to the Chocolate Hills and can be used as a base for exploring the rest of the island more easily. The hostel is surrounded by greenery and it’s possible to have dinner with other guests every evening. The staff is lovely. Recommended!
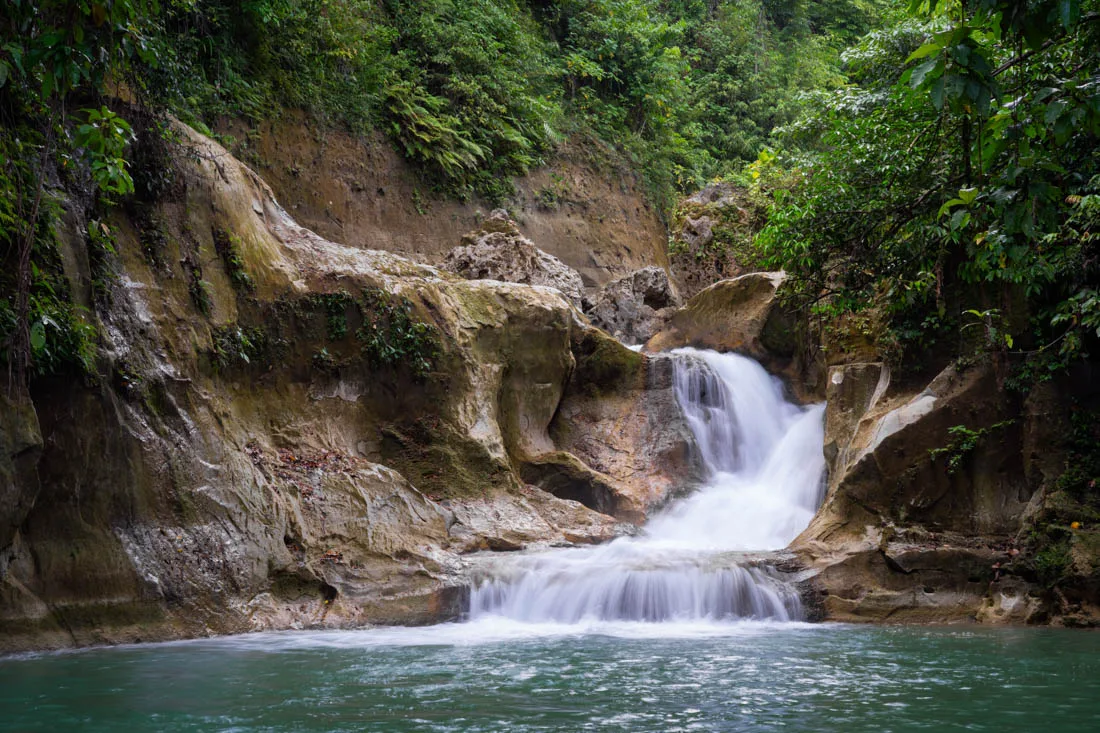
Mag-Aso Falls.
CAMIGUIN
Camiguin also known as “the island born of fire” is home to Mount Hibok-Hibok, one of the most active volcanoes in the Philippines. The island is absolutely not part of the classic itineraries, so much so that, at least during my visit, there were no actual hostels.
What to do and see in Camiguin
The island is really compact: following the road along the coast you can literally go around the whole island in less than two hours, but despite its small size it offers a really varied landscape, ranging from white beaches to lush forest in the central part of the island, where there are peaks that exceed 1,600 meters in altitude.
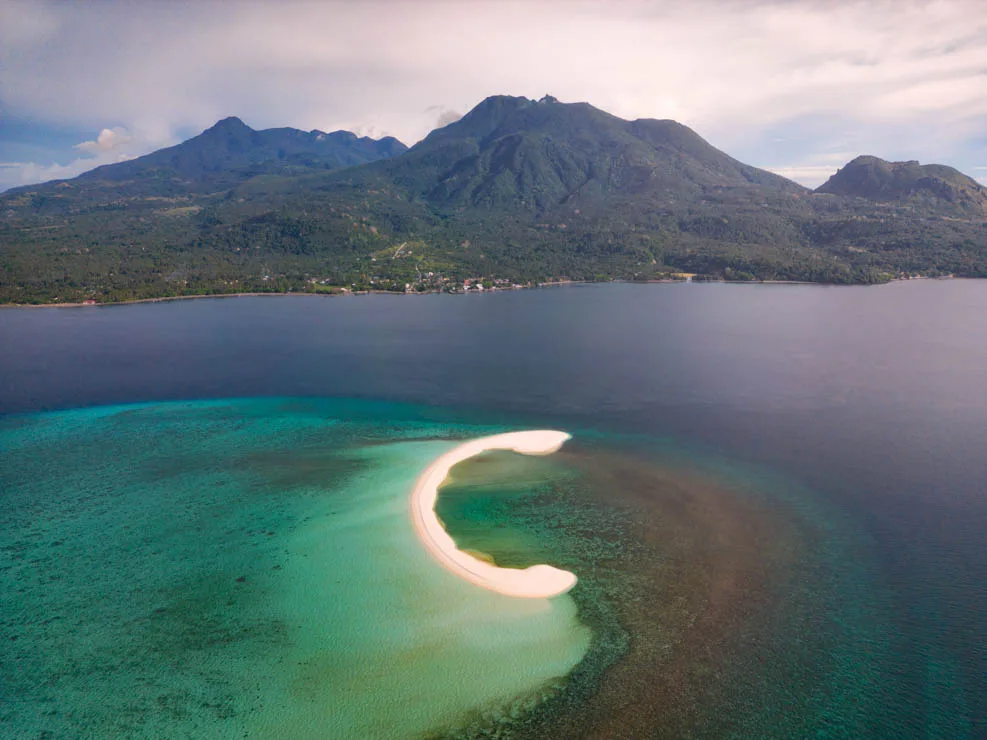
White Island with Camiguin in the background.
Mantigue Island
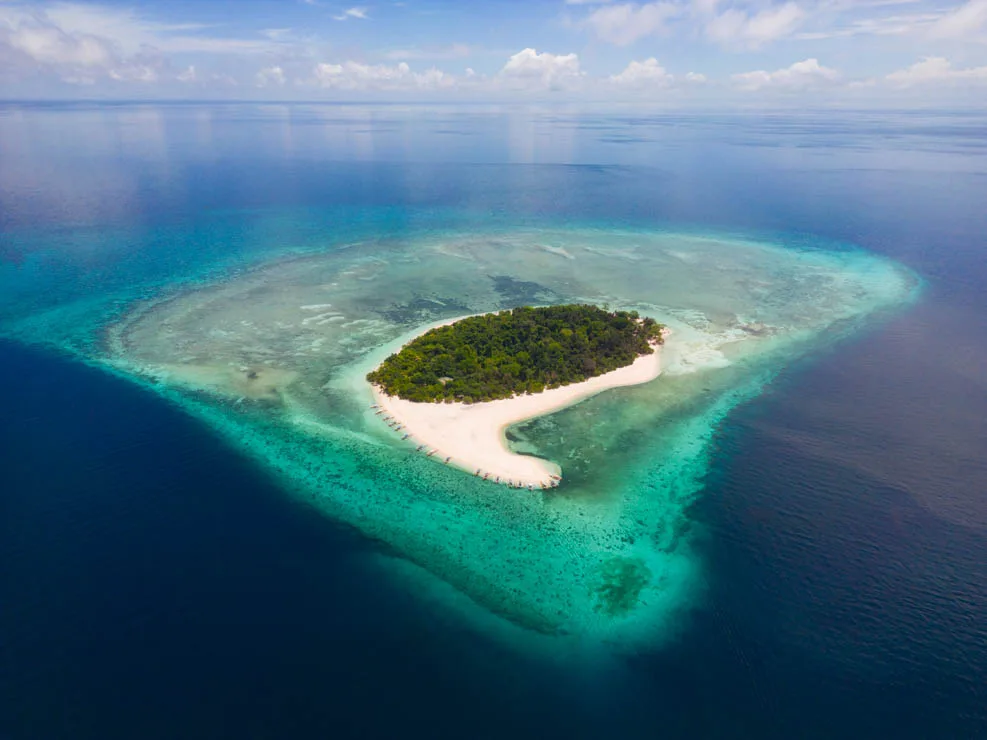
The island (Google Maps) is really very beautiful: white beach, crystal clear water and some excellent views with Camiguin in the background. The coral reef surrounding it is well preserved and the snorkeling is great. As if that weren’t enough, during my visit it wasn’t crowded at all.
Boats to reach the island leave from this point, cost 750 PHP and carry a maximum of four people. They also rent snorkeling equipment here for 150 PHP. Island entry costs 75 PHP plus another 75 PHP to access the marine sanctuary (no one seems to check). The boat can be shared with strangers but you have to come back together and decide the time at departure.
Mantigue Island.
White Island
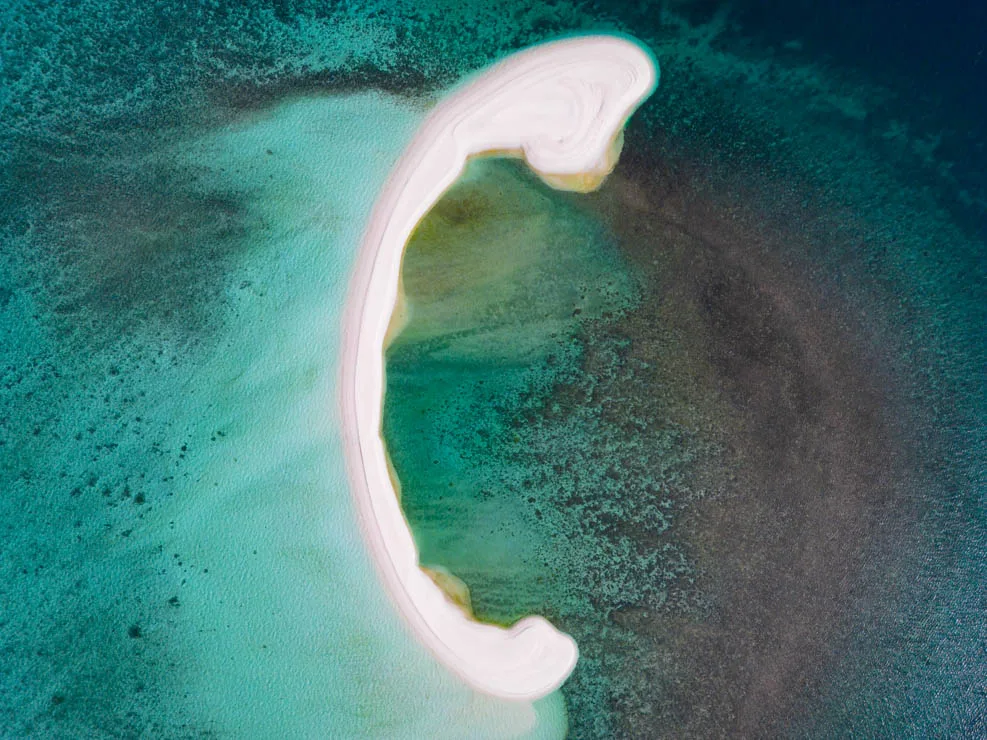
Of course, Camiguin couldn’t be without the classic sandbar either, here called White Island (Google Maps). I just flew the drone from the beach but, in case you want to visit the island, boats leave from this point and cost 650 PHP, maximum four people.
White Island.
Spanish church ruins and sunken cemetery
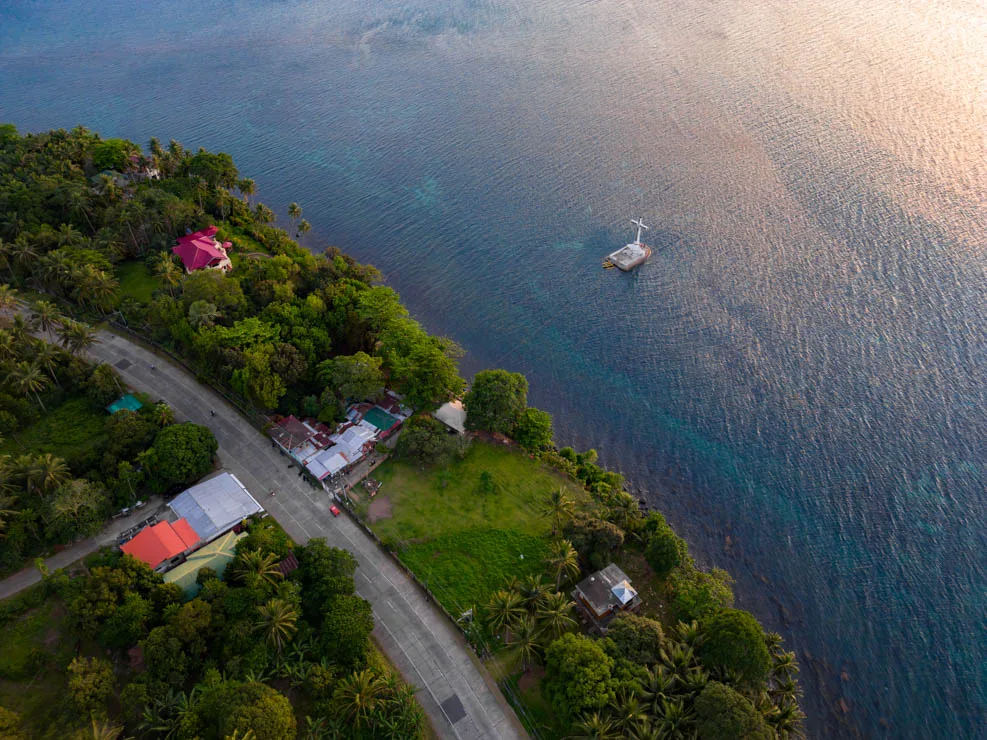
Sunken Cemetery (Google Maps) is one of the remnants of the disastrous Mount Vulcan eruption of 1871. The cemetery cross is still standing a few meters from the shore. To see the cross from the shore you don’t have to pay any entrance fee but if you want to reach it by boat you have to pay 100 PHP.
Sunken Cemetery.
Old Spanish Church Ruins (Google Maps) are instead what remains of a church built in the 16th century and partly destroyed by the same volcanic eruption. Admission costs 50 PHP, nothing exceptional.
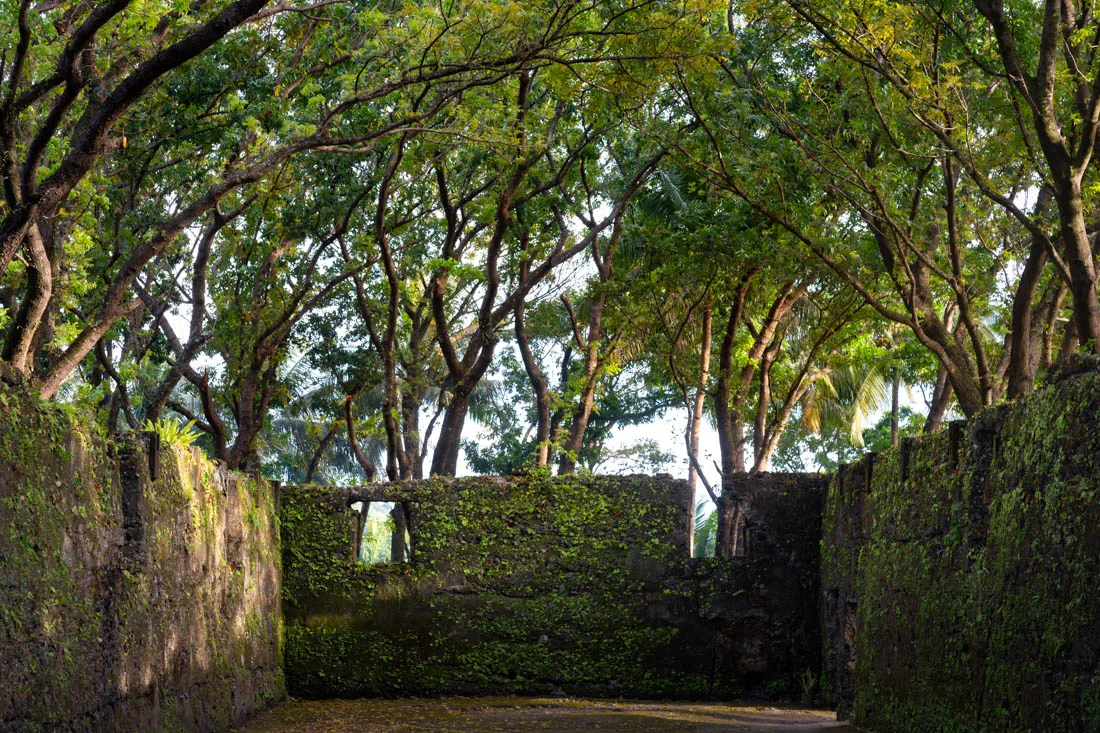
Old Spanish Church Ruins.
Waterfalls in Camiguin
Katibawasan Falls (Google Maps) is a waterfall that is very impressive in height. The road to it is in good condition and once you get to the parking lot in less than 5 minutes you’re at the base of the waterfall, where you can take a refreshing dip. Admission costs 75 PHP plus 15 PHP for parking.
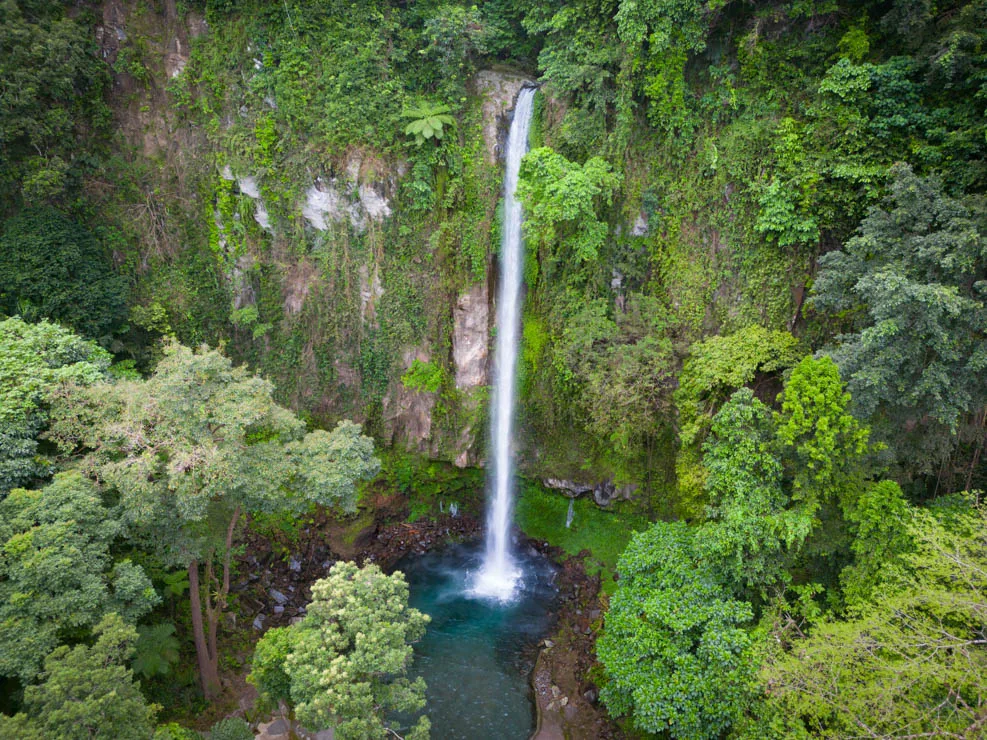
Katibawasan Falls.
Binangawan Falls (Google Maps) is a very pretty waterfall nestled in the forest that you’ll most likely have all to yourself. The road is in excellent condition but very steep in places, so be careful, especially on the way back, and make sure you have working brakes. The path down to the waterfall is also very steep and not exactly well maintained. In the Google Maps comments some people have left precise directions, and here are the GPS coordinates. In short, you have to go up the concrete steps and then once you get to what looks like a water filter you have to take the path on the left. If you go straight instead, after 50 meters or so there’s a nice viewpoint where I witnessed a crazy good sunset.
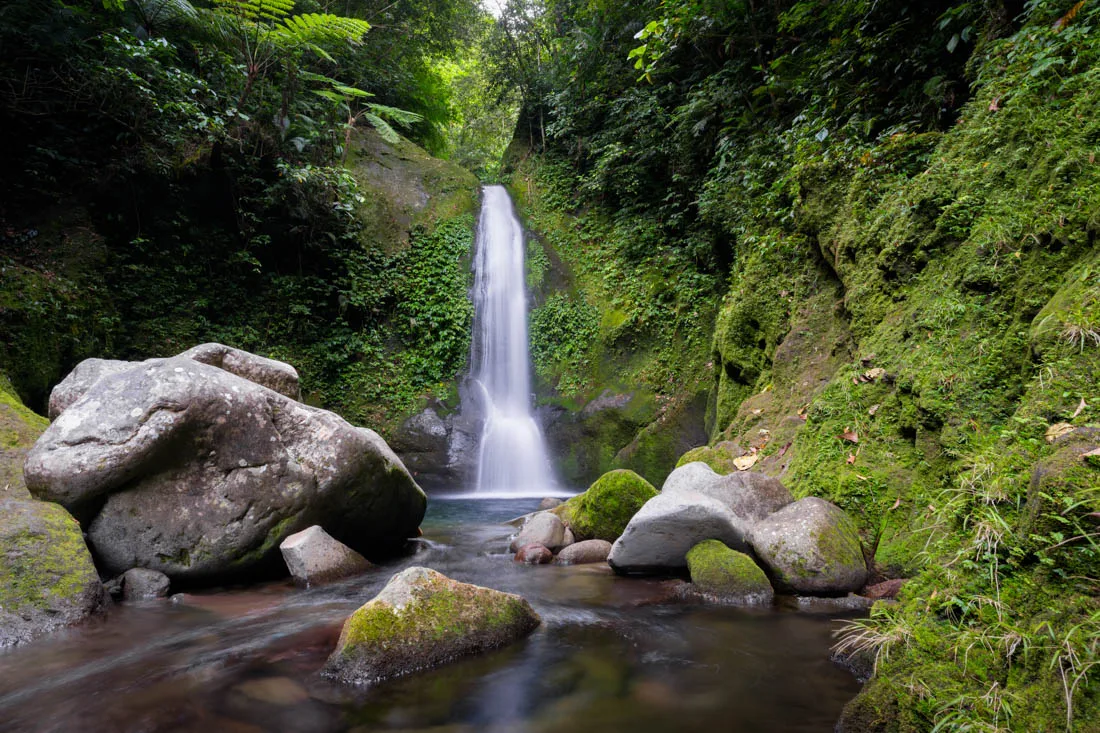
Binangawan Falls.
Of the three main waterfalls on the island, Tusan Falls (Google Maps) is the only one I didn’t visit. The entrance fee is 50 PHP. Whether you decide to go or not, I still recommend taking the road to it at least once. Doing so takes you across the island from coast to coast with some interesting sights and more than a few bars or restaurants to stop and admire the view.
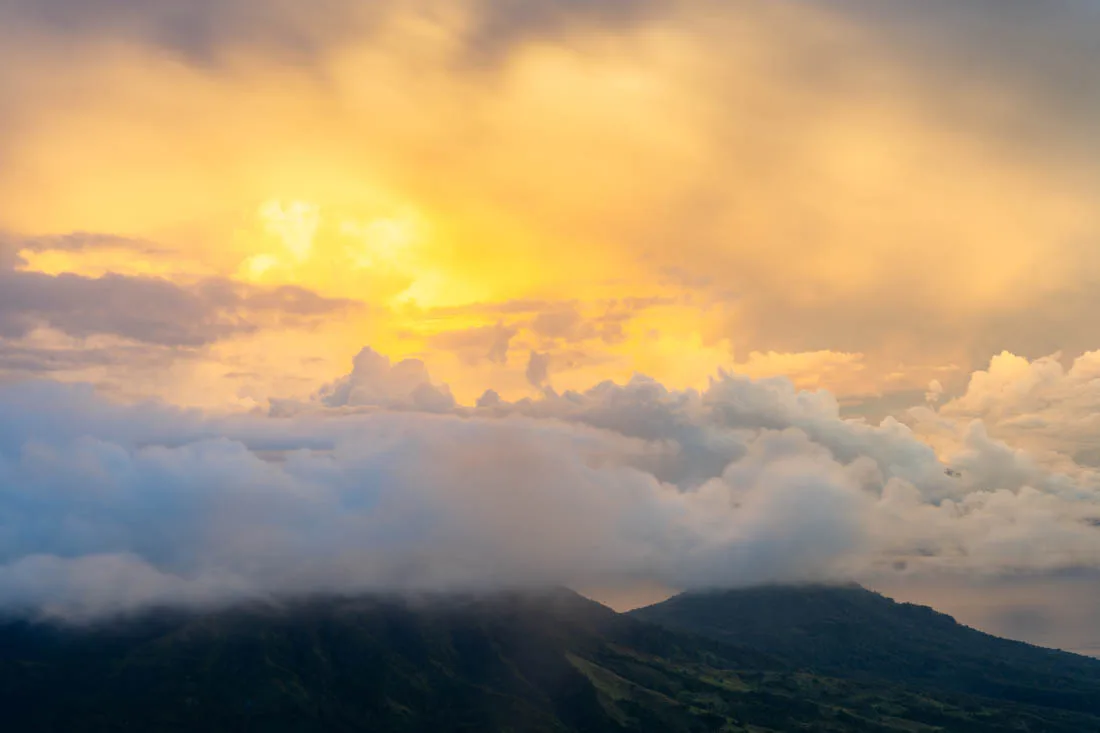
Sunset from the viewpoint near Binangawan Falls.
Ardent Hot Spring
Ardent Hot Spring (Google Maps) in recent years unfortunately seems to have a problem with the temperature of its spring. As many complain in reviews, the water is lukewarm rather than hot. Admission costs 50 PHP.
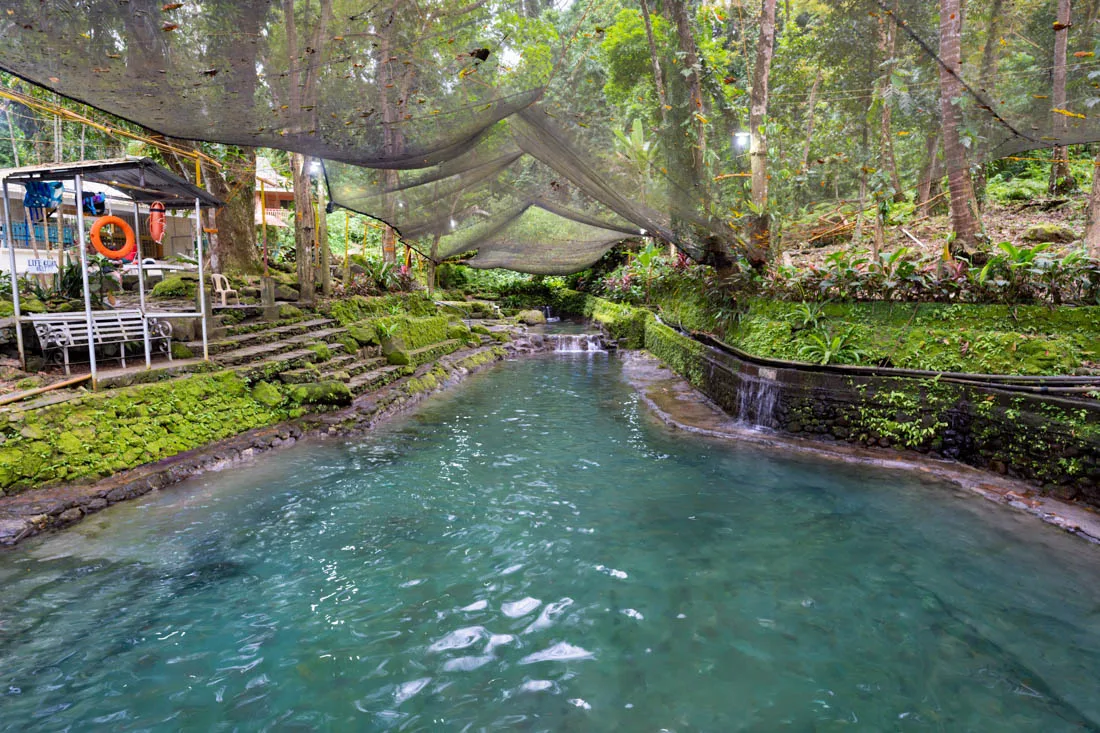
Ardent Hot Spring.
Island trekking
There are a couple of really interesting treks on the island, particularly the one leading to the crater lake of Mt. Hibok Hibok that you find described on this page. However, you need to get permission at least a day in advance from the Department of Environment and Natural Resources (DENR) and have a guide. Personally, I decided to do something else, but it could be an interesting hike.
Instead, I did the Calvary (Google Maps): the path goes up the mountain and there are literally all fourteen stations of the Cross. It’s a nice place to go and see the sunset. The entrance fee is 20 PHP. I didn’t have time for it but along the same trail there’s the turn off that leads to the top of Mount Vulcan as described in detail on this page.
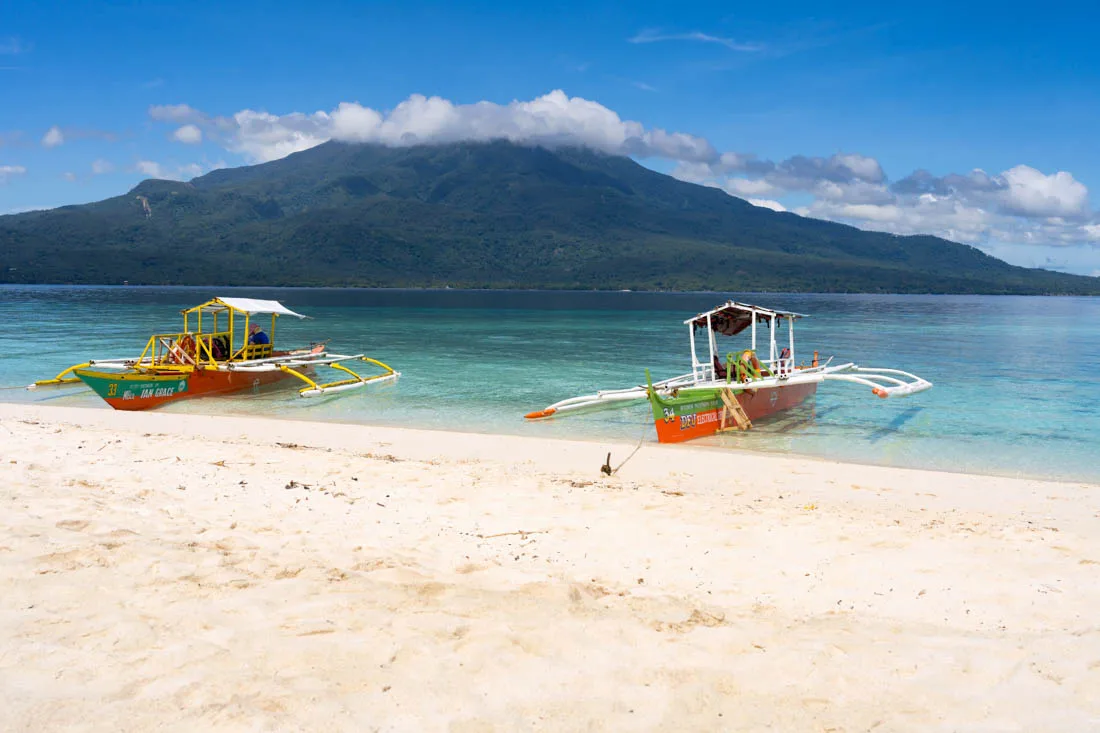
Mantigue Island.
Giant Clams Sanctuary & White Beach
The sanctuary (Google Maps) was closed during my visit because apparently there’s a conflict between the owners and the local government. In any case, giant clams that can reach up to one meter can be seen here. Check the recent comments on Google Maps to see what the situation is.
To conclude, Soda Water Pool (Google Maps) and Sto Niño Cold Spring (Google Maps) are two “pools” popular with local tourists. Looking at the photos, they didn’t seem like a big deal so I didn’t go there. But if you want to take a refreshing dip and spend a few hours relaxing, you might consider them.
How to reach Camiguin?
Ferries from Bohol leave from the port of Jagna (Google Maps) and arrive at the port of Balbagon (Google Maps) three times a week (Super Shuttle Ferry). I paid 766 PHP. In contrast, connections from Benoni Port (Google Maps) to Balingoan Port (Google Maps) on Mindanao Island are much more frequent with several daily departures. At Balbagon port you can rent a scooter right away for 350 PHP per day. Alternatively, there are a few jeepneys heading north and south. I paid 50 PHP to reach Benoni port not far from Camiguin Blue Lagoon Cottages.
If you leave early in the morning, it’s possible to reach Camiguin from Siargao or vice versa within one day as described in detail in the section “How to reach Siargao” later in the guide. Finally, the island’s small airport has daily connections to Cebu City.
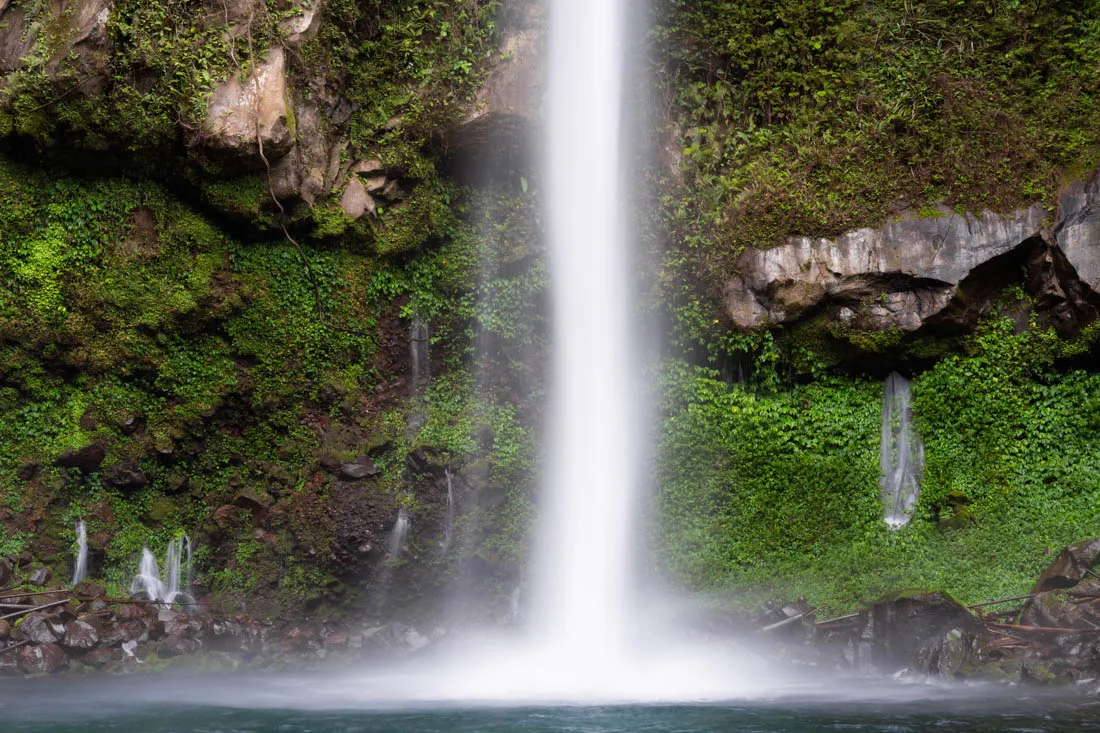
Katibawasan Falls.
Where to sleep in Camiguin?
The island doesn’t offer many inexpensive options. I slept at Camiguin Blue Lagoon Cottages and I was really happy there. It’s slightly away from the main tourist area but on the other hand, it’s close to Mantigue Island and Benoni Harbor, from where ferries to Mindanao depart. Beach House Resort and Dive Center and Hostel Lions are two options in the north of the island.
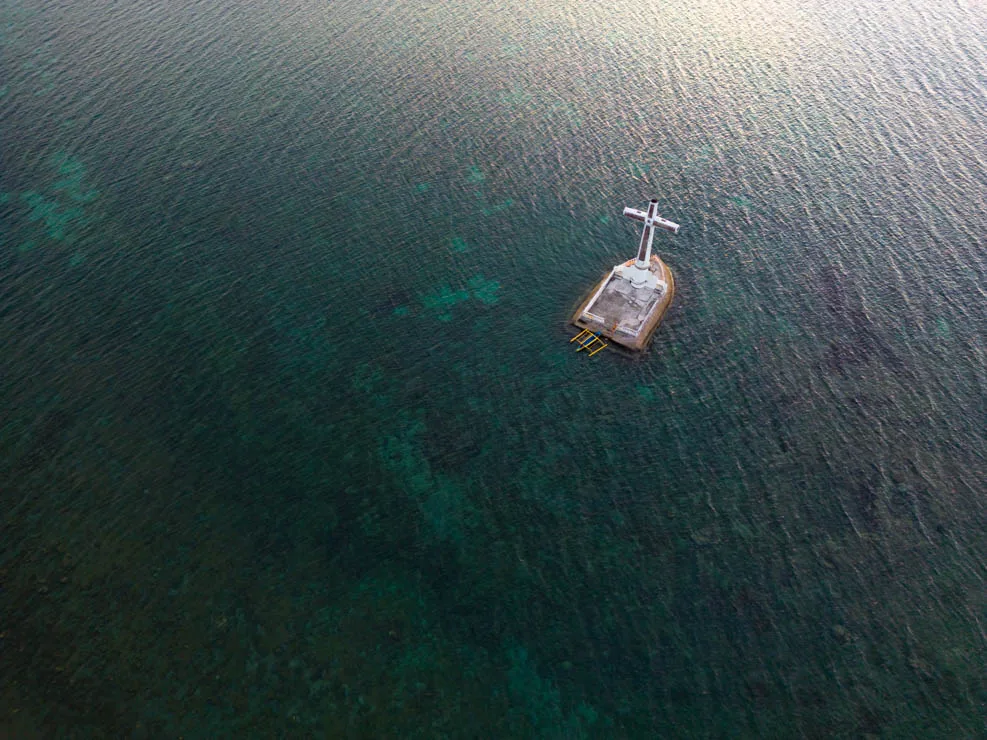
Sunken Cemetery.
SIARGAO
The island directly facing the Pacific Ocean is especially known to travelers for its excellent surfing, literally some of the best in Southeast Asia.
What to do and see in Siargao
My stay in Siargao was heavily influenced by visiting the island during Holy Week when the whole country goes on vacation. Sold-out accommodations (I met more than a few travelers who had to leave the island because they had nowhere to sleep), full ferries, crowded places, and even some power outages due to too high demand for electricity. In essence, my experience was definitely skewed compared to other times of the year.
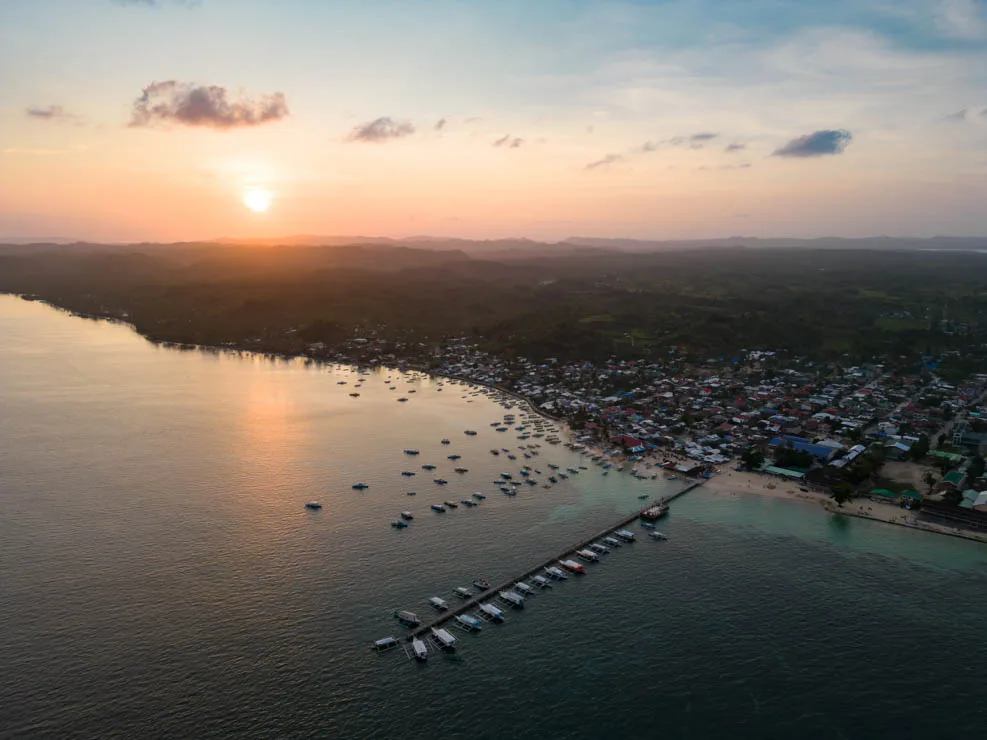
General Luna.
Surf
Cloud 9 (Google Maps) is the most famous surf break on the island. I don’t surf but I still wanted to go to see the location since there’s a nice pier from where to watch the surfers but they still charge 100 PHP for the entrance so I just flew the drone. In case you’re interested, there are plenty of people at the entrance willing to give some lessons. Little to do with surfing but not far from Cloud 9 there’s a bridge where you can watch the sunset (Google Maps).
That said, Cloud 9 is just one of many places to surf and certainly not one of the least crowded. On this page you’ll find alternatives.
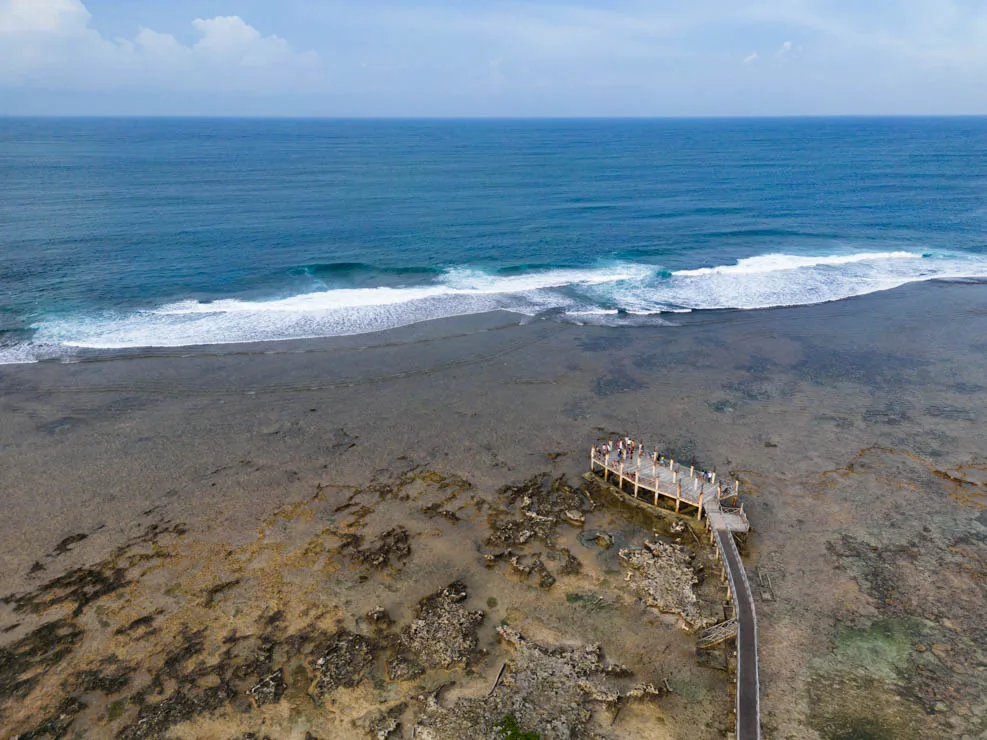
Cloud 9 observation platform.
Boat Tours
On the island there are at least a couple of “standard tours” leaving from General Luna plus another leaving from Del Carmen. Tours are offered everywhere in town; there’s no need to book in advance.
I only joined the tour to Sohoton National Park, famous for its coves, caves and lagoons. The tour costs 2500 PHP. It starts with a long boat ride of about two hours, then you have to transfer to smaller boats that take you to visit a couple of caves and a lagoon “infested” with really nice jellyfish that aren’t dangerous to humans. A buffet lunch follows before returning to General Luna. The national park offers spectacular scenery; it really is an amazing place, especially when seen from above, but there were way, way too many people. At other times of the year I think it’s undoubtedly a more pleasant experience.
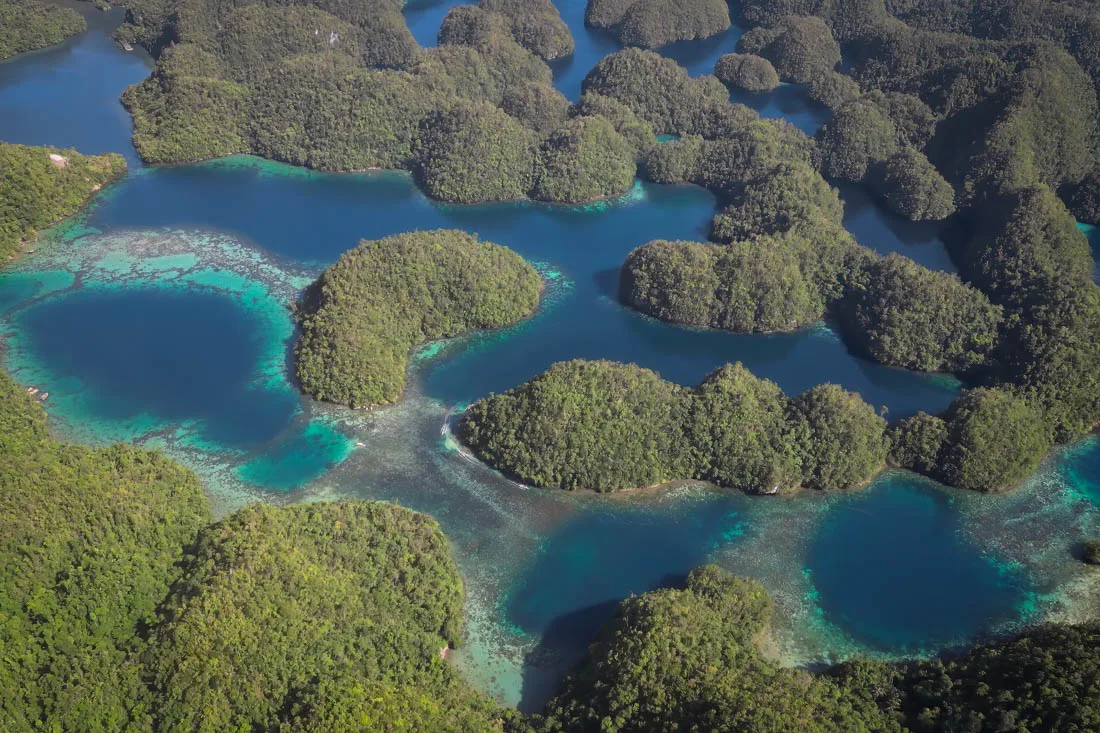
Sohoton National Park.
The 3 Islands Tour is undoubtedly the most popular in Siargao. It costs 1500 PHP and basically you visit three islands off General Luna: Daku Island (Google Maps), Guyam Island (Google Maps) and Naked Island (Google Maps). You spend the day snorkeling or relaxing on the beach. Lunch is included in the price. Given my experience in Sohoton National Park I decided not to join the tour but at other times of the year I think it would be a nice way to spend the day.
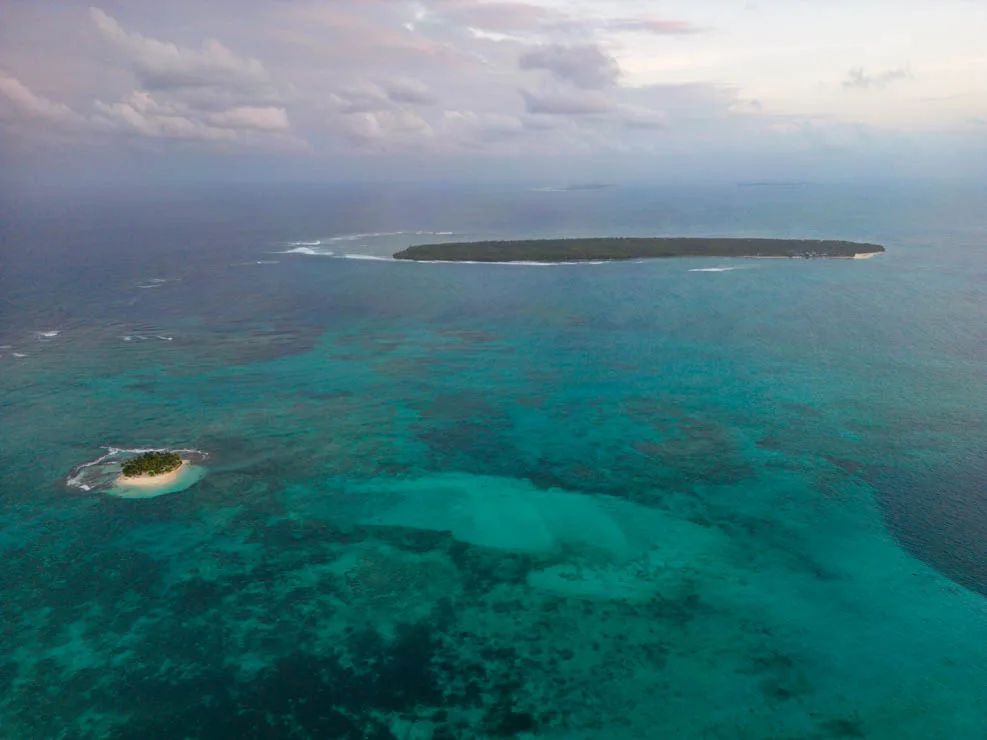
Daku Island.
From Del Carmen you can arrange a boat tour to Sugba Lagoon (Google Maps) but also other stops such as the mangrove forest and Kawhagan Island (Google Maps). Given my experience in Sohoton National Park and uncooperative weather I decided not to do this, but it can definitely be a nice excursion. Tours can be arranged directly at Del Carmen Harbor (Google Maps). The boats carry up to six people, so finding someone to share it with, perhaps directly at the port, is ideal to cut down on costs. You’ll find a detailed guide on this page.
Finally, you can arrange a tour to Casolian Island (Google Maps) which isn’t part of the classic itineraries so it should be much quieter. I haven’t been there but you can find more information on this page.
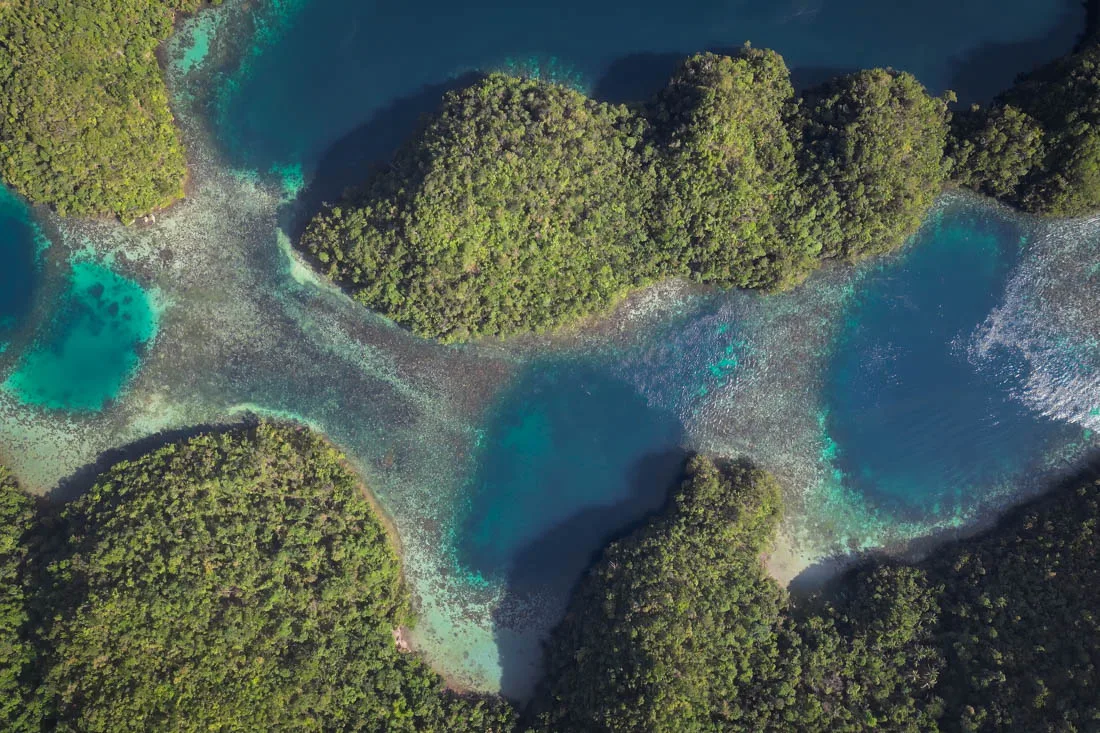
Sohoton National Park.
Island tour
Below I list some destinations that, more or less, can be visited within the same day. This can be considered a DIY version of the “Land Tour” that is advertised in General Luna.
Start the day with the Coconut Tree Overlook viewpoint (Google Maps), where you have a nice view of the expanse of palm trees that cover that part of the island, then continue along “Coconut Road”: the iconic road (Google Maps) simply runs through the palm trees you just saw from above and offers the chance for some nice photos.
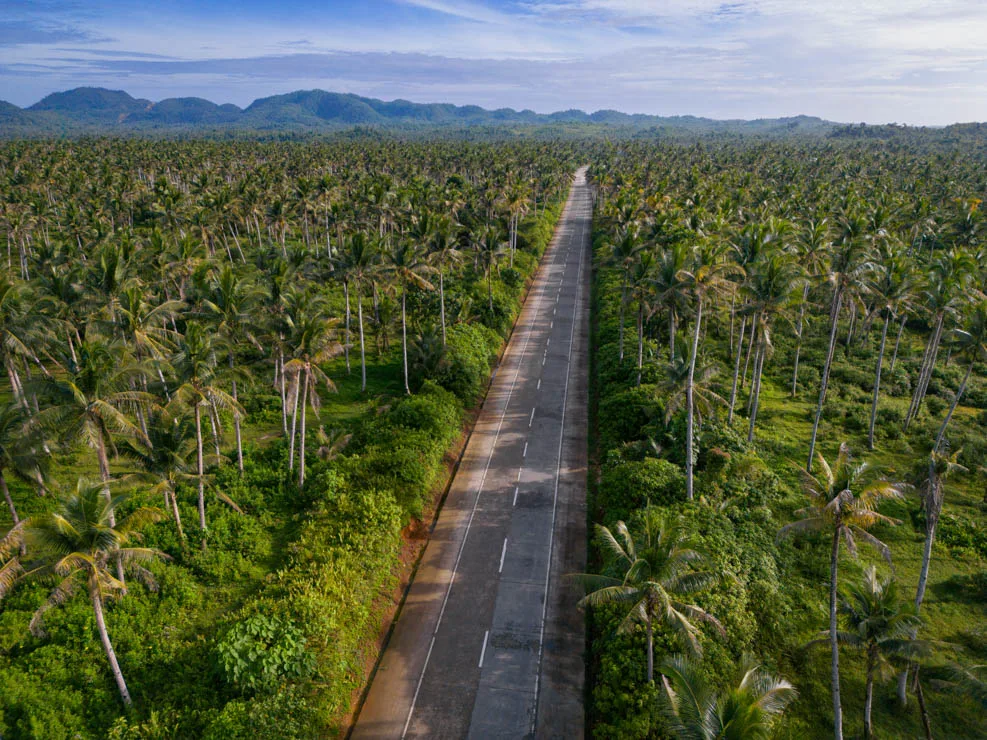
Coconut Road.
Then follows the Maasin Bridge (Google Maps) where you can rent kayaks or dive using the famous swing attached to the palm tree that hangs over the river. Admission costs 20 PHP while kayak rental costs 300 PHP. Personally, I just took a few pictures from the bridge.
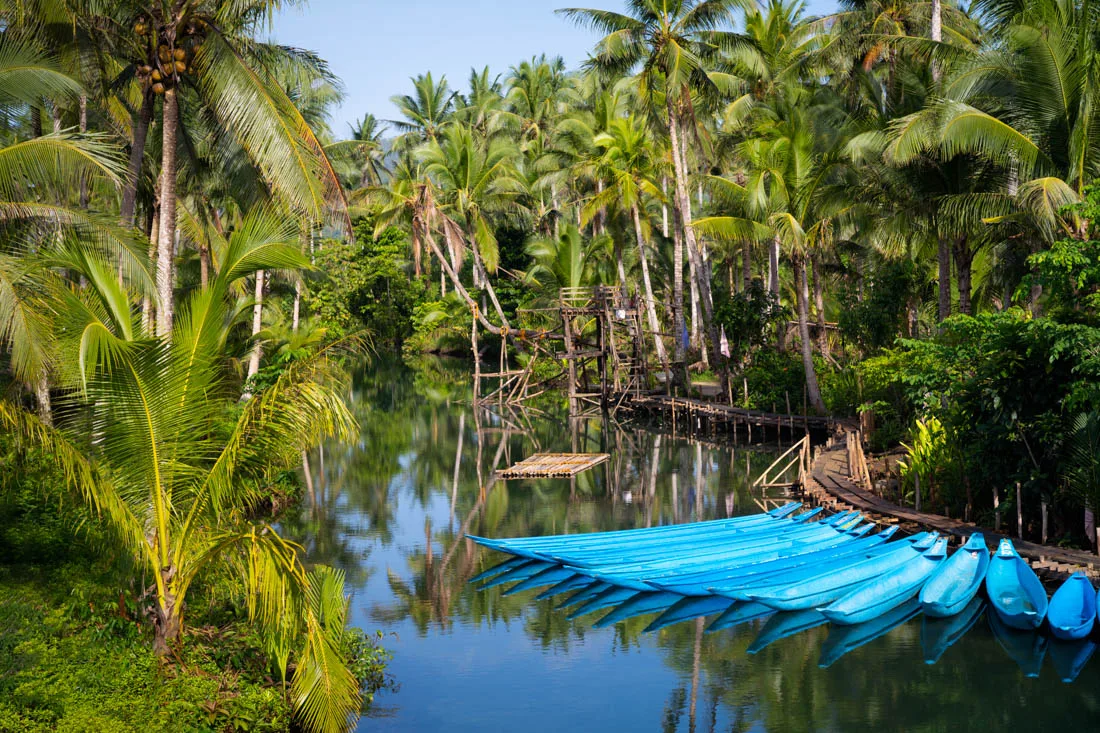
Maasin Bridge.
Continuing north you can visit Tayangban Cave (Google Maps). The cave looks nice and there’s a natural emerald pool to swim in. They wanted 100 PHP for the entrance plus another 200 PHP for the mandatory guide, it seemed like too much especially on my own so I skipped it.
The Magpupungko Tidal Pools (Google Maps) are natural pools that form at low tide. It’s a very nice place indeed but there were a ton of people there (Holy Week). Anyway, admission costs 65 PHP. They have to be visited at low tide. Access is literally forbidden during high tide because it’s too dangerous so adjust your visit accordingly. The nearby Magpopongko White Beach (Google Maps) isn’t so bad.
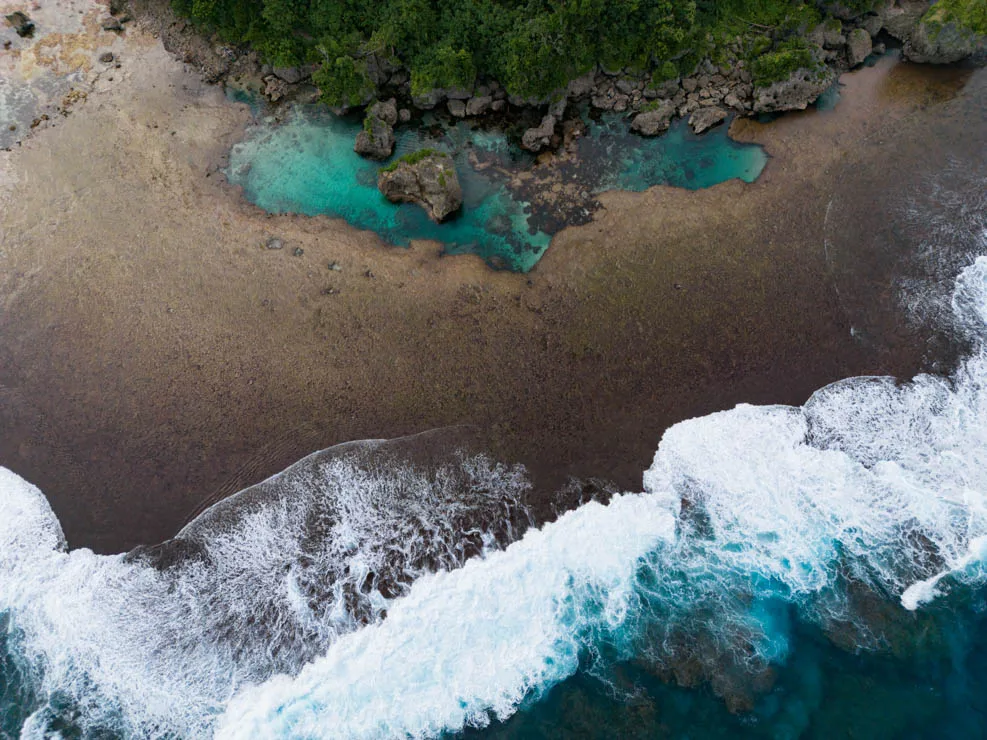
Magpupungko Tidal Pool.
Continuing north, Pacifico Beach (Google Maps) offers a nice beach and an opportunity to take some surfing lessons away from the chaos of General Luna. I spent a few days at La Finca Hostel in Pacifico and it’s literally one of the best hostels I’ve ever stayed at.
Alegria Beach (Google Maps) in the far north of the island is my favorite beach in Siargao. White beach, calm sea, crystal clear water and few people. Finally, continuing along the coastal road is Taktak Falls (Google Maps). The waterfall is nothing special but if you’re in the north of the island and want to take a refreshing swim, it’s not that bad. The entrance costs 50 PHP, if you leave your scooter at the entrance and walk a few hundred meters you don’t have to pay the 20 PHP for parking.
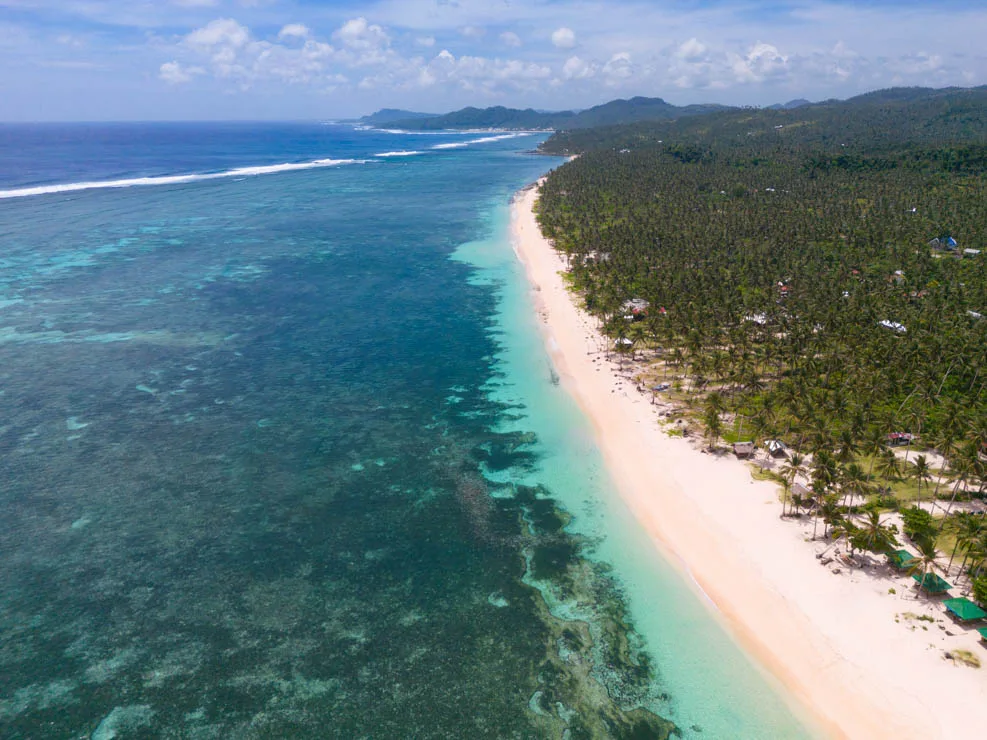
Alegria Beach.
How to reach Siargao?
As written earlier, it’s possible to reach Siargao in one day starting from Camiguin: take the first ferry to Balingoan from Benoni port (Google Maps) in my case at 6:00, 360 PHP. From the Balingoan terminal (Google Maps) take the first bus to Butuan, in my case at 7:30, 331 PHP for an air-conditioned bus with super comfortable seats; you can probably spend less but this one left right away. Arriving in Butuan, be careful because there are two terminals: stay on board and get off at the second one. Here again I took an air-conditioned bus since it was leaving shortly after, at 11:00, heading to Surigao City. I paid 303 PHP. In front of the main exit of Surigao City station (Google Maps) there are jeepneys that go to the port and cost only 15 PHP. At this point you have to take the 15:30 speedboat (Fast Craft), 400 PHP plus 15 PHP terminal fee. To check the schedule take a look at the Facebook page since they don’t seem to have an official website. In the morning there are ferries operated by Montenegro Lines that are slightly cheaper, they should cost 260 PHP but it’s impossible to arrive that early from Camiguin. On this page you’ll find an article that seems to be updated frequently with the various options and schedules. The port of arrival is Dapa (Google Maps). From the port, there are mini buses that go to General Luna frequently. They leave from here and cost only 33 PHP. For connections to other parts of the island such as Pacifico, go to the Jeepney station (Google Maps). Alternatively, you could rent a scooter directly at the port. If for whatever reason you want to take a tuk tuk to get to General Luna, expect to pay about 200 PHP.
Finally, from Siargao Airport (Google Maps) there are daily flights to both Cebu City and Manila. If you wanted, you could also fly to Surigao City and then reach the island by boat. From Surigao City there are also direct ferries to Cebu City and vice versa once a day except Saturdays operated by Starlite Ferries. The ferry departs in the morning at 9:00 from Surigao City with arrival at 18:30, while in the opposite direction it travels at night with departure at 21:00. 1200 PHP for a reclining seat; for slightly more you can get a berth.
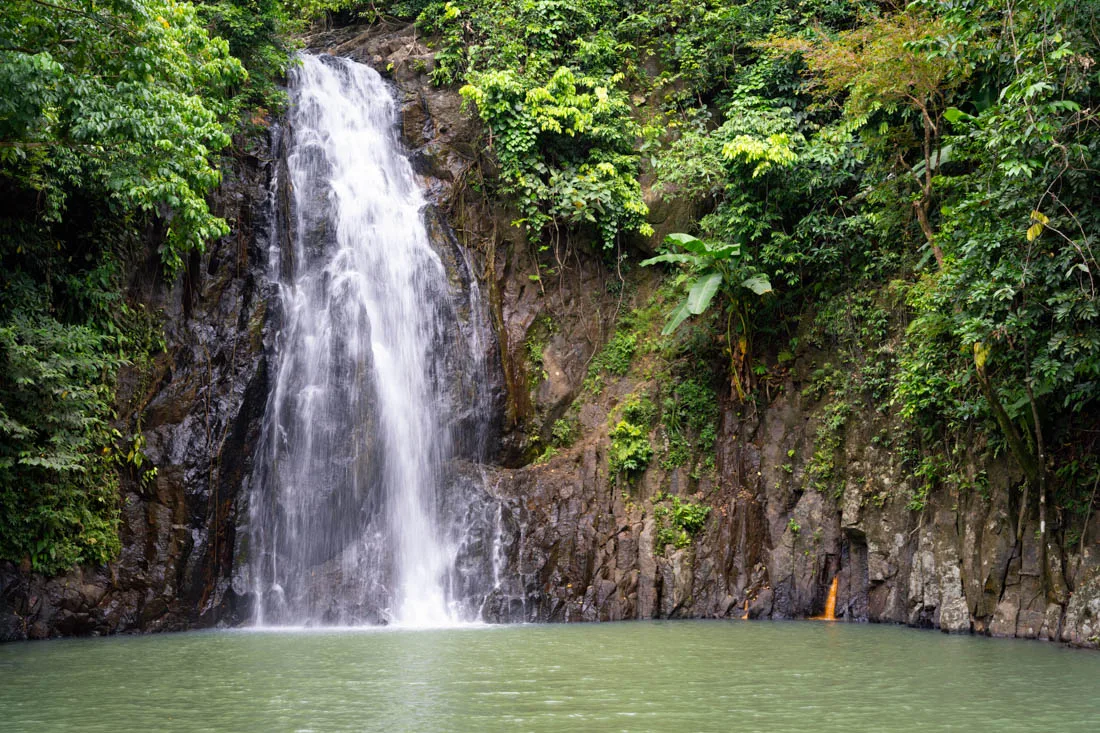
Taktak Falls.
Where to sleep in Siargao?
Most travelers sleep in General Luna, where I stayed at Tropical Temple Siargao Resort and Kanto Hostel Siargao. Both are good options but nothing exceptional. I then spent a few days at La Finca Hostel in Pacifico and it’s literally one of the best hostels I’ve ever stayed in. Clean, modern, comfortable. If you want to escape the chaos of General Luna or just spend a few days surfing in Pacifico, look no further.
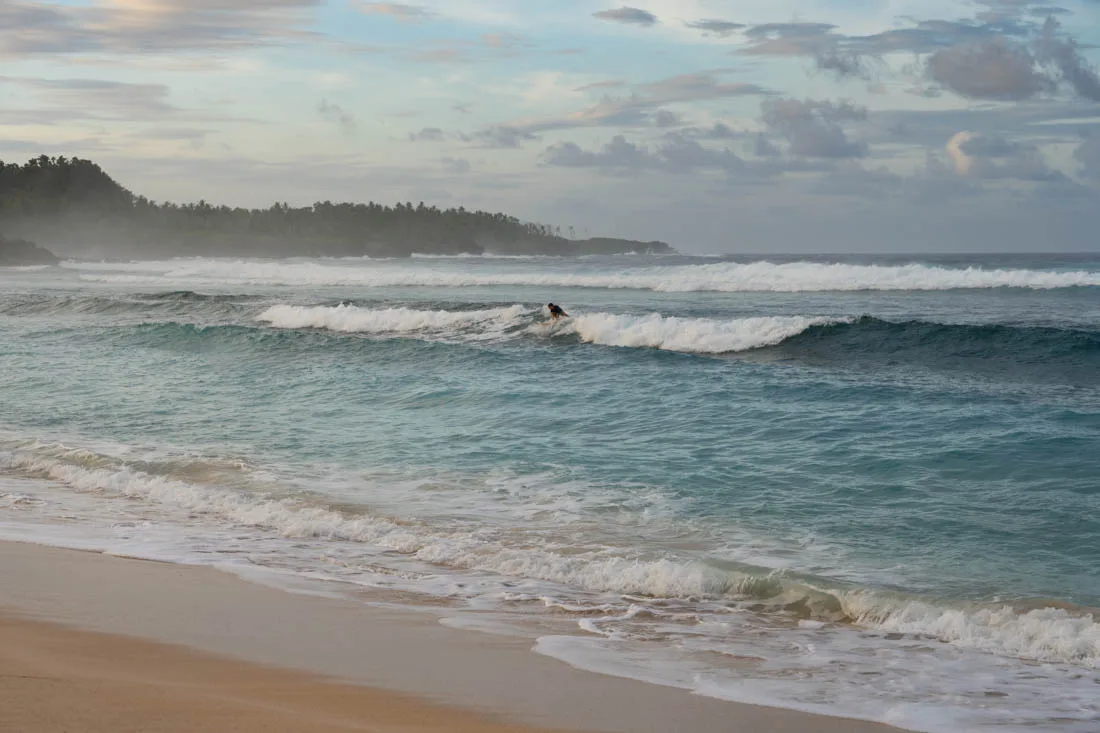
Surfer in Pacifico.
BORACAY
Famous for its powdery white sand beach, crystal clear waters and beautiful sunsets, Boracay is perhaps the most popular island in the Philippines, or at least one of the first to develop a tourism industry. Over the years, the situation had become so critical that the island was closed for six months to allow an extensive clean-up operation to save it from pollution and tourism-related excesses. There are mostly luxury resorts and hotels here, not exactly a backpacker’s destination even if some inexpensive options aren’t lacking. Personally, I decided not to visit mainly because it’s inconvenient to reach unless you fly. That said, I did meet one traveler who told me he had a pleasant stay despite its “bad” reputation among backpackers. On this page you’ll find an article with some more information about it.
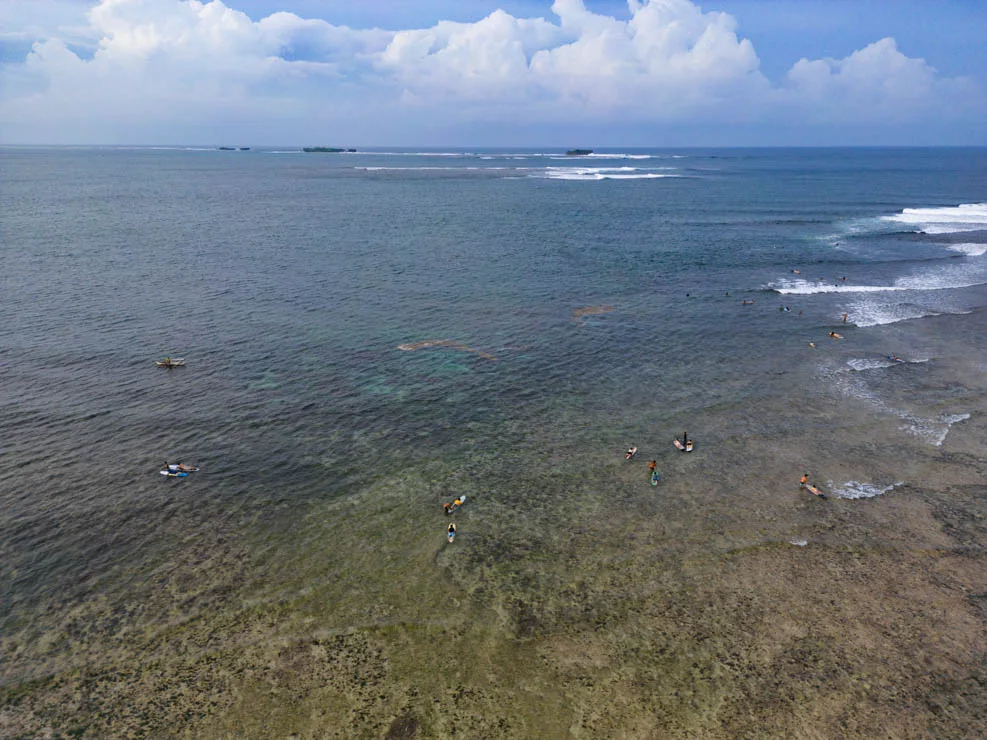
Surfers at Cloud 9, Siargao.
Suggested itineraries in the Philippines
To visit all the places described in this guide without jumping from one destination to another every second day would take at least two months. Considering that many people don’t have that much time, I list below some itineraries that can be used as a starting point to build an itinerary based on your own interests and in light of what has been described so far. I assume the arrival flight is in Manila but Cebu City also has several international connections.
One-week itinerary in the Philippines
With so little time to spare, I strongly recommend focusing on a couple of islands at most. Below I propose two alternatives:
Manila (1 night)
Day 1:
Depending on your arrival time you could head straight on to Puerto Princesa or Coron and not visit the city. Otherwise, a few hours in the historic center should be more than enough.
Port Barton (2 nights)
Day 2:
Flight to Puerto Princesa and direct transfer to Port Barton. Rest of the day at the beach or visit the falls.
Day 3:
Boat tour in Port Barton.
El Nido (4 nights)
Day 4:
Transfer to El Nido, spend the rest of the day as you wish.
Day 5:
Expedition from El Nido to Coron day 1.
Day 6:
Expedition from El Nido to Coron day 2.
Day 7:
Expedition from El Nido to Coron day 3. With some luck you could catch a flight back to Manila or Cebu City in the afternoon.
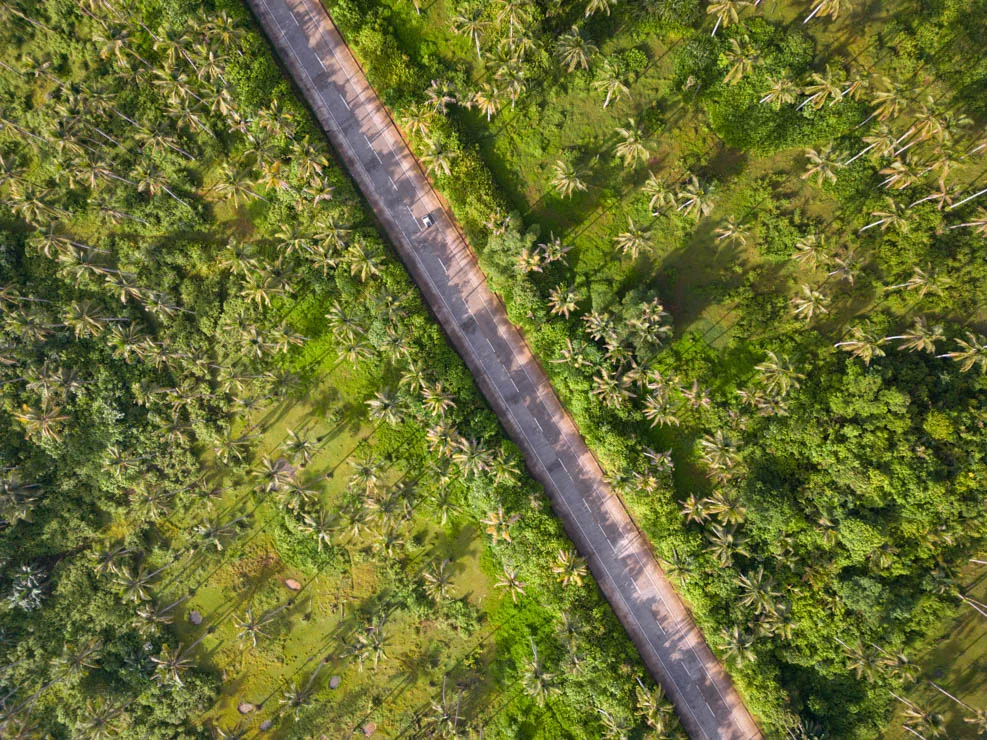
Coconut Road, Siargao.
This itinerary can also be done in reverse. If you intend to do the expedition from El Nido to Coron as described you have to plan ahead and try to combine the various dates. Otherwise you could simply spend an extra day in El Nido doing one of the various boat tours, take the ferry to Coron and do a boat tour there as well. A second option might be the following:
Moalboal (2 nights)
Day 1:
From Cebu City, I recommend getting on the first bus to Moalboal and not even visiting the city. Sardine Run and then the rest of the day at the beach.
Day 2:
Kawasan Falls tour.
Siquijor (2 nights)
Day 3:
Transfer to Siquijor. Afternoon at the beach/marine sanctuaries.
Day 4:
Explore Siquijor by scooter.
Bohol (3 nights)
Day 5:
Ferry to Bohol. Spend the rest of the day at the beach in Panglao.
Day 6:
Explore Bohol by scooter.
Day 7:
Flight directly from Bohol or return to Cebu City by ferry.
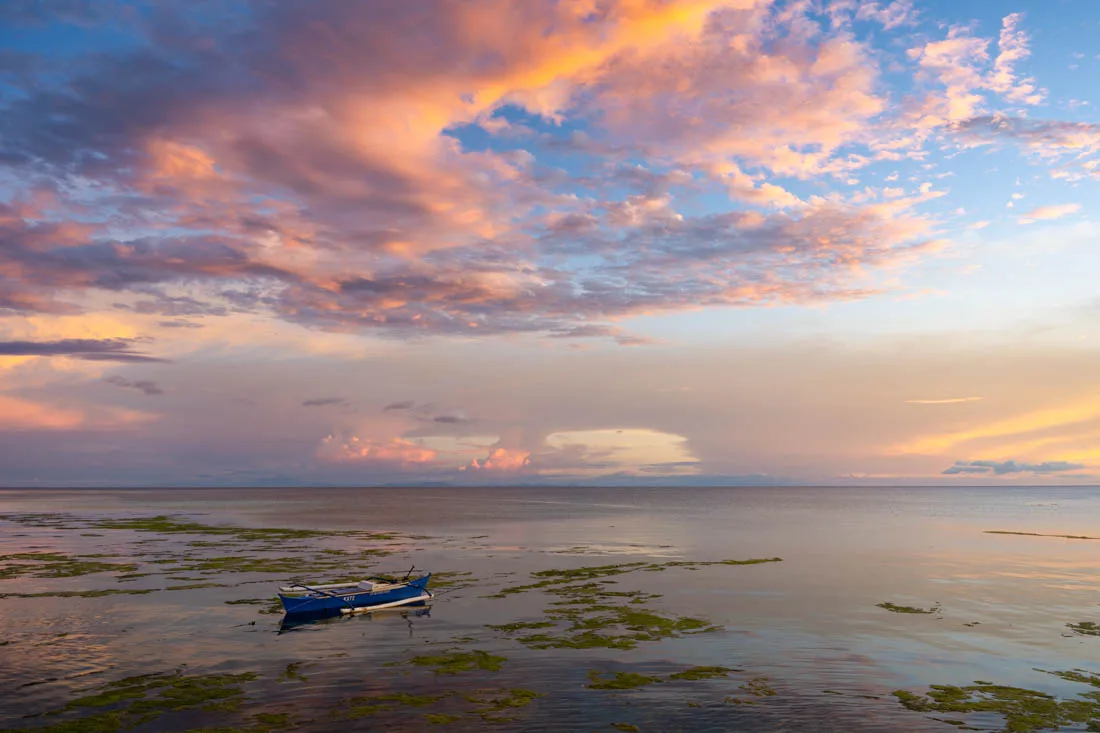
Sunset in Siquijor.
10-day itinerary in the Philippines
With about ten days to spare I personally would just follow one of the routes just described moving more slowly.
Two-week itinerary in the Philippines
With two weeks to spare I’d combine the two one-week itineraries just described. There are direct flights to and from Cebu City from both Coron and Puerto Princesa so travel is fairly easy.
Three-week itinerary in the Philippines
With about 20 days to spare I recommend combining the two week-long itineraries described and including another island which could be Camiguin, Malapascua if you’re interested in diving or perhaps Siargao for surfing.
One-month itinerary in the Philippines
Four weeks at your disposal open several options. Assuming you keep the two one-week itineraries described above as a base, from Moalboal you could head to Negros Oriental for a few days, visiting the area around Dumaguete and Dauin, before continuing on to Siquijor, Bohol and perhaps even Camiguin from where you can then fly to Manila or Cebu City.
Two-month itinerary in the Philippines
With two months to spare, you can pretty much visit all the destinations described in this guide, the order in which they’re listed broadly represents the itinerary I followed and I think makes the most sense from a logistical point of view especially if you want to avoid flying more than “necessary.”
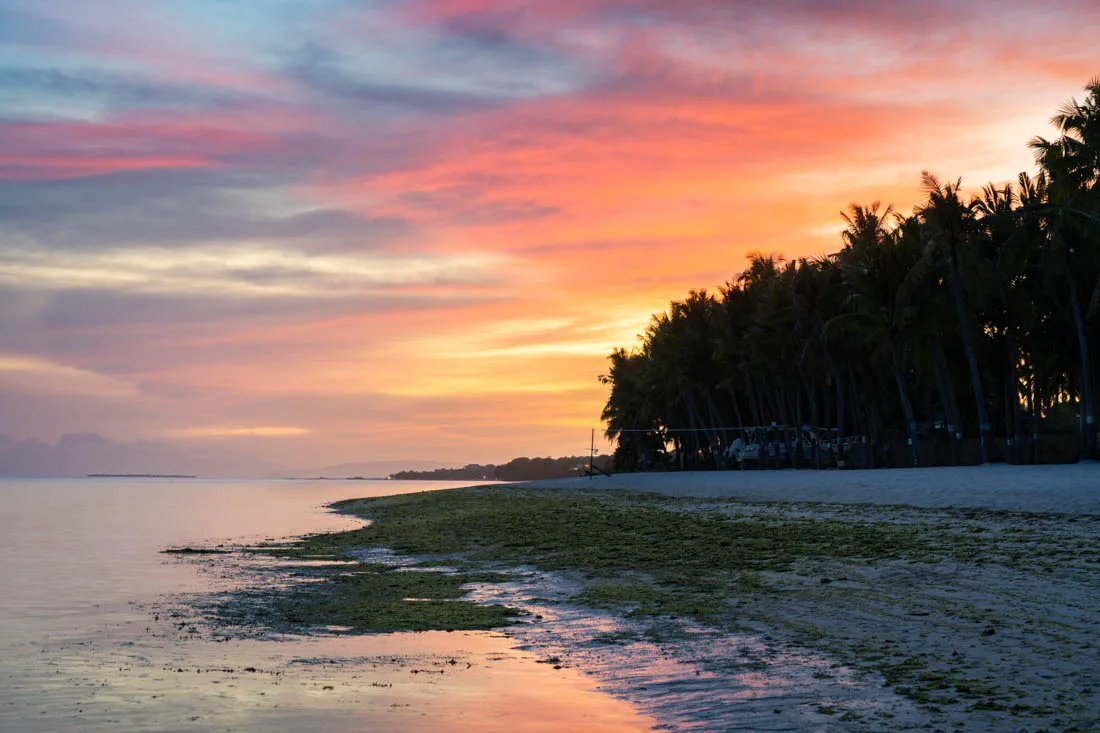
Sunset at Dumaluan Beach, Bohol.
How to get around the Philippines
First, I highly recommend downloading Organic Maps. I’ve been using the valuable offline maps for many years and I think they’re a great tool for traveling. In any case, getting around the Philippines is pretty easy: buses and jeepneys are frequent and offer lots of connections. Also, much of the population speaks at least a little English, which makes it really easy to find information. That said, traveling from island to island can be time-consuming and require a minimum of planning but again, for most routes, ferries are fairly frequent.
Aggregators like 12go and Bookaway let you book some buses and ferries online, but of course you pay fees and not all the options actually available are always shown. Still, it’s a practical way to book your transport if you don’t want to go to too much trouble.
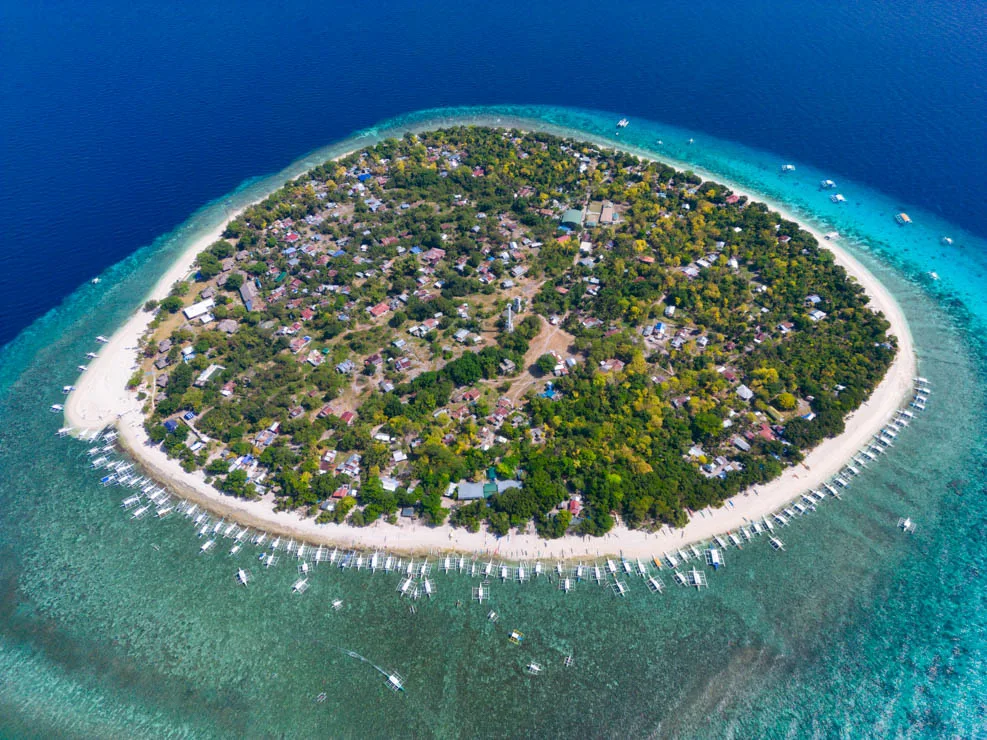
Balicasag Island.
Buses in the Philippines
In general, you can often choose between buses with or without air conditioning. Obviously the first option costs more than the second, but those buses are more comfortable and, above all, they make fewer stops to pick up and drop off passengers. Personally, I almost always took the first available bus, but on a couple of occasions I had the chance to choose, and I think it’s worth spending a few extra euros for a more comfortable and faster journey.
Jeepney in the Philippines
A trip to the Philippines can’t be considered complete without boarding a jeepney full of locals. Jeepneys serve as public transportation for short and medium distances and are easily recognized by their decorations and coloring. The route they cover is almost always written on the side of the jeepneys, but if not, just ask. They often have a station/parking lot dedicated to them that is different from the buses. Traveling with a single 40-liter backpack I’ve never had a problem but if you have a lot of luggage they’re not at all a comfortable option since they’re often filled to the brim. They have fixed fares based on the route and in my experience they’re honest with tourists.
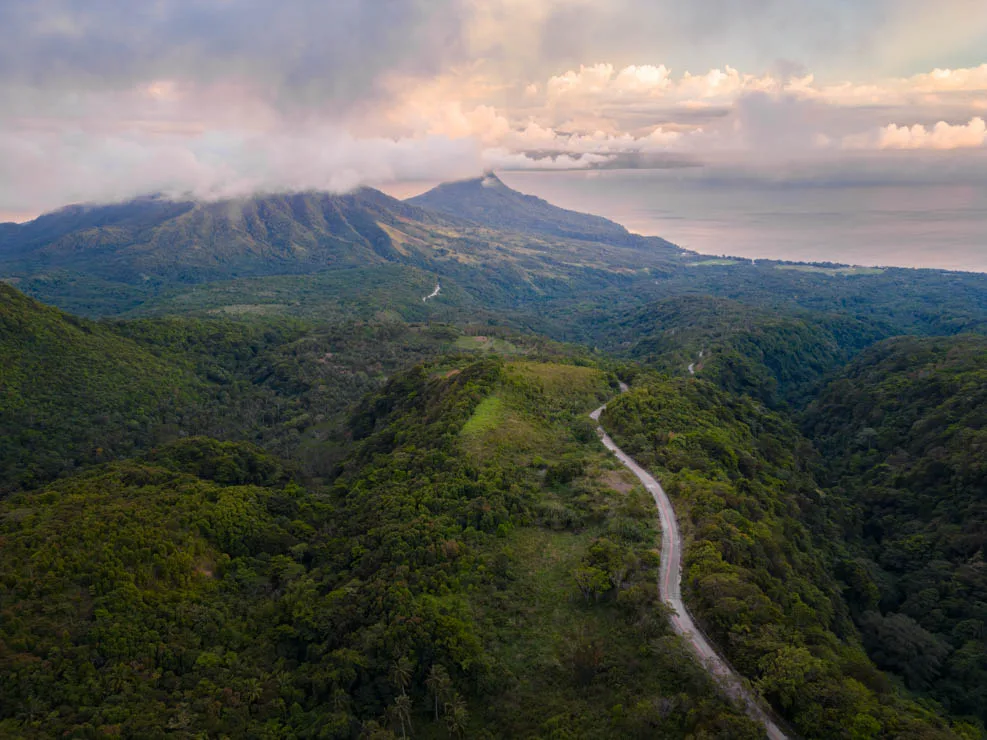
Sunset in Camiguin.
Habal Habal (mototaxi) in the Philippines
Mototaxis, or Habal Habal as the locals call them, are a really practical and inexpensive way to cover short and medium distances where buses and jeepneys don’t go. Often all you have to do is walk down the street for a ride to be offered. Otherwise, in my experience, they seem to be dressed all the same with long sleeves and covered faces to shield themselves from the sun. Spotting them is really easy. It’s always best to agree on the price before getting on; often the price is negotiable.
Taxis in the Philippines
I’ve taken exactly two actual taxis in the Philippines, so I don’t have much experience with them, but as a general rule it’s best to agree on the price before getting in. Unfortunately, apps like Grab only work in big cities. A slightly cheaper alternative is JoyRide.
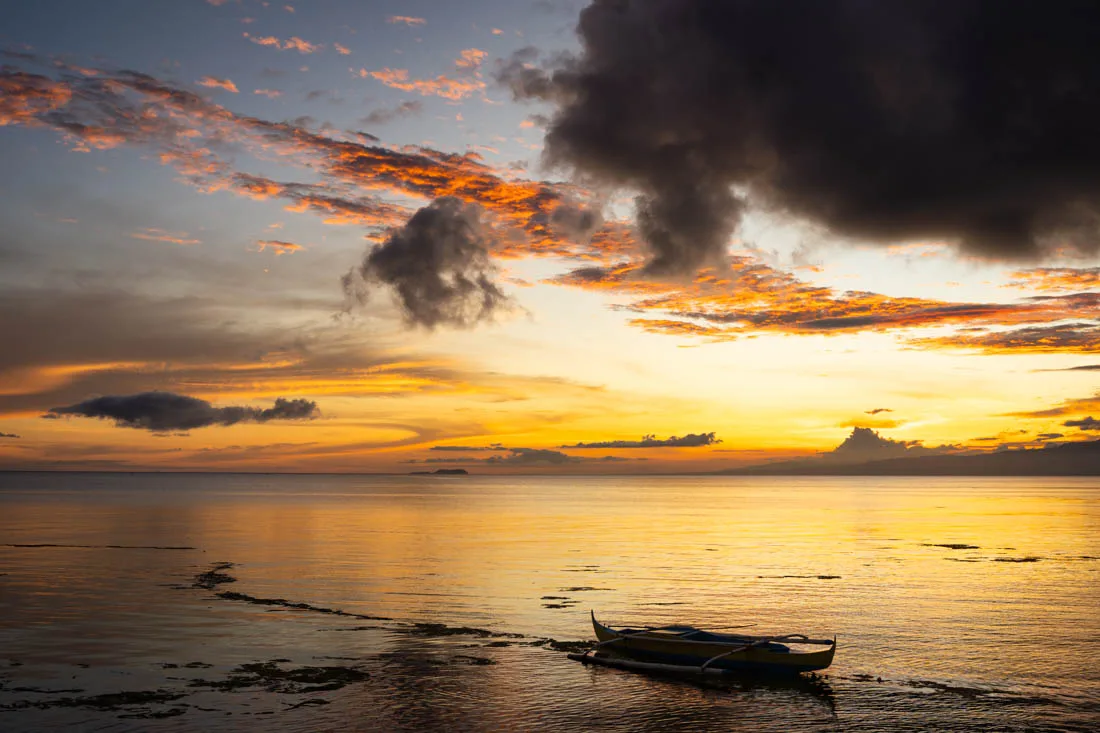
Sunset in Siquijor.
Ferries in the Philippines
There are dozens of different companies operating in the archipelago and the various aggregators like 12go and Bookaway don’t include them all. I’ve tried to report the information gathered in the sections on how to get to the various destinations, but I still recommend inquiring locally and not blindly trusting online information.
Domestic flights in the Philippines
If booked in advance and traveling with carry-on luggage only, domestic flights can be extremely cheap and depending on the itinerary you could literally save days of travel. Philippine Airlines, Cebu Pacific and AirAsia are the three main airlines.
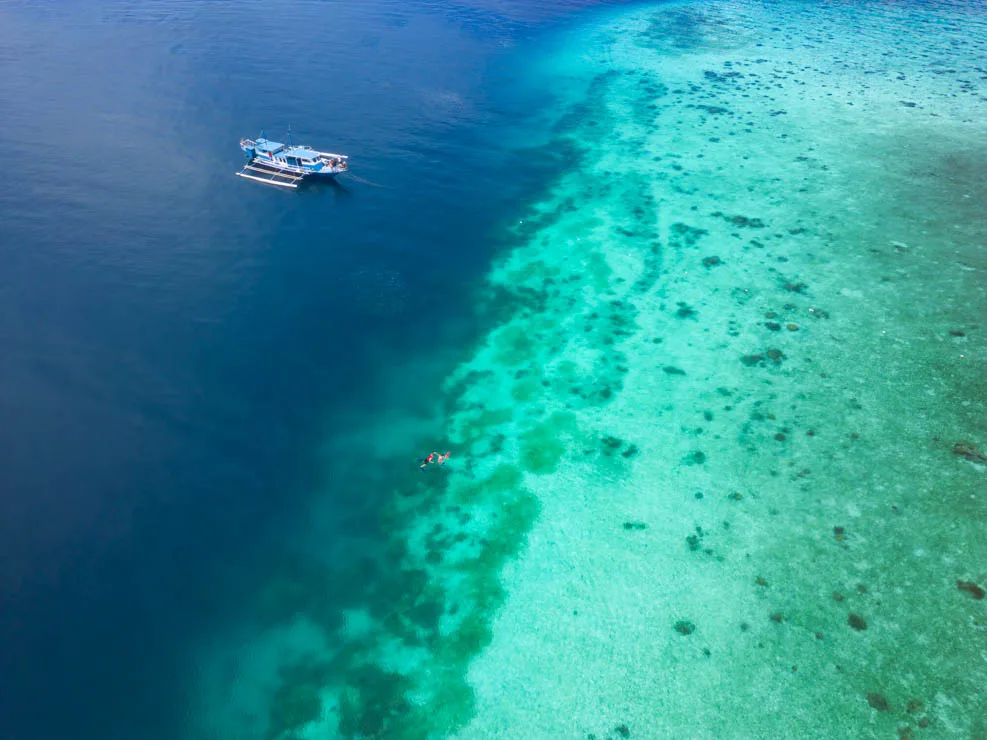
Snorkeling at Mantigue Island, Camiguin.
Backpacking the Philippines: costs
How much does a trip to the Philippines cost? Over the course of my two-month trip (59 days to be exact) I spent exactly 2088.57€ or a little over 35€ per day including six dives, visa extension, domestic flights and even the not-cheap expedition from El Nido to Coron.
Clearly, for a short trip where you perhaps move around more often, the costs go up, and likewise not everyone is willing to travel on a budget the way I do, but I assure you I never went without anything, and in general the Philippines is undoubtedly a cheap destination, like the rest of Southeast Asia. A particularly careful traveler who doesn’t do expensive activities can easily get by spending even less. On the other hand, if you’re looking for a bit more comfort and frequent travel, I’d budget at least 40-50€ per day.
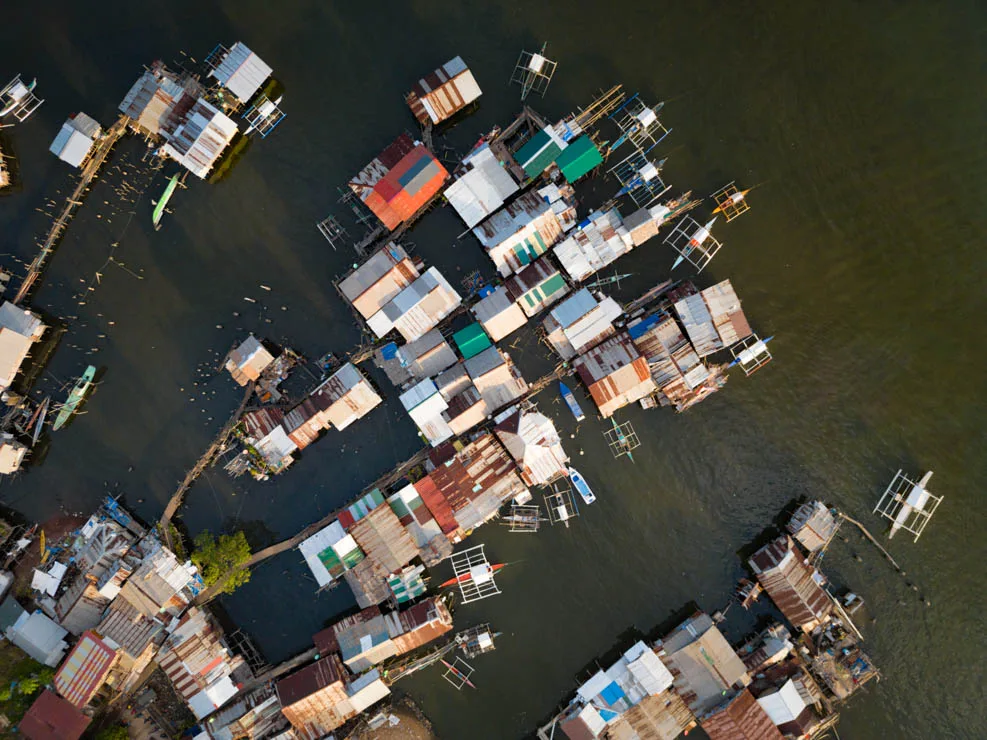
Floating houses in Coron Town.
Cost of accommodation in the Philippines
Except for El Nido where lodging has “crazy” prices you can easily stay in a good hostel for less than 10€ a night. Outside the big cities I’ve had several private rooms in guesthouses and small hotels paying around 10-15€ a night.
Cost of transportation in the Philippines
Getting around by land in the Philippines is quite inexpensive. Buses are really cheap but the moment you start taking ferries and domestic flights the costs rise and are likely to be a major expense in your budget.
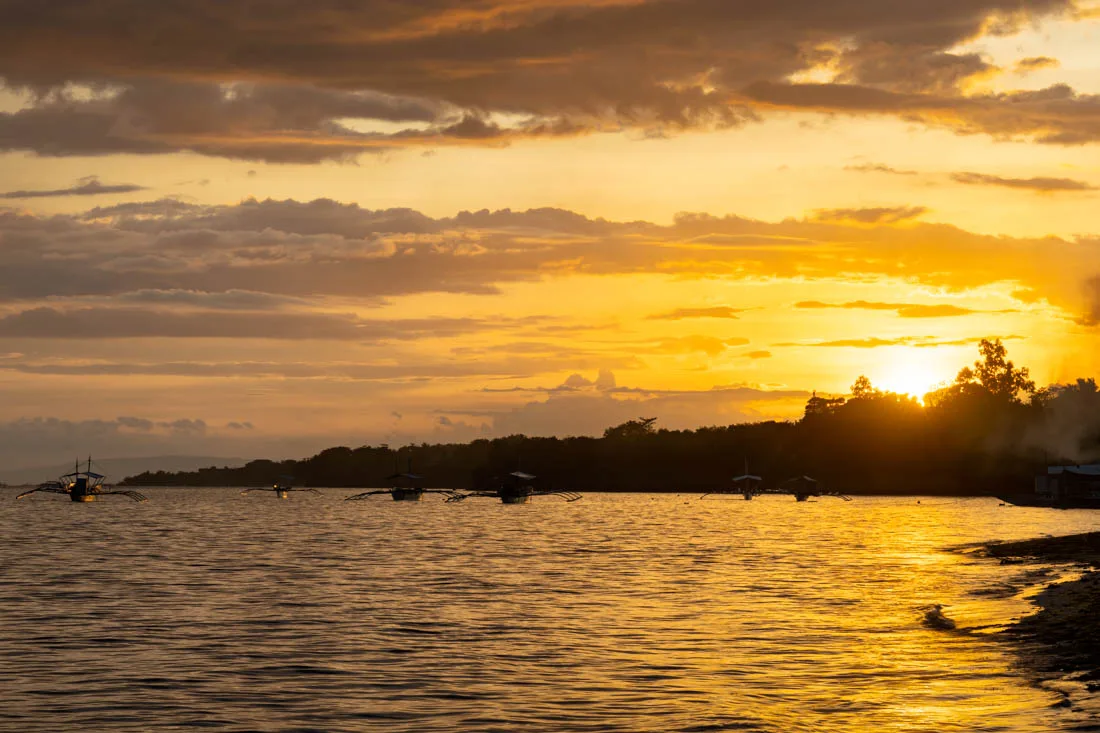
Sunset in Bohol.
Cost of food in the Philippines
As far as I’m concerned, Filipino food is some of the worst I’ve ever eaten in my travels, but at least it’s cheap. Clearly it depends on what kind of restaurant you’re looking for, but if you’re not too fussy, “Eateries”, i.e. small local restaurants where you often choose what to eat straight from the pot or the food is served buffet style, are a great option. You pay according to what you put on your plate; a meal usually costs around 100 PHP.
Speaking of food, I absolutely recommend trying the two typical Filipino desserts, the Mango Float and the Halo Halo: the former is simply delicious, while the latter is more of a try-it-once thing.
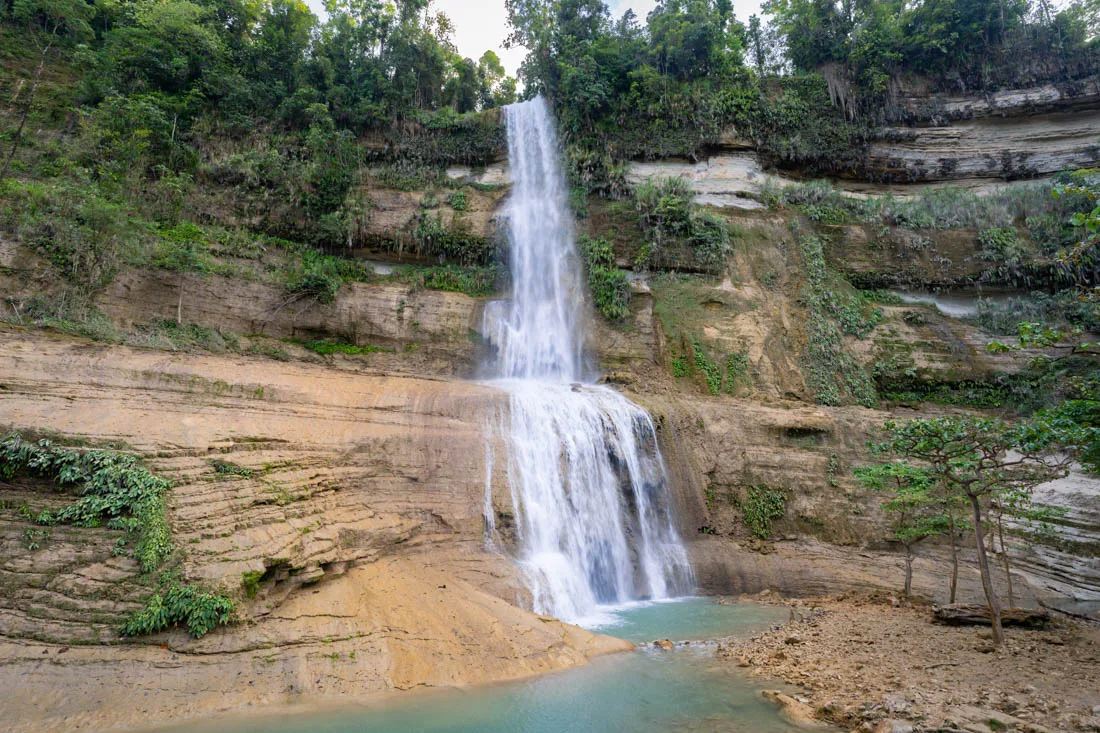
Can-umantad waterfall, Bohol.
Other costs (withdrawals and sim cards)
Let’s start with withdrawal fees, which using the best cards for traveling can be reduced to zero. In fact, HSBC allows you to withdraw up to 20000 PHP per transaction with no fees; unfortunately, as far as I know, it’s literally the only bank in the Philippines that doesn’t charge fees, and it has ATMs only in Manila and Cebu City (the links are the locations where I’ve successfully withdrawn). All other banks charge a fee of 200-300 PHP and often a limit of only 10000 PHP per withdrawal. If you have a local sim, technically you can register on GCash and use Wise to reload the wallet with low fees. I’ve tried dozens of times without success but should you be luckier, GCash is accepted almost everywhere and can even be used to “withdraw” cash where it’s accepted as a form of payment. If you’re not registered on Wise yet, by using this link your first transfer up to 500€ is completely free.
Regarding SIM cards, Smart is the company that’s usually recommended, since it has the best coverage in the country. I did more or less always have a connection, but let’s say the speed often left something to be desired. Unfortunately, the Philippines isn’t known for its internet connection. The second-best option is Globe, so if you’re traveling as a couple you could consider getting a second SIM with them to maximize coverage.
If you have a phone that supports eSIMs and you want the convenience of being online right away without having to buy a local SIM, then I recommend using a service like the ones offered by Airalo and Ubigi. If you go for this option, though, there are at least a couple of things to keep in mind. First of all, with rare exceptions, data costs a lot more than it would with a local SIM; secondly, their local partner isn’t always the one with the best coverage in the country.
Basically, I think most travelers would be better off buying a local SIM (or maybe trying to buy the eSIM of a local provider), but I suggest you think it over for yourself, as there’s no shortage of exceptions. For example, when I visited Japan, the plan offered by Ubigi was cheaper than any local SIM I could buy without proving I was a resident.
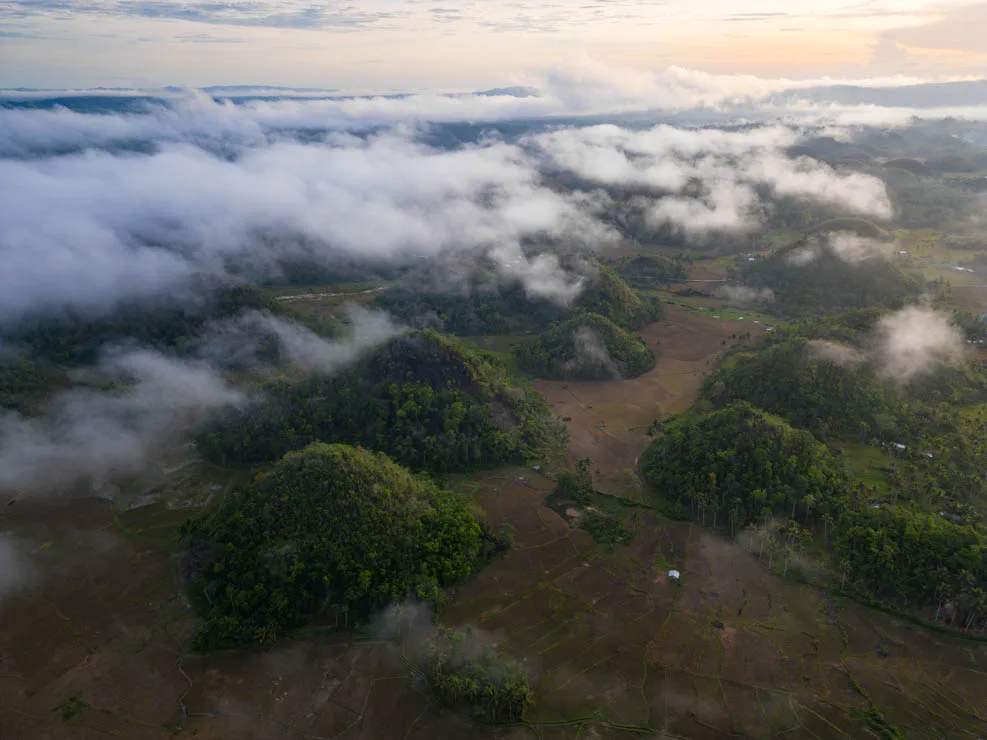
Sunrise at the Chocolate Hills, Bohol.
Backpacking the Philippines: safety
Is the Philippines a safe country? Traveling to the Philippines presents no particular dangers and in general, somewhat like all of Southeast Asia, it’s a safe destination. Of course, you should use common sense as in any other part of the world, but by following my advice, I doubt you’ll have any problems.
In any case, I’d think twice before walking in certain neighborhoods in Cebu and Manila or any other big city. Similarly, the island of Mindanao has a bad reputation, particularly the region to the west where separatist rebels operate. Kidnappings and terrorist attacks are unfortunately a reality. That said, I had a chance to talk to a Danish guy married to a local girl who visited the region and according to him, if it weren’t for a few army checkpoints, you wouldn’t even notice the extremely dangerous situation described by many government agencies. But I can’t speak from personal experience and I certainly don’t recommend going there.
Are you planning a trip to the Philippines? Check out these posts:
Which travel backpack to choose
Do you have any questions? Updated information? Feel free to leave a comment or message me on Instagram!
Since I no longer run ads, if you found this article helpful, please consider purchasing your travel insurance through one of the links on this site. Doing so supports my work at no additional cost to you. For EU and UK residents, I recommend True Traveller. For everyone else, I recommend HeyMondo, which offers a 5% discount. Thank you for your support!
For donations/pizzas and virtual beers 🙂
Did you like the post? Pin it!