Tenerife Travel Guide
Tenerife, the largest of the Canary Islands, is often associated with beaches, resorts, and nightlife, which initially didn’t appeal to me. However, the island surprised me: the otherworldly landscapes of Teide National Park, the lush forests of Anaga Park, the dramatic cliffs of the Teno Massif, and numerous towns boasting colonial architecture.
Tenerife truly caters to all types of travelers, from active adventurers to beachgoers seeking relaxation. I explored this diverse island during a two-month journey through the Canary Islands, and this guide is packed with tips and insights to help you plan your own unforgettable trip, whether you’re backpacking or indulging in an all-inclusive vacation.
Quick menu
- When to visit Tenerife
- Documents and vaccinations for going to Tenerife
- What to do and see in Tenerife
- Possible itineraries in Tenerife
- How to get around Tenerife
- Backpacking Tenerife: costs
- Backpacking Tenerife: safety
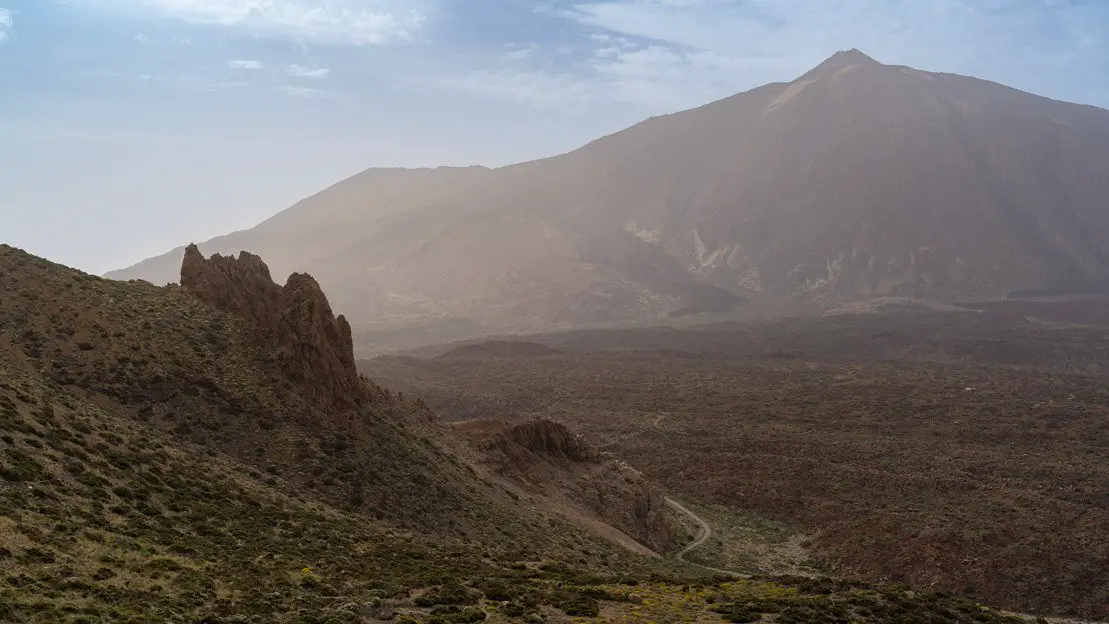
Teide.
When to visit Tenerife
Tenerife, like the rest of the Canary Islands, enjoys a good climate throughout the year and can therefore be appreciated in all seasons. However, it’s important to adjust one’s expectations based on the season.
Tenerife in springtime
In spring, temperatures in Tenerife typically reach 22-23 degrees Celsius, sometimes climbing a few degrees higher by late May. Rainfall, common in March and April, is practically non-existent in May, making it the perfect time to dodge the summer crowds and inflated prices.
Tenerife in summer
In Tenerife and the Canary Islands in general June, July and August are considered high season. The weather is excellent and rainfall is absent. Toward the end of July the ocean water also begins to warm. Obviously this is the busiest and most expensive time of the year.
Tenerife in autumn
September is a fantastic time to visit Tenerife, boasting pleasant weather, the warmest ocean temperatures of the year, and—especially in the latter half of the month—a welcome escape from the summer crowds. While October and November may see an increase in rainfall and a slight drop in temperatures, they can still offer pleasant weather.
Tenerife in winter
Even in the heart of winter (December, January, and February), Tenerife remains an intriguing destination. Keep in mind that December typically experiences the highest rainfall, gradually decreasing until May.
That being said, precipitation is relatively low, so unless you have particularly bad luck, you should still have a great time. While winter may not be the ideal season for beach days and swimming, there are plenty of other activities to enjoy, as we’ll explore later. Just be sure to pack some warm clothes, as temperatures can drop significantly at higher altitudes—Teide can even see snowfall!
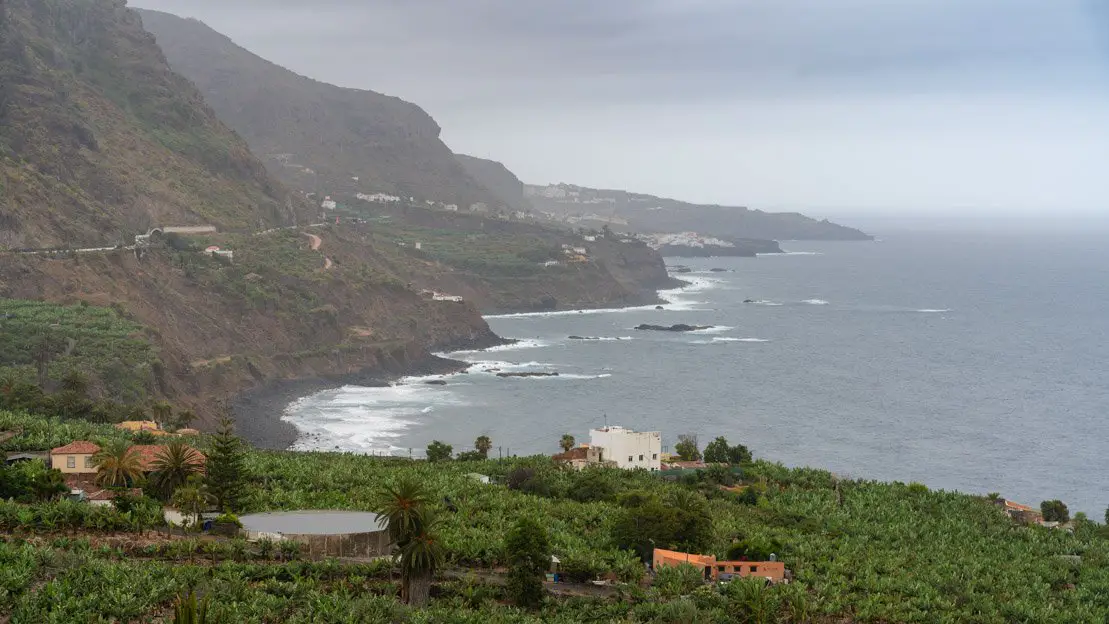
Along the north coast of the island.
Documents and vaccinations for going to Tenerife
The Canary Islands are, for all intents and purposes, part of Spain, and therefore, like any other country within the European Union, Schengen Area visa policy applies.
What to do and see in Tenerife
The destinations are listed in a counterclockwise direction starting from the capital, Santa Cruz de Tenerife. This order likely makes the most logistical sense if you’re planning a road trip around the island.
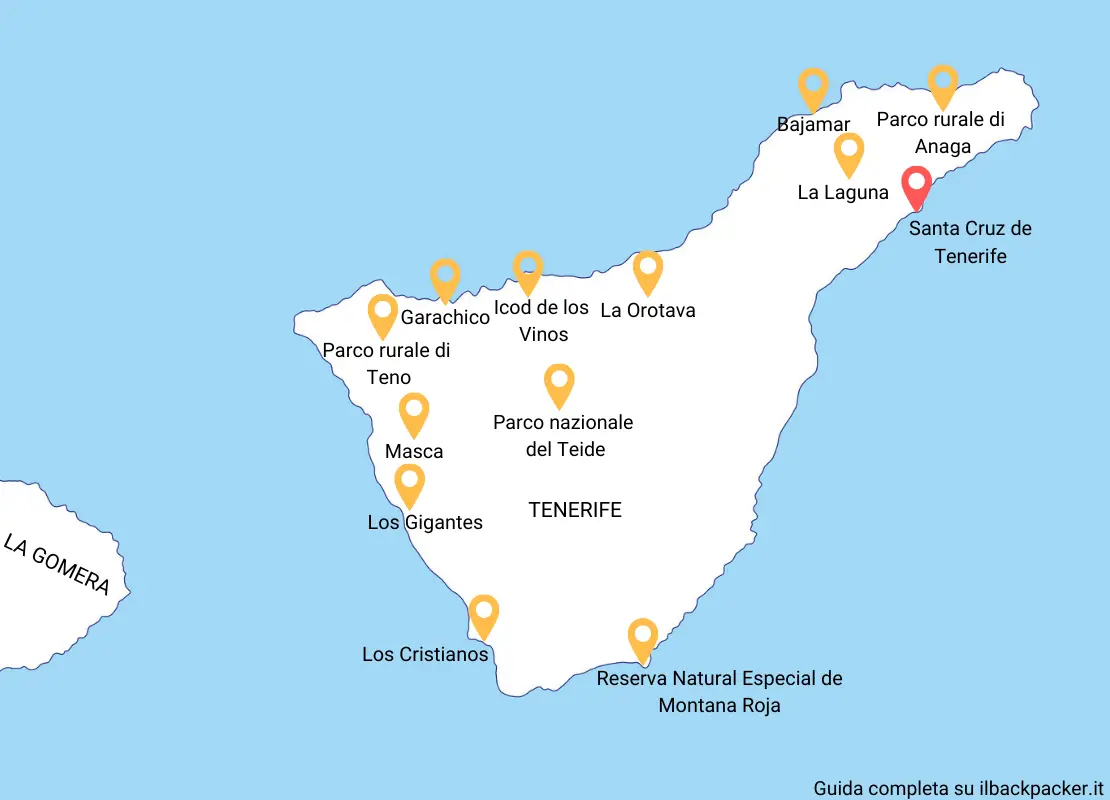
N.b. Several times throughout the guide you will find links to https://www.alltrails.com/. If you want to use offline navigation directly from the Alltrails app you need to upgrade to the pro version. However, you can get around this by downloading the coordinates from the desktop version of the site in “Google Earth KML” format and then uploading them to Organic Maps, which is by far one of my favorite travel apps.
Santa Cruz de Tenerife
While perhaps not as picturesque as La Laguna, Santa Cruz de Tenerife remains an intriguing destination and a convenient base for exploring northern Tenerife.For example, Playa Las Teresitas, considered by many to be the most beautiful beach on the island is only 15 minutes away and can be easily reached by bus if desired.
If interested, there are several museums in town including the Museum of Natural History and Archaeology (Museo de Naturaleza y Arqueología) an art gallery, a museum of science and the cosmos (Museo de la Ciencia y el Cosmos), and finally a small museum with free access that tells the story of the Castillo de San Cristóbal.
Where to sleep in Santa Cruz de Tenerife?
Tenerife Experience Hostel and Wanderlust Hostel are two great hostels, perfect if you are traveling alone. If you are looking for a private room or something other than a hostel, check out Casa Weyler.
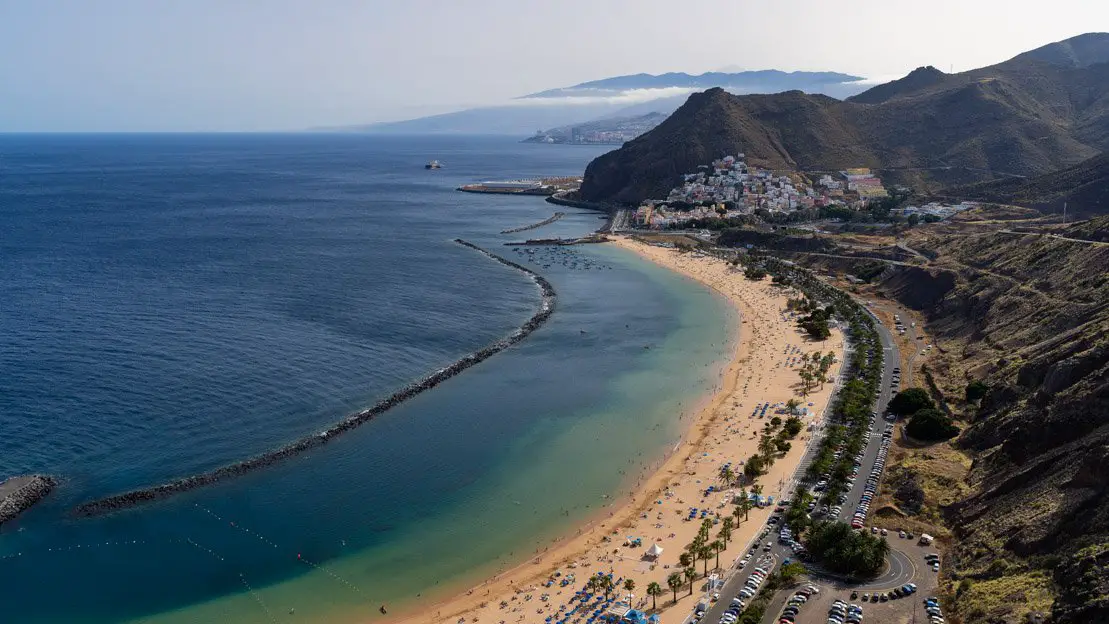
Playa Las Teresitas.
San Cristóbal De la Laguna (La laguna)
La Laguna, conveniently located at the foot of the Anaga massif, is a stunning colonial town well worth exploring. Its historic center, brimming with beautiful buildings, lively bars, and restaurants, is a UNESCO World Heritage site and arguably one of the most charming in the entire archipelago. In particular: Plaza del Adelantado and surroundings, Catedral de La Laguna or Nuestra Señora de los Remedios, Plaza de la Junta Suprema and surroundings. Finally, I recommend checking out the municipal market open daily from 7:00 am to 2:00 pm.
In conclusion, if you arrive in La Laguna by car, finding free parking is not easy at all. If I were you I would go directly to Parking Las Quinteras, which is paid but still cheap and a short walk from the center.
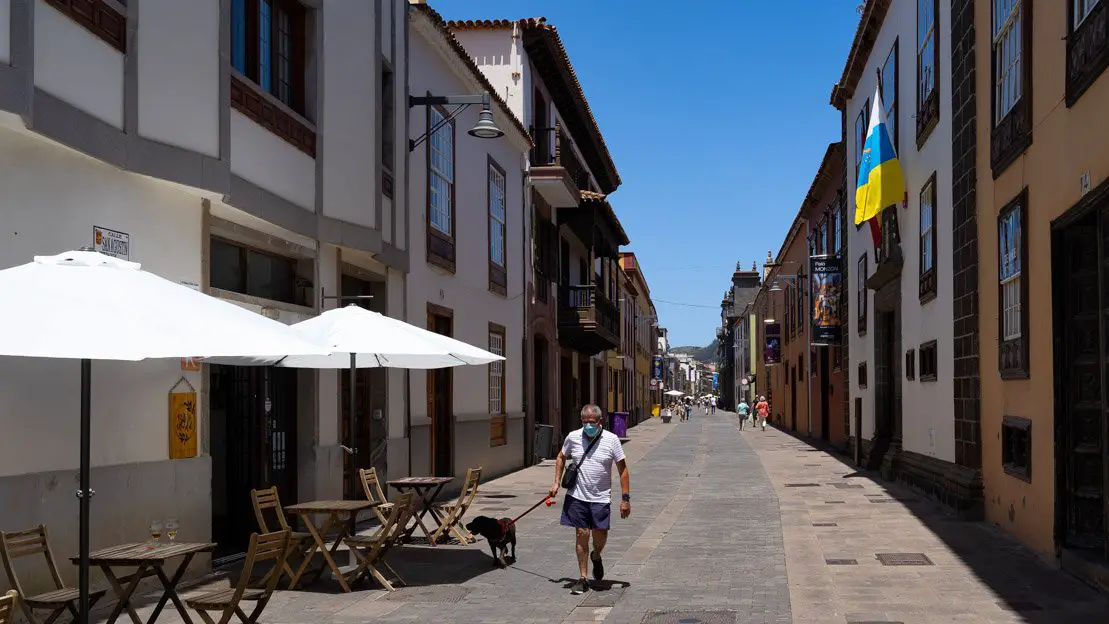
San Cristóbal De la Laguna.
Where to sleep in La Laguna and Santa Cruz de Tenerife?
Two very good hostels close to the center are Aguere Nest Hostel and Patio Hostel. If you are looking for a private room or something other than a hostel, check out Casa Lagunera.

Municipal market.
Anaga Rural Park and Northeast Tenerife
Anaga Rural Park encompasses nearly the entire Anaga Massif and the northeastern corner of Tenerife. This region features lush laurissilva forests at higher altitudes, with deep valleys that gradually transition into arid landscapes as they descend towards the sea.
This section of the guide offers recommendations on trails to explore within the park, as well as beaches, villages, and scenic viewpoints. Essentially, everything to see and do in northeastern Tenerife.
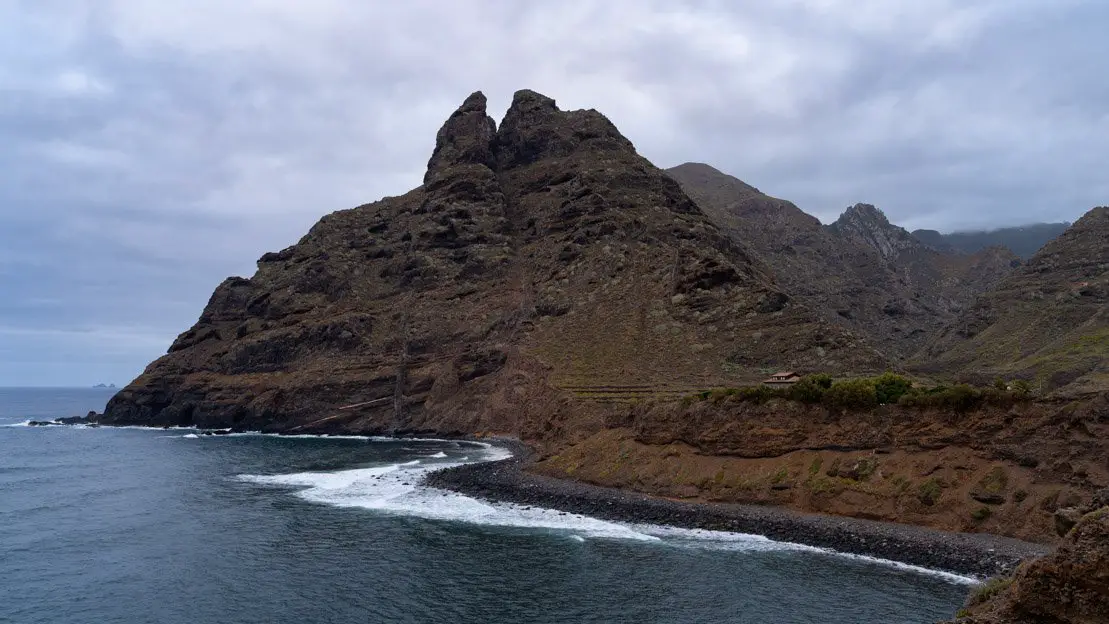
Punta de Hidalgo.
Punta de Hidalgo to Chinamada or Las Carboneras
This popular hike combines rugged mountain scenery with sites of cultural interest such as Chinamada, where there are the remains of numerous cave houses. There are many ways to complete this hike. The easiest way, and the one I have personally done, is to start at Punta de Hidalgo and hike up this trail to Chinamada where if you wish you can have something to eat at Restaurante La Cueva before returning the way you came. If you want you can also take a short detour to Mirador Aguaide.
Once in Chinamada you could continue to Las Carboneras or if you are not particularly fit, complete this section in the opposite direction and start right from Las Carboneras and descend to Chinamada following this trail, the distance is similar but you save a lot of elevation gain.
Another particularly popular option, because doing so avoids the climb completely, is to start from Cruz del Carmen by following the entire PR-TF 10 described on this page. It is ten kilometers completely downhill, the only “problem” is that by doing so you either have to take a taxi or, starting from La Laguna you can take a bus in the morning to Cruz del Carmen (Line 275) and then once you get off at Punta del Hidalgo take another bus back to La Laguna (Line 050).
Once the hike is over, I recommend checking out the natural pools of Bajamar and Punta de Hidalgo.
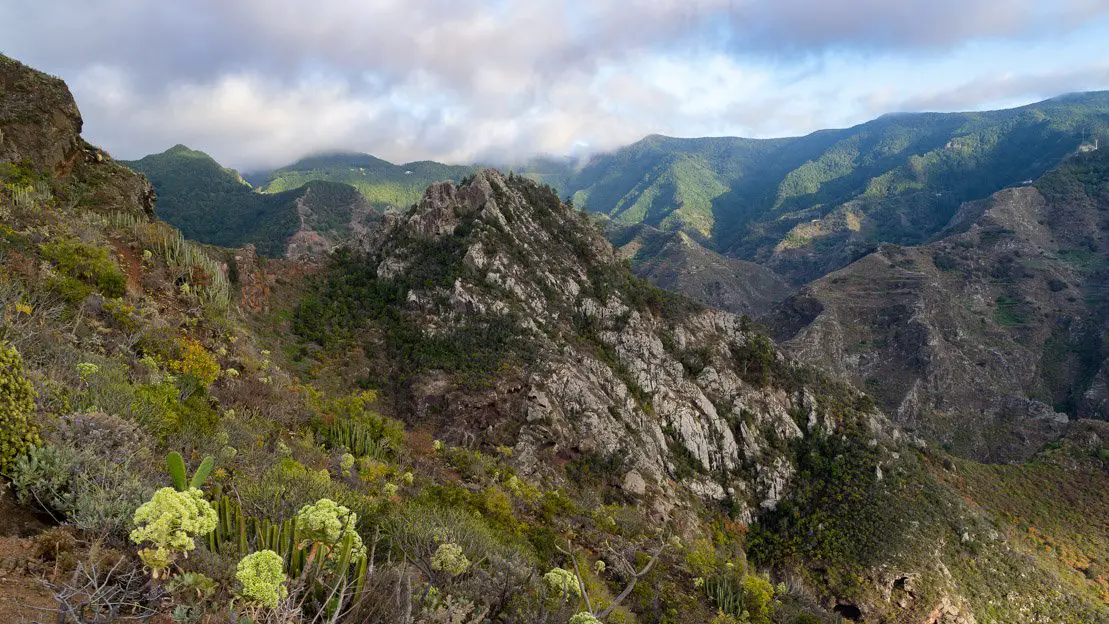 On the way to Chinamada.
Senderos de Los Sentidos
The Senses Trail is my top recommendation for those who aren’t avid hikers but still want to experience the laurissilva forest. There are three different trails that basically run parallel to each other but can be combined into a circuit, such as the one described on this page. The starting point is Cruz del Carmen where the park’s visitor center is also located. In any case, whichever route you decide to follow, I recommend including the Mirador del Llano de los Loros.
Talking about viewpoints, around Cruz del Carmen, I especially recommend Mirador de Jardina, Mirador Pico de Inglés, and Camino Viejo at Pico del Inglés, the latter of which is not a viewpoint but rather a road carved into the rock covered in part by moss that lends itself well to a few photos.
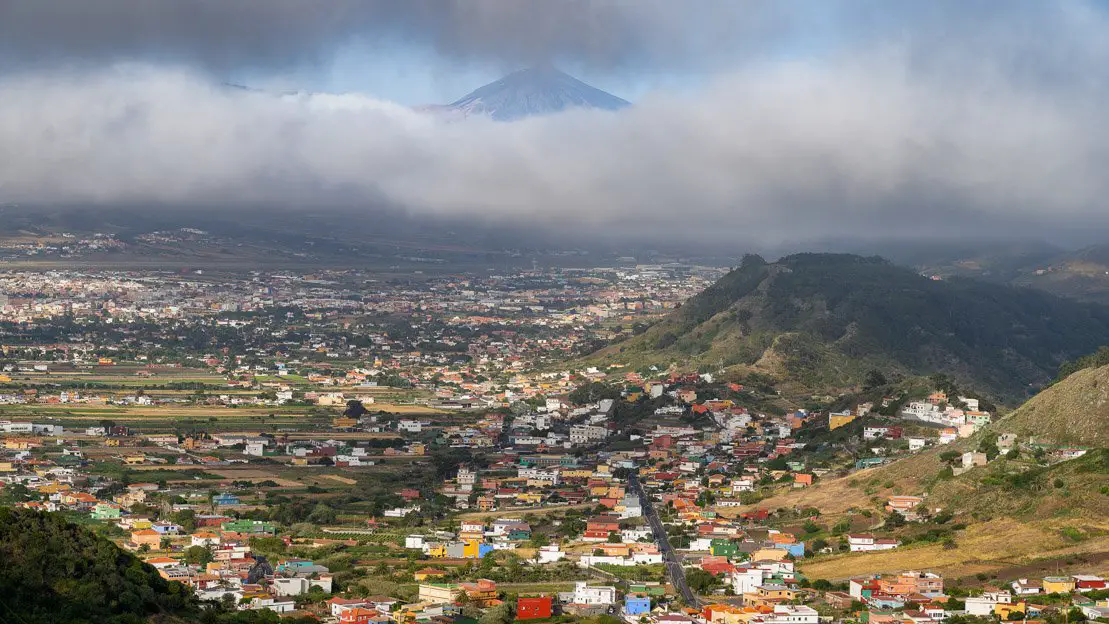
Mirador de Jardina.
Bosque Encantado
This trail known as “El Pijaral” is considered one of the most beautiful on the island but unfortunately (or fortunately) access is limited to a maximum of 45 people each day, so a completely free permit must be requested on this page. Being so popular and with such a limited number of places, it is advisable to book several weeks in advance, I for one was left high and dry. In any case, the trail starts here, is about 7 km long and is completed in about 2 hours. I would avoid venturing out without a permit, first out of respect, second because you risk a 600€ fine.
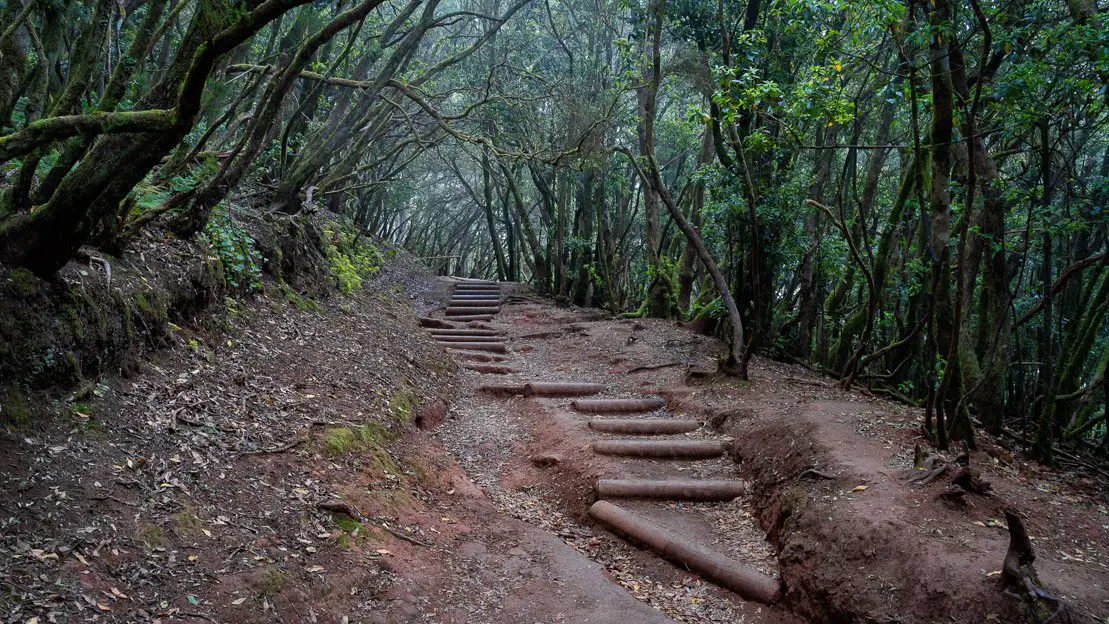
Senderos de Los Sentidos.
Roque de Taborno
This is another option to enjoy excellent views without necessarily doing a strenuous hike. It is about 4 kilometers in total with 200 meters of elevation gain; the trail is as described on this page. If for any reason even four kilometers is prohibitive, just outside the small village of Toborno, perched in the mountains and charming in itself, there are at least a couple of really accessible viewpoints such as Mirador Fuente del Lomo.
In fact, from this point it is already possible to see in the distance the Roque de Taborno, affectionately called by some the “Matterhorn of Tenerife” because of its shape reminiscent of the famous peak. In any case, what in my opinion is even more deserving of the Roque are the excellent views of the coast from the vantage point at the foot of the mountain.
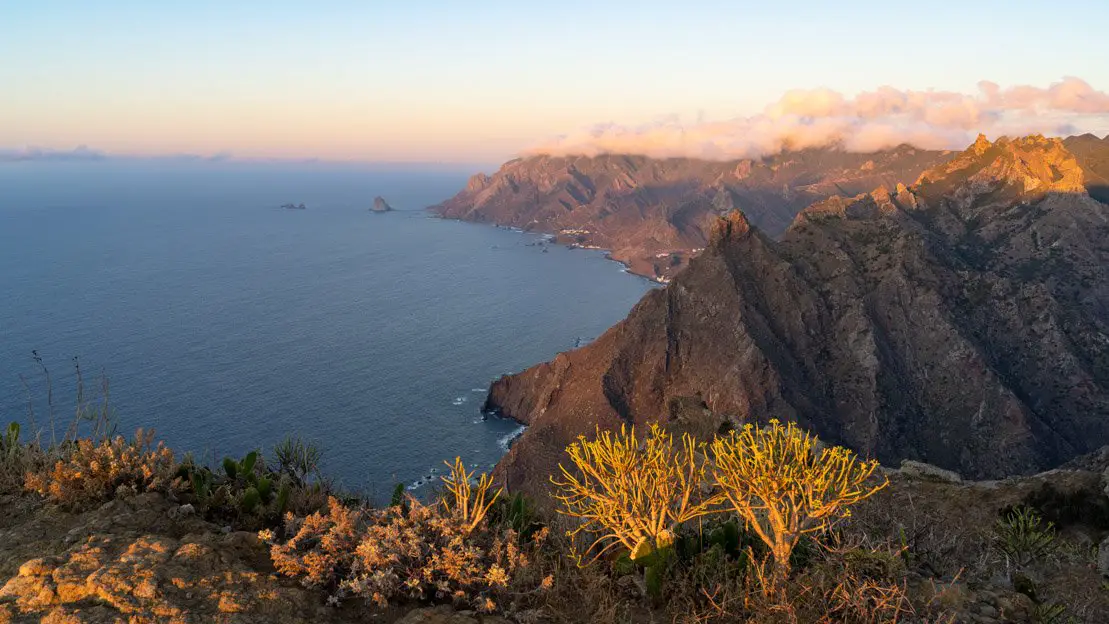
Viewpoint at the foot of Roque de Taborno.
Taganana
Nestled in one of the most secluded valleys of Anaga Rural Park, the charming village of Taganana was among the first settlements established by the conquistadors who later colonized Tenerife. Its small historic center, with its churches, traditional houses, and terraced fields, exudes a unique atmosphere. Taganana also serves as an ideal starting point for various hikes and a necessary passage to reach some of the most remote beaches in the far northeast of the island.
A really popular hike starting from Taganana is to Playa de Tamadiste. Many people decide to go and return by the same path following the route along the coast described on this page. The alternative I recommend, although it is a slightly longer option, is this circuit that passes through the village of Afur and returns by the coastal trail (or vice versa). Near the cemetery at this point there is ample parking; drive carefully, the roads inside the village are really narrow.
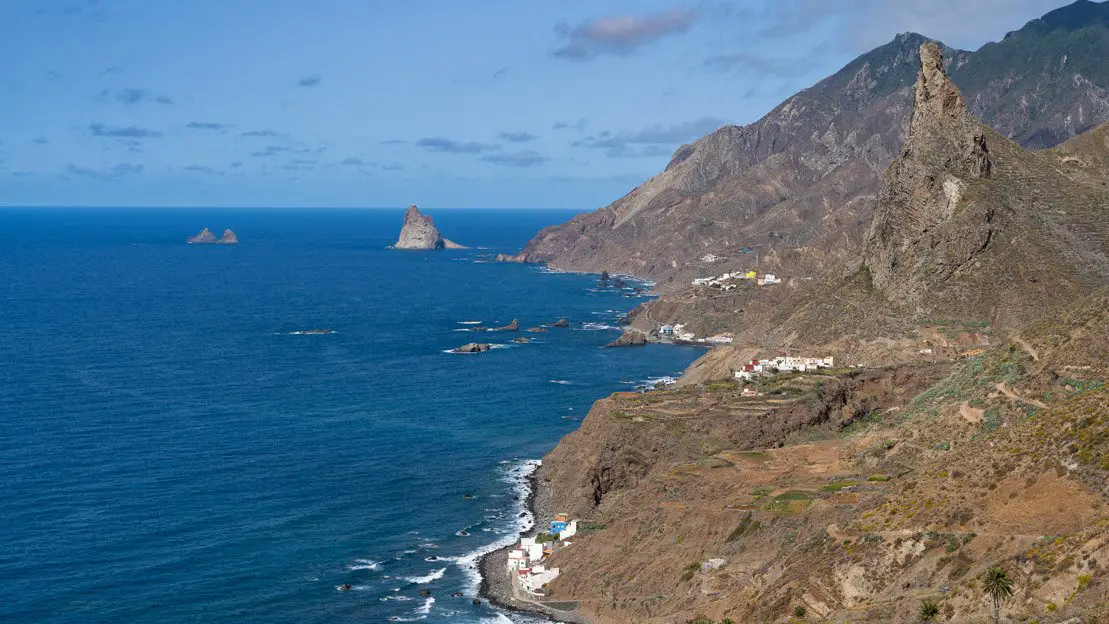
On the way Playa de Tamadiste.
Playa de Benijo and Anaga lighthouse
Unfortunately, my coastal journey was cut short at Playa del Roque de las Bodegas, a lovely beach ideal for beginner surfers located a few kilometers from Benijo. This became my Plan B for the day since the road between Las Bodegas and Benijo was closed for construction.
By the time you read this guide, work should probably be finished. My advice is to visit the famous Playa de Benijo, which with its iconic rock towers jutting out of the water and sheer cliffs is considered one of the most scenic on the island. Be careful though because, as with all beaches on the north coast of Tenerife, the currents can be really strong.
In addition, starting from Benjo it is possible to complete a circuit that has as its destination the Anaga Lighthouse. About 15 km long and with more than 1,000 meters of elevation gain, however, it is not exactly a walk in the park. You can find all the relevant information on this page. If you are interested, there is a shorter version of the circuit, it is about 5 km and basically once you get to El Draguillo instead of continuing to the lighthouse you cut it short. The route is described here.
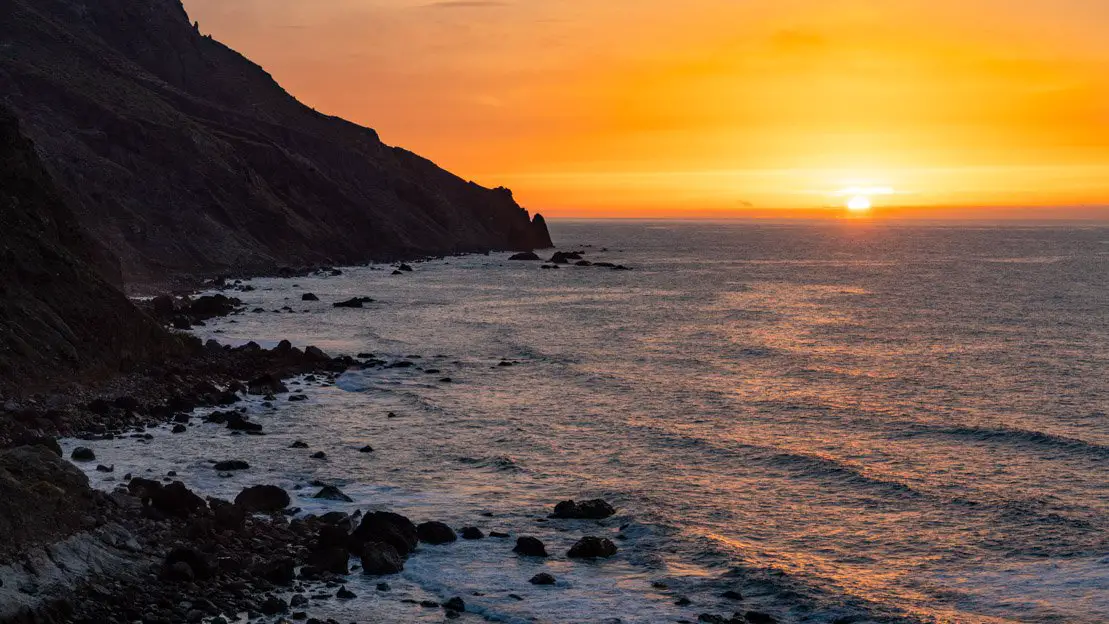
Taganana.
Playa Las Teresitas
The time has come to move to the southern side of Anaga Rural Park and specifically Las Teresitas Beach, considered one of the most beautiful on the island. The wide sandy beach is perfect for swimming even for children, there are all possible and imaginable services with showers, lifeguards, bars and restaurants right on the beach, and for those like me who are afraid of the sun, there is plenty of shade. In short, don’t expect a remote beach with few people but if that’s not what you’re looking for, you certainly won’t be disappointed. However, be aware that due to its popularity and proximity to Santa Cruz de Tenerife, the road leading to the beach can get quite congested, especially on weekends.
If you’re seeking a less crowded alternative, Playa de Las Gaviotas, located further north along the coast, offers a black sand beach with fewer visitors. Popular with surfers, it’s less suitable for swimming and lacks any facilities, but it boasts a quieter and more remote atmosphere.
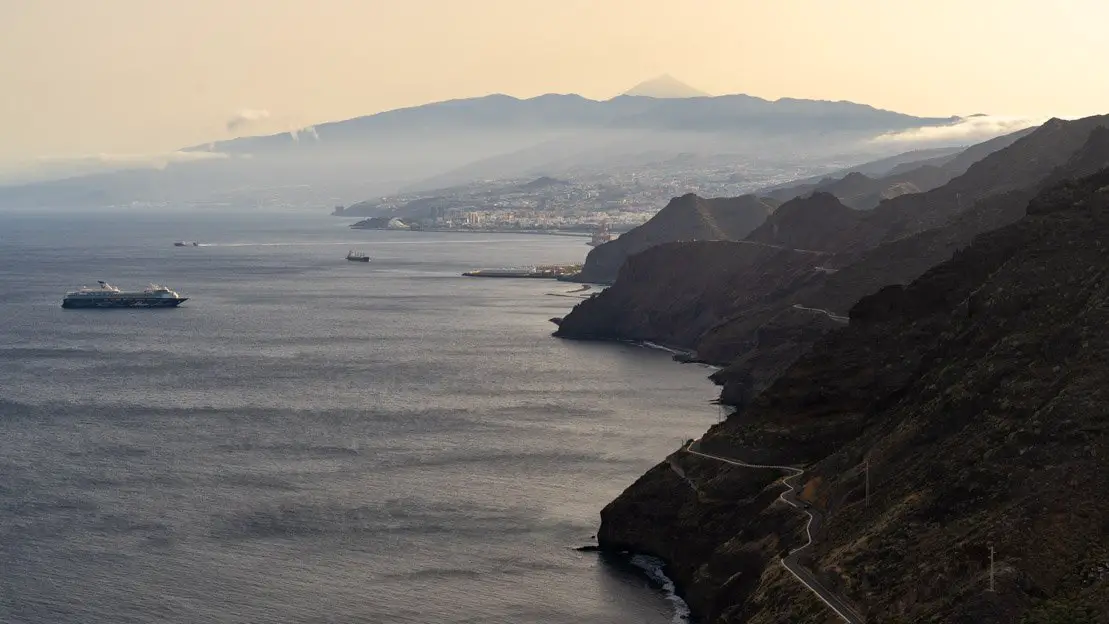
Road to San Andrés.
Igueste de San Andrés and Playa Antequera
Igueste de San Andrés, a charming village north of Playa de Las Teresitas, is accessed via a scenic coastal road. The village itself, with its pedestrian-only narrow streets, is quite picturesque. While the pebble beach isn’t particularly stunning, the area is an excellent starting point for various excursions.
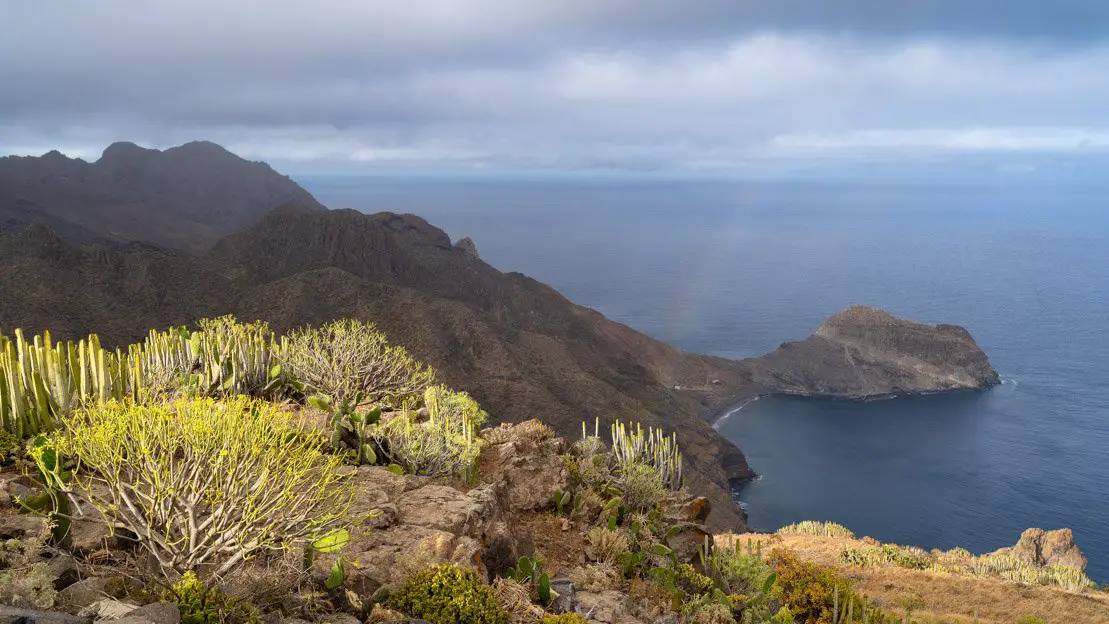
Playa Antequera in the distance.
Particularly popular is the one to Playa Antequera; it can only be reached on foot after a rather long trail or by boat (an excursion with Nautica Nivaria was advertised in the village), so it remains one of the least frequented beaches in northern Tenerife and at the same time one of the most beautiful. Unfortunately, I arrived in Igueste in the late afternoon and therefore did not have the time to reach the beach but I still climbed up to the viewpoint following the path described on this page from where you have excellent views of both Playa Antequera and Santa Cruz de Tenerife with Teide in the background. If you want to reach the beach, the path to follow is basically the same and is the one described in full on this page, if you wish you can also complete a circuit as described on this page. Note that in both cases, as soon as you leave the village of San Andrés there is a short detour to “El Semáforo”, I don’t think it is worth it.
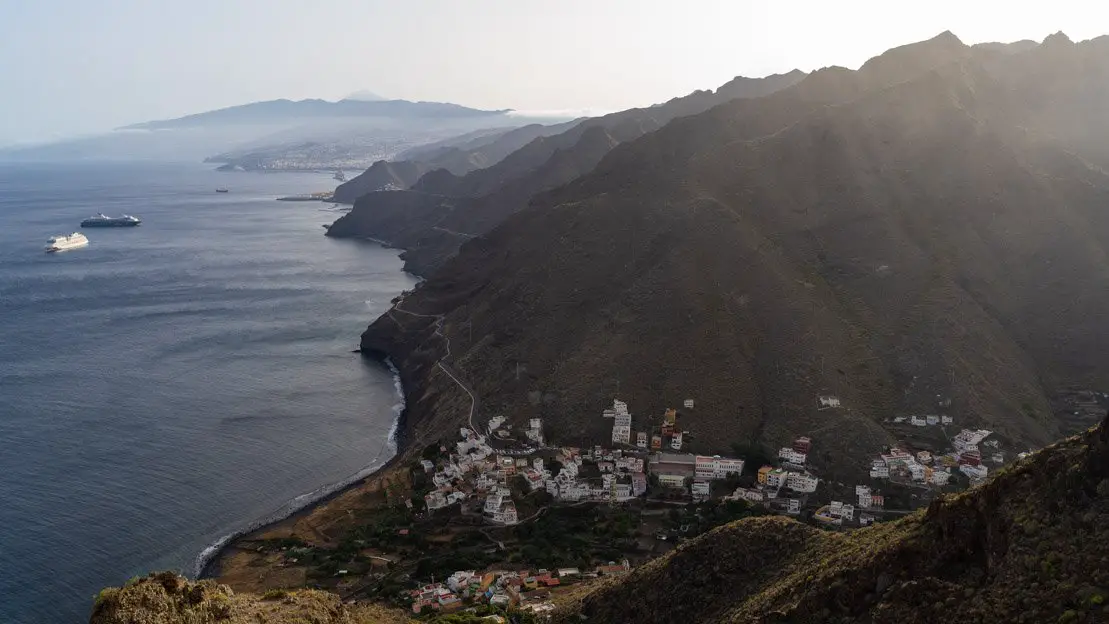
Igueste de San Andrés.
Teno Rural Park and the rest of the north coast
This section is your guide to exploring the many excursions within Teno Rural Park, along with the charming towns dotting the northern coast of Tenerife. We’ll cover everything you need to know, excluding the places already discussed in the Anaga Rural Park and Northeast Tenerife section.
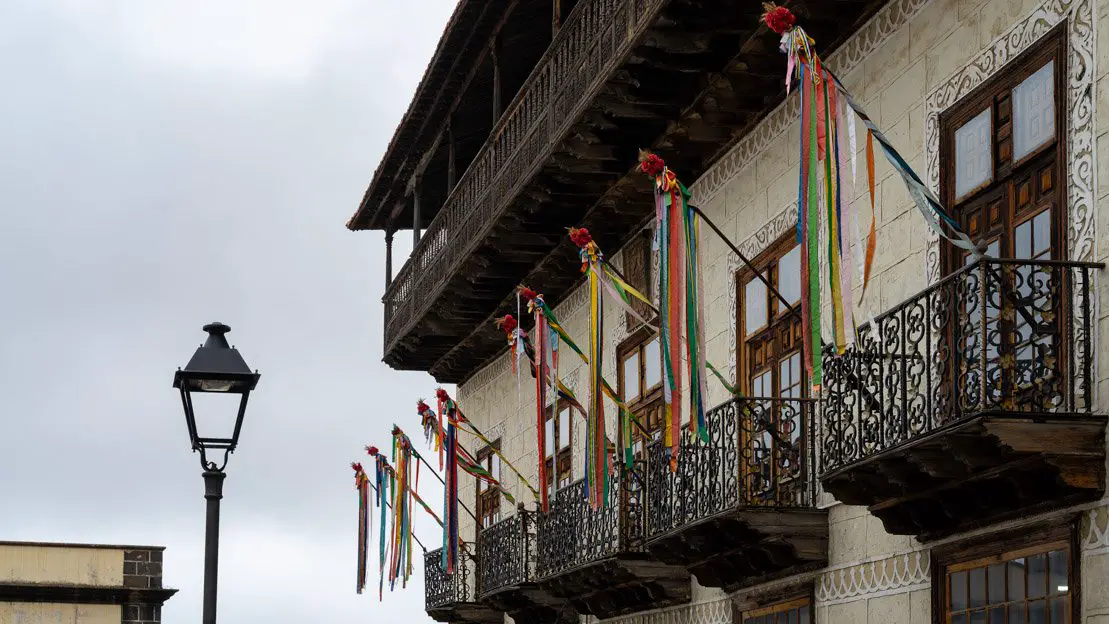
Casa de los Balcones.
La Orotava
The historic center of the town is undoubtedly one of the most beautiful on the island, the charming cobblestone streets and numerous colonial-style buildings making it in my opinion a must-see along the north coast of Tenerife. Highlights include the church de Nuestra Señora de la Concepción, the Jardín Victoria and the Casa de los Balcones, the latter of which is a house museum that tells the history and culture of the island. If you’re looking for a place to eat typical Canarian dishes without spending a fortune I recommend Bar Los Castillos a short walk from the center. For parking without going crazy, there is a paid parking lot a short walk from Plaza Casañas.
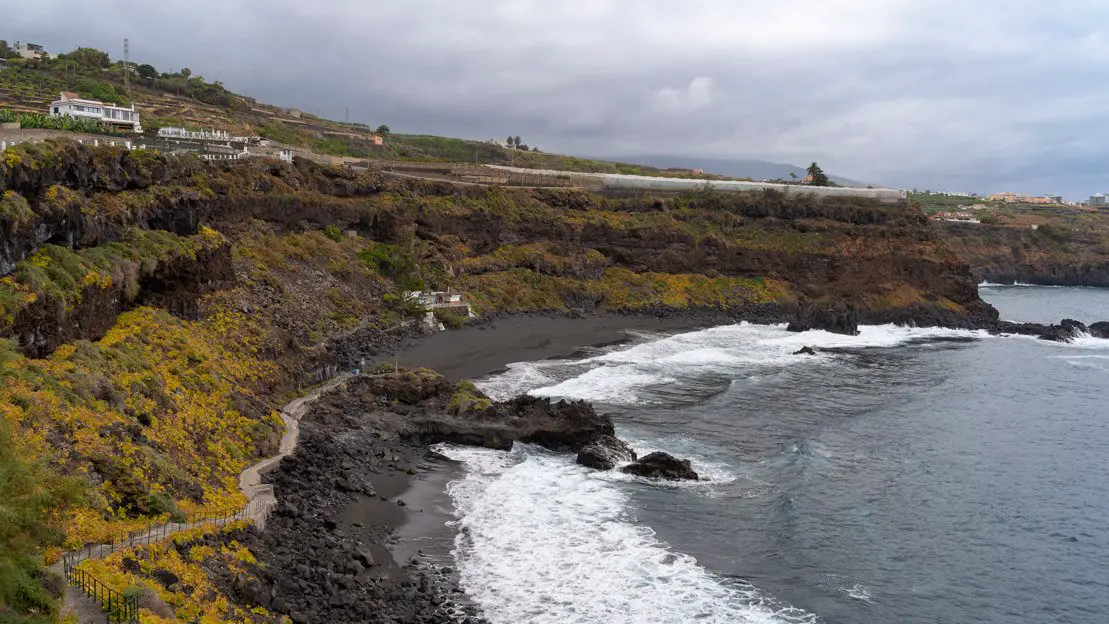
Playa El Bollullo.
Also just a few kilometers from town is one of the most beautiful beaches in northern Tenerife, Playa El Bollullo. This black-sand beach is an ideal destination if you want to avoid the crowds that characterize the beaches of southern Tenerife. In any case, as mentioned several times throughout this guide, along the north coast the currents can be strong so be careful. The beach can be reached by car at the end of a road that is quite narrow in places; the only option for parking is at Restaurante Bollullo, they charge 3€ for the all day.
Finally, about halfway between La Orotava and Icod de los Vinos I recommend stopping briefly at Mirador de San Pedro. The views are excellent, there is a restaurant and if you wish you can even complete a short trail along the coast.
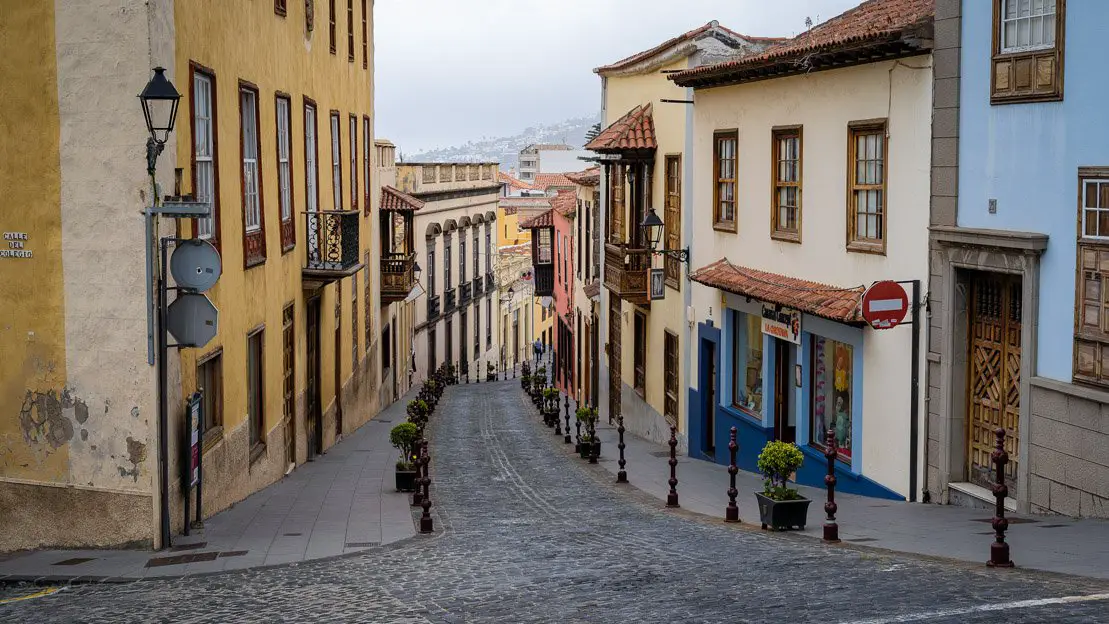
La Orotava.
Where to sleep in La Orotava?
Hostel Tenerife is a hostel in the center of the city, perfect for solo travelers or just budget travelers. While a great option a few kilometers from the center is El Refugio de Maria.
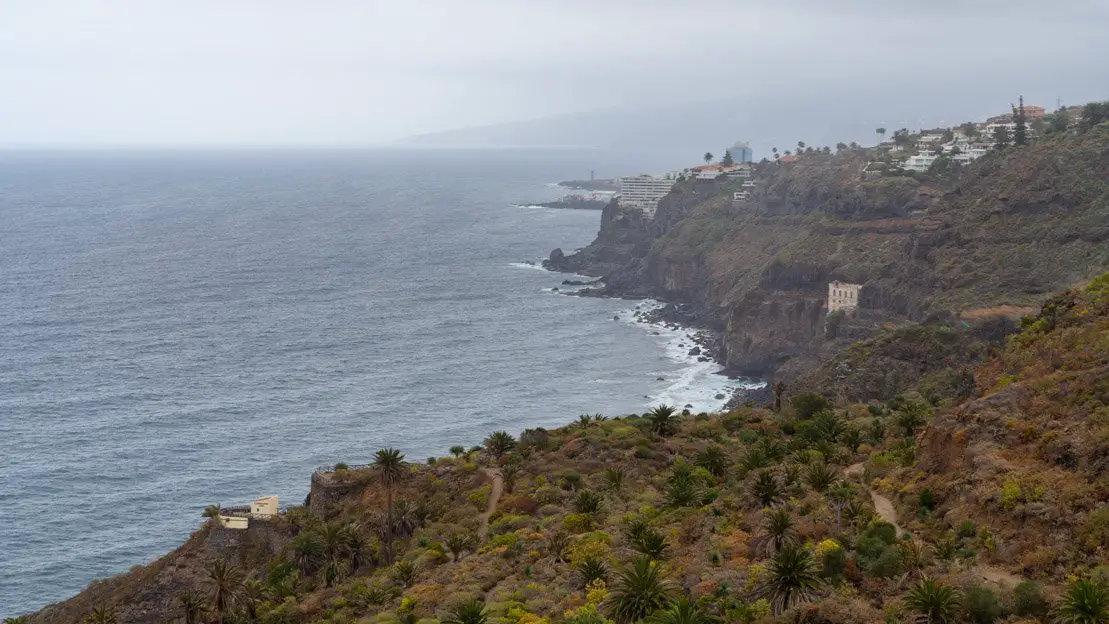
Mirador de San Pedro.
Icod de los Vinos
Icod de los Vinos has become famous because of the giant dragon tree simply called “El Drago” that stands in the center of town and is estimated to be between 600 and 800 years old. In all honesty, I expected to see a monster-sized tree and was a bit disappointed, but I think the town itself is still worth a visit. The small old town is nice and besides El Drago you can visit the banana museum, the Mariposario del Drago (a tropical garden that is home to over 800 butterflies) and the Malvasia Museum.
Finally, a short distance from Icod de Los Vinos, one can join guided tours of the Cueva del Viento, which is part of Europe’s largest lava tunnel system, the sixth largest in the world. To visit, you must join an organized tour lasting about two hours that can be booked online at this page. I have not personally done it but according to the reviews it seems to be pretty cool.
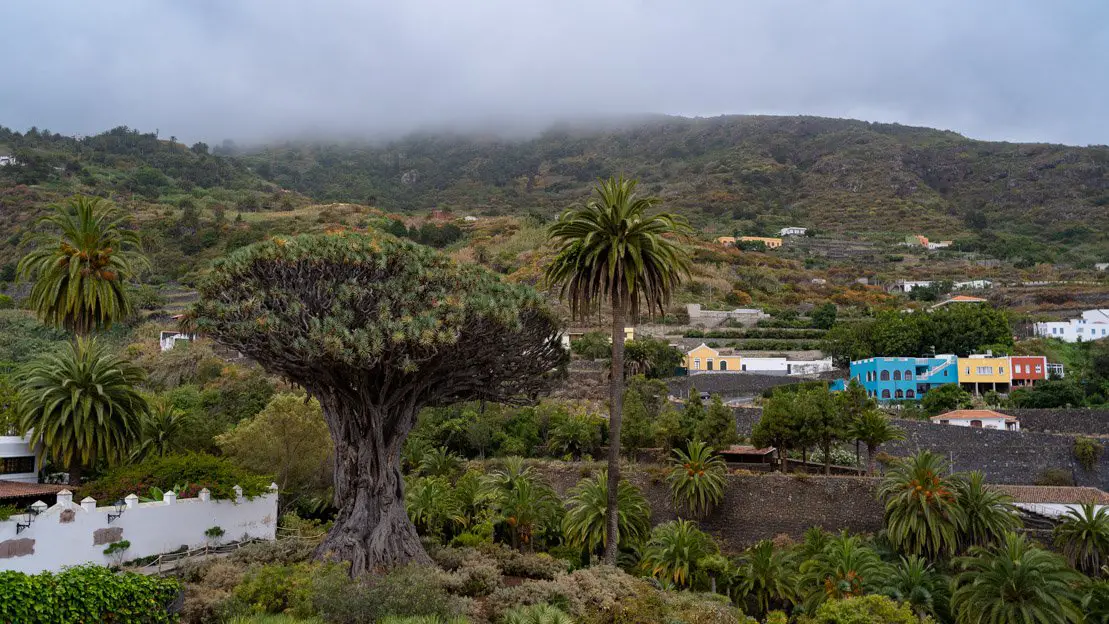
El Drago.
Where to sleep in Icod de los Vinos?
Drago Nest Hostel is the cheapest option especially for solo travelers. Two other interesting options are Casa Antonio Guest House and Mirador Playa San Marcos.
Garachico
Garachico was for years one of the island’s main ports and consequently one of its wealthiest cities. Unfortunately, a series of events, most notably the eruption of 1706 that wiped out the ancient port in its entirety, marked the end of the town’s golden age, which saw no further development. Within the Parque de la Puerta de Tierra you can see the remains of the ancient gate that gave access to the city. Fortunately, the historic center has not been impacted and is considered among the most beautiful on the island, particularly the Plaza de la Libertad and the adjacent narrow streets.
There are also a number of natural pools on the Garachico waterfront where you can swim protected from the waves or simply stroll around. Playa de Garachico, while not particularly beautiful, being protected from the waves is also a great place to swim. If you arrive by car, there is ample free parking at this spot a short walk from the center.
Finally, around the city there are a number of scenic spots where it is definitely worth stopping including: Mirador de El Guincho, Mirador de La Atalaya, and the Mirador de Garachico.
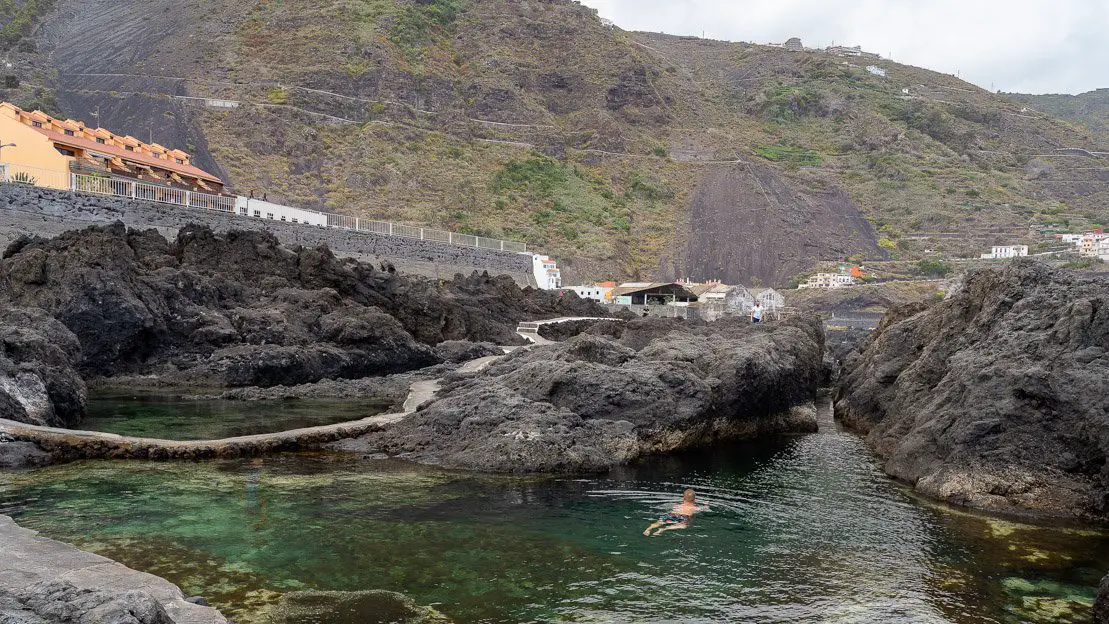
Garachico pools.
Where to sleep in Garachico?
The only hostel in town is Trevejo Hostel conveniently located in the center of town. While if you are looking for a cheap room or apartment you have to move outside the city by opting for solutions such as Aptos Las Salinas.
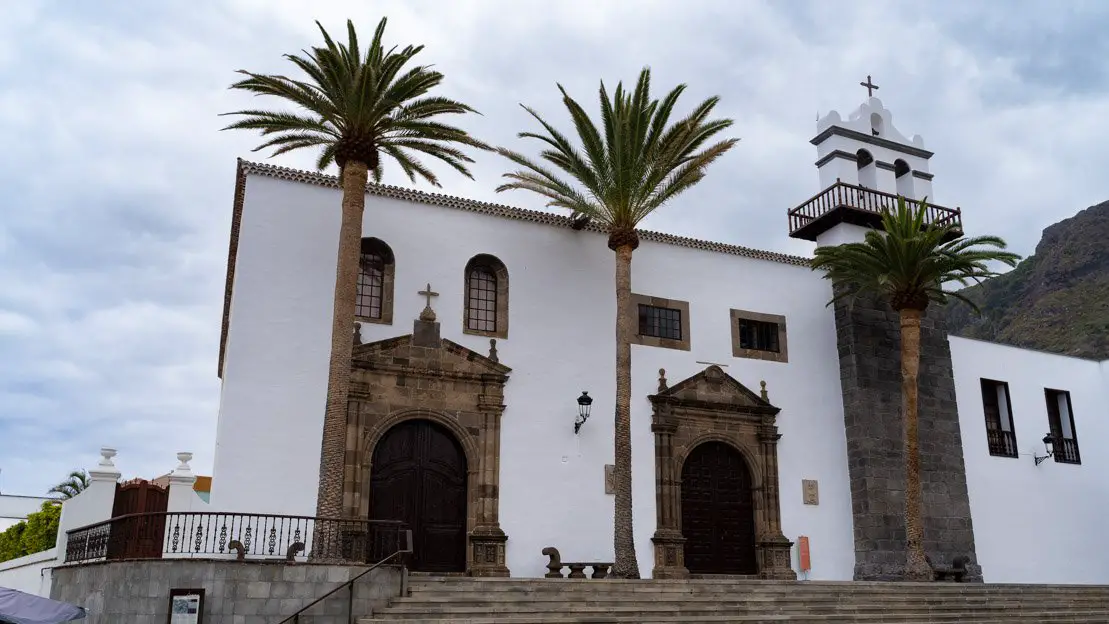
Iglesia de nuestra señora de los Ángeles.
Los Silos and Buenavista del Norte
These two charming towns, within walking distance of each other, are a perfect base for discovering the northern part of Teno Rural Park. They offer a less touristy alternative to Garachico, Icod de los Vinos, and La Orotava, with their authentic, local atmosphere and picturesque main squares. If you’re seeking a more genuine experience and a strategically located base for exploring the area, consider staying in either of these villages. There is also a small natural swimming pool and a whale skeleton near Los Silos.
Where to sleep in Los Silos and Buenavista del Norte?
Estudio Casco and Luz del Mar are two good options in Los Silos, while in Buenavista del Norte check out Tabaiba Guesthouse and Casa emblemática.
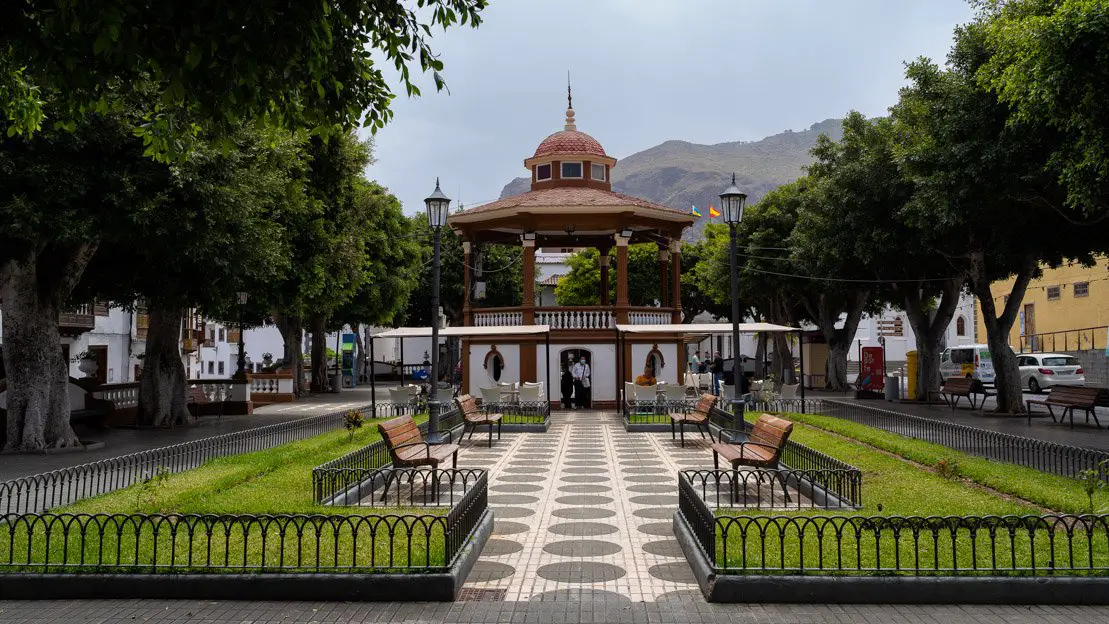
Plaza De La Luz, Los Silos.
Teno Rural Park
Teno Rural Park encompasses the mountainous region in northwestern Tenerife. Its sheer vertical cliffs, deep gorges, and relative isolation compared to Anaga Rural Park and Teide National Park create a sense of seclusion, lending the area a mysterious atmosphere.
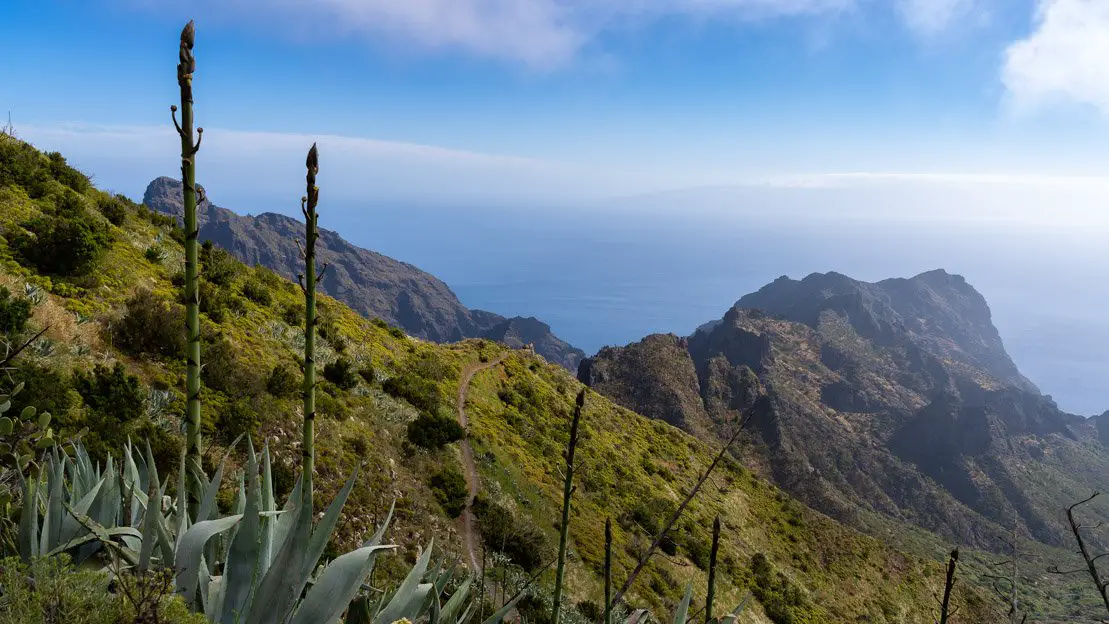
Teno Rural Park.
Punta de Teno
Visiting Punta del Teno is considered by many to be a highlight in this part of the island. Personally, perhaps because of high expectations, I was not particularly impressed but I still think it is worth visiting this lighthouse that really gives one the feeling of being at the edge of the world. That said, there’s not much to do except admire the cliffs of Los Gigantes in the distance and maybe go swimming at Playa Punta de Teno; entrance to the lighthouse is off limits to the public.
It is important to note that access to the road leading to Punta del Teno is restricted to authorized vehicles only in summer from 9:00 am to 8:00 pm and in winter, fall, and spring from 10:00 am to 7:00 pm. At this point there is an actual bar with a lot of security, this means that if you want to visit the lighthouse during these hours you have two options: walk along the road (it is about 6 km) or take the 369 bus that shuttles between Buenavista del Norte and Punta del Teno about every hour, the cost is 1€, here is the closest stop and you can park your car at the side of the road.
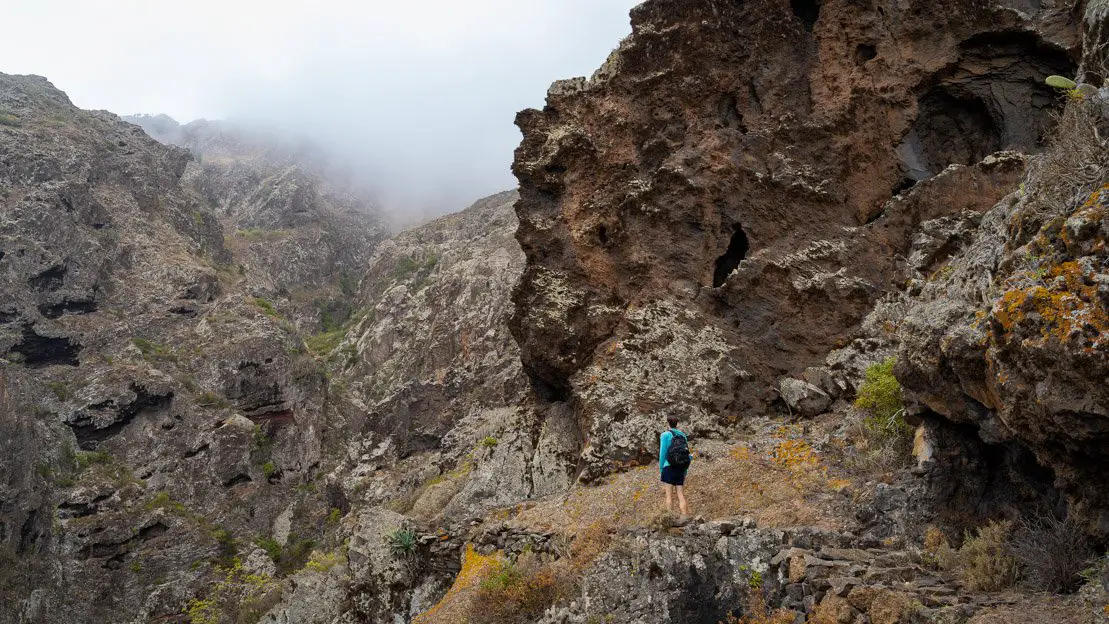
Hiking to Teno Alto.
A final alternative, which I highly recommend for those up for a challenge, is the “Camino del Risco” hike, detailed on this page. The trail is quite hard, especially in the first part all uphill to Teno Alto, where if you wish you can have lunch before continuing the walk. In any case it should not take more than 4-6 hours. As you will notice from the map you start walking exactly where the bar mentioned above is and always at this point you can park your car, from here you go up to the village of Teno Alto before descending to the sea and coming out on the road a couple of kilometers from the lighthouse.
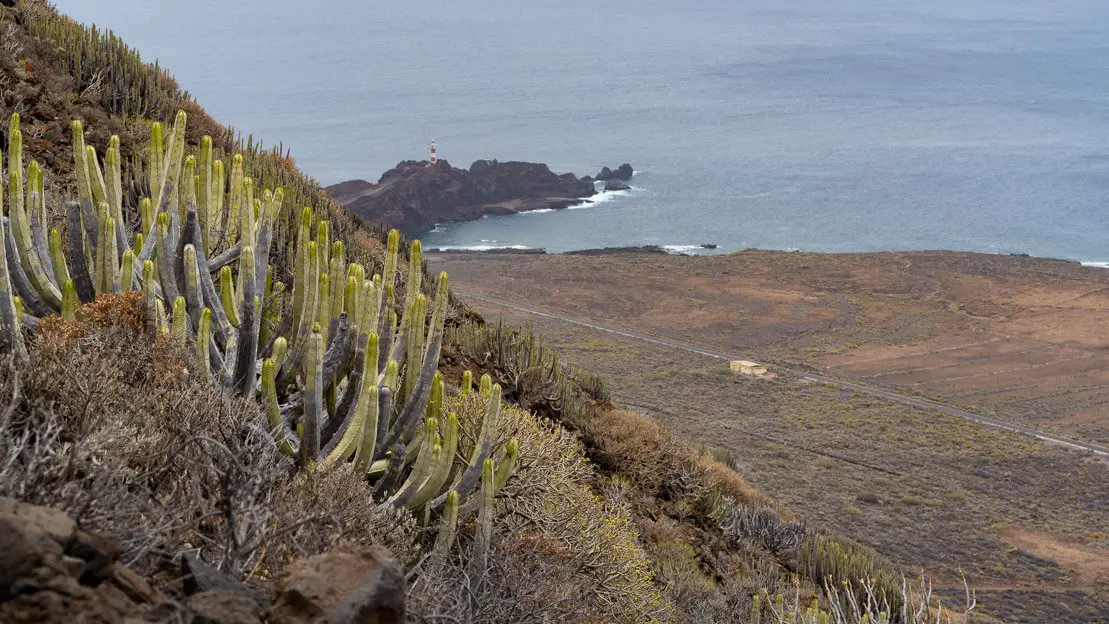
Way down to Punta de Teno.
About where the trail intersects with the road, there is a bus stop where you can wait and save yourself a 2 km walk to the lighthouse. Of course, if you are not interested in visiting the lighthouse you can simply wait for the first bus heading back to Buenavista del Norte. The only real issue is that there’s no official bus stop at the barrier where you need to pick up your car. If the bus driver won’t make an exception for you, the first available stop is a couple of kilometers away in the direction of Buenavista del Norte. From there, you’ll have to walk back to get your car.
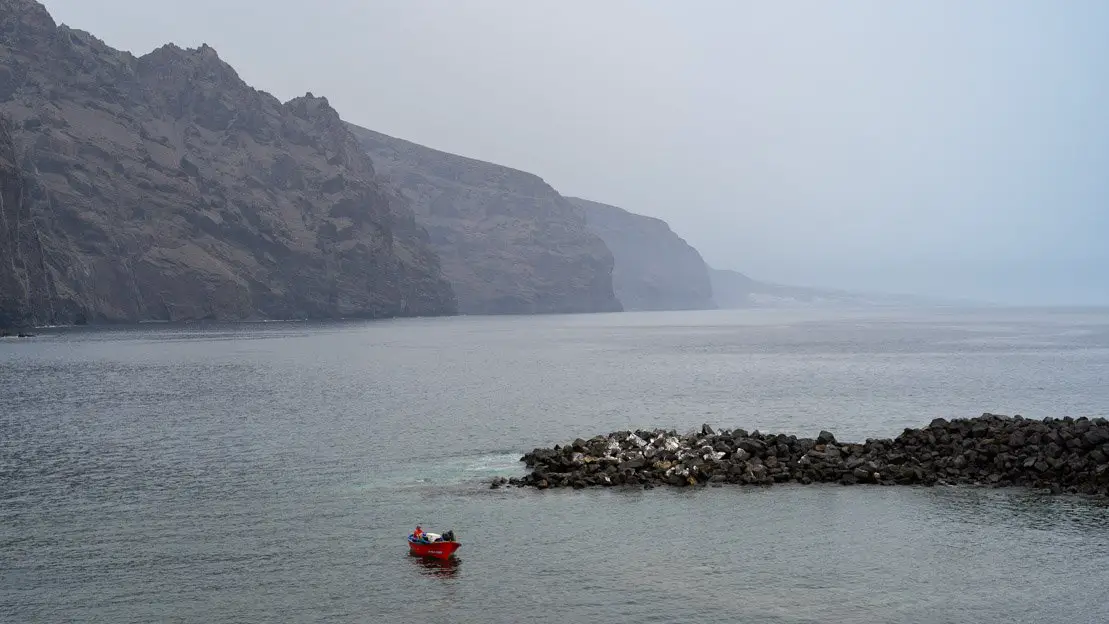
Los Gigantes seen from Punta de Teno.
Cumbre de Bolico e Risco Verde
This is a custom route I created by combining a couple of trails, and I highly recommend it! You’ll find all the details on this page. If you’re looking for a shorter version, skip the detour that leads to the top of Risco Verde, where you can enjoy 360-degree views of the Teno mountains.
But don’t worry, even without the Risco Verde detour, the trail offers fantastic coastal views once you reach the mountain ridge after passing through the forest. It’s a beautiful hike, and I strongly recommend it. To start, you can park your car along the road in Las Portelas at this point.
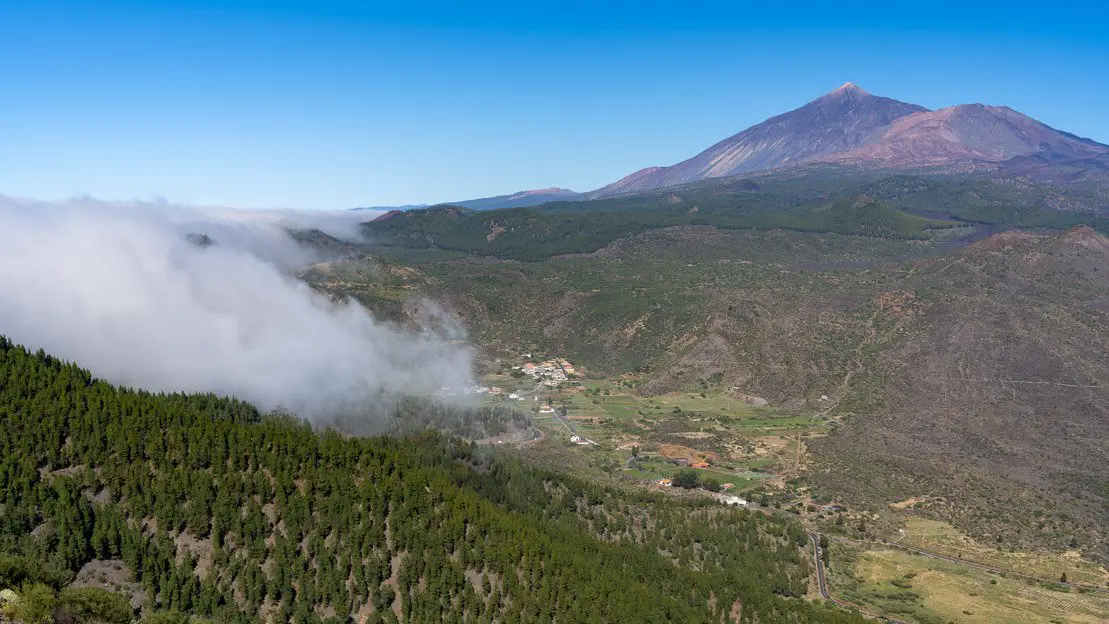
View from Risco Verde.
Masca
The small village of Masca is undoubtedly one of the most picturesque on the island and is also the starting point of one of the most iconic hikes within the Teno Rural Park. From the small village it is in fact possible to descend down the Masca gorge, a deep gorge that leads down to the sea. Before even talking about the hike, however, it is good to say a few words about the village.
Masca is a popular yet secluded destination, accessible only by a winding mountain road. However, due to limited parking in the village and the impossibility of parking along the narrow road, visitors are only allowed a maximum of two hours in the village parking lot. This is usually enough time to explore the small village, snap some photos, and grab a bite to eat. However, if you plan to hike down to Playa de Masca through the barranco, you’ll need more time.
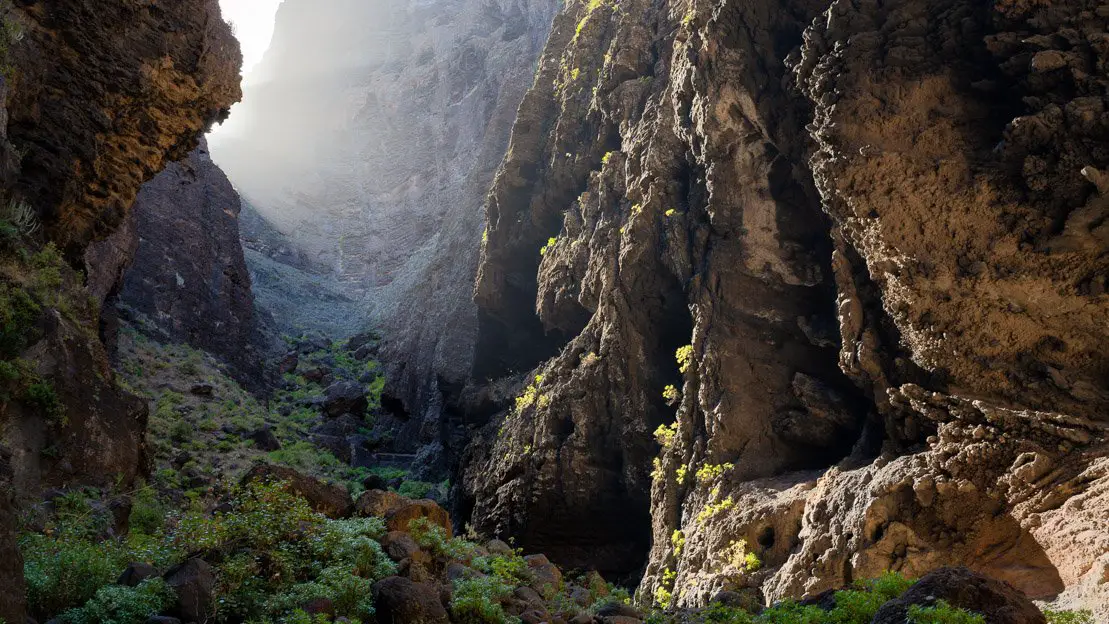
Barranco de Masca.
In this case it is essential to do a few things. The trail until recently was open to the public without any restrictions but following a couple of incidents is now heavily regulated. First of all you have to book your spot online through the official website. I was lucky enough to do it completely free of charge during the “trial period” but was told it would soon cost 16€ per person. Once you arrive at the small village you have to check in at the visitor center where you are given a briefing and handed a helmet to wear for the duration of the hike due to the danger of falling rocks. The staff is extremely strict about the type of footwear you wear, you must have hiking boots or at least hiking shoes, with simple sneakers you are denied access.
Given the two-hour limit for parking and the fact that the recommended time to complete the hike is 6-7 hours (walking at a brisk pace took me less than three hours) it is necessary to reach the village by public transportation or taxi as explained in detail here. Personally, I took the 8:15 bus from Santiago del Teide and I think it is the best option especially if you are coming from the south. Let me add that despite what is reported on many sites, you can pay directly with a regular debit card.
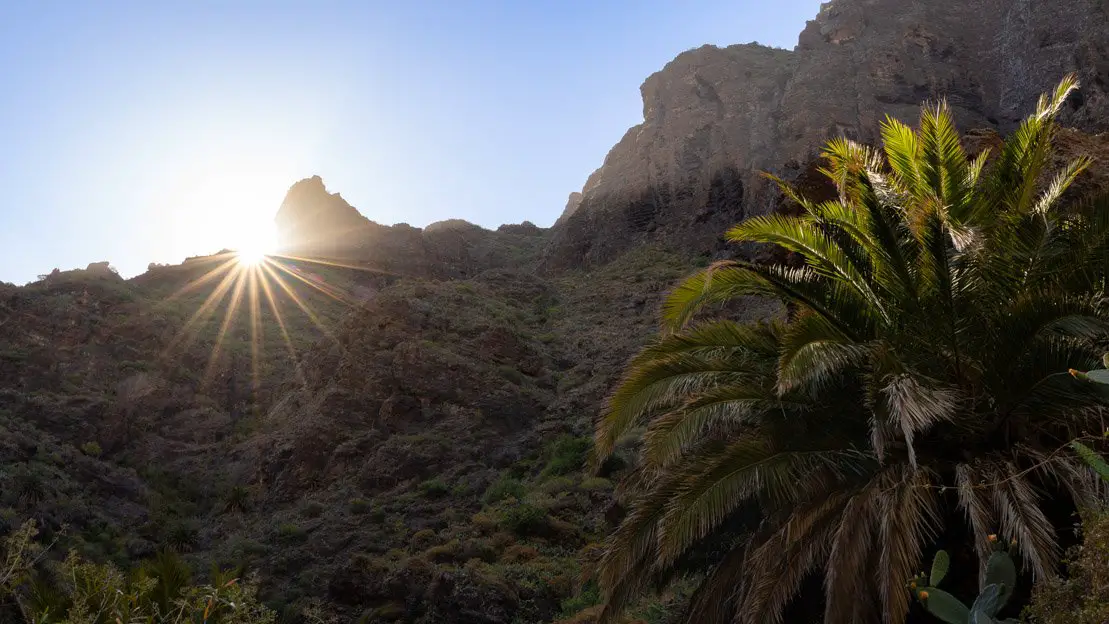
Barranco de Masca.
Having laid all of this out, despite the parking restrictions and various rules, the walk is truly enjoyable and I highly recommend it, especially if it’s still free when you read this guide. If the rumored €16 per person fee is confirmed, you might find better ways to spend your money, but if budget isn’t a concern, I doubt you’ll be disappointed.
Since I no longer run ads, if you found this article helpful, please consider purchasing your travel insurance through one of the links on this site. Doing so supports my work at no additional cost to you. For EU and UK residents, I recommend True Traveller. For everyone else, I recommend HeyMondo, which offers a 5% discount. Thank you for your support!
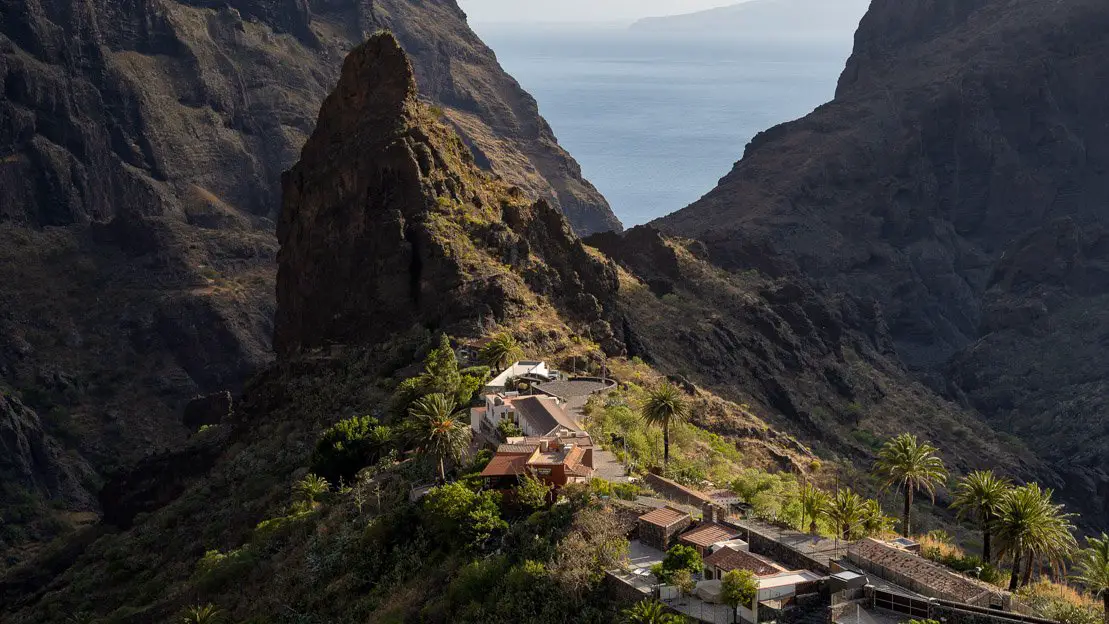
Masca village.
Tamaimo e Montaña de Guama
This trail also known as the “Tamaimo Loop” described on this page is a really pleasant and not too long hike that can be completed in about 2-3 hours and offers fantastic views of the coast. The trail, although relatively short, is steep in places and completely exposed so if it is a sunny day it can get really hot. To save you the walk into town and a bit of road you can park your car directly at this spot.
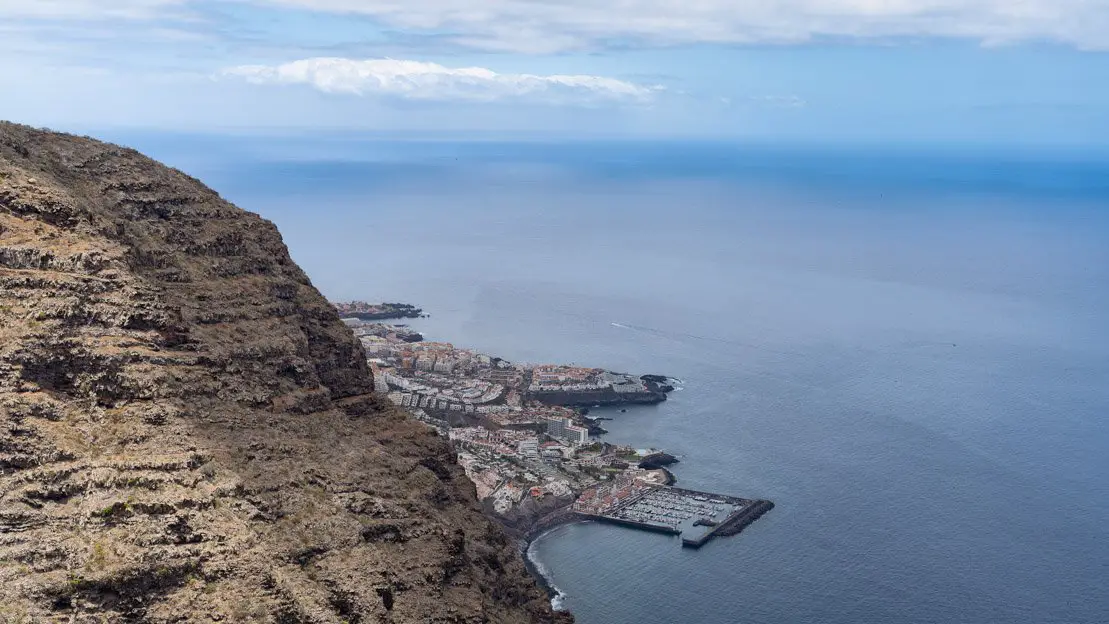
Puerto de Santiago.
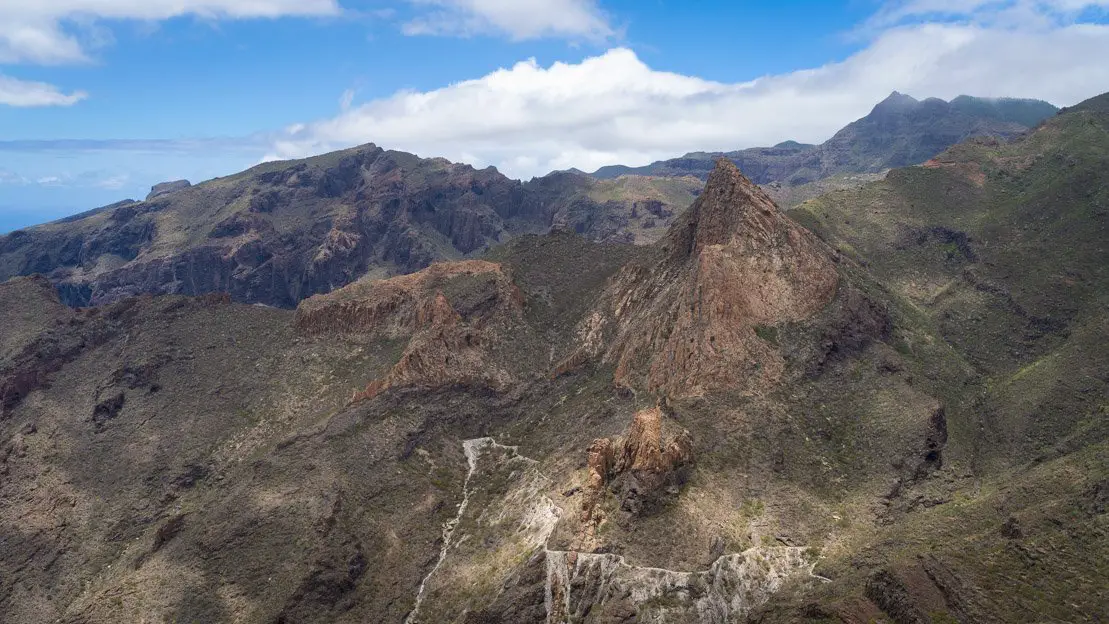
View along the trail.
Where to sleep to explore the Teno rural park?
For the northern part of the park my advice is to sleep between Los Silos and Buenavista del Norte although actually Garachico, Icod de los Vinos and La Orotava are not too far away either. Or if, like me, you don’t disdain the tent I strongly recommend the camping area Los Pedregales, a nice campground with bathrooms and showers in a great setting and above all completely free, provided, however, that you have a reservation. As for the southern part of the park, Santiago del Teide unfortunately does not have many cheap options for solo travelers, if you are not traveling alone check out Casa Fina or alternatively, although slightly further away, you can always camp in San José de Los LLanos or sleep at Arena Nest Hostel in Puerto de Santiago.
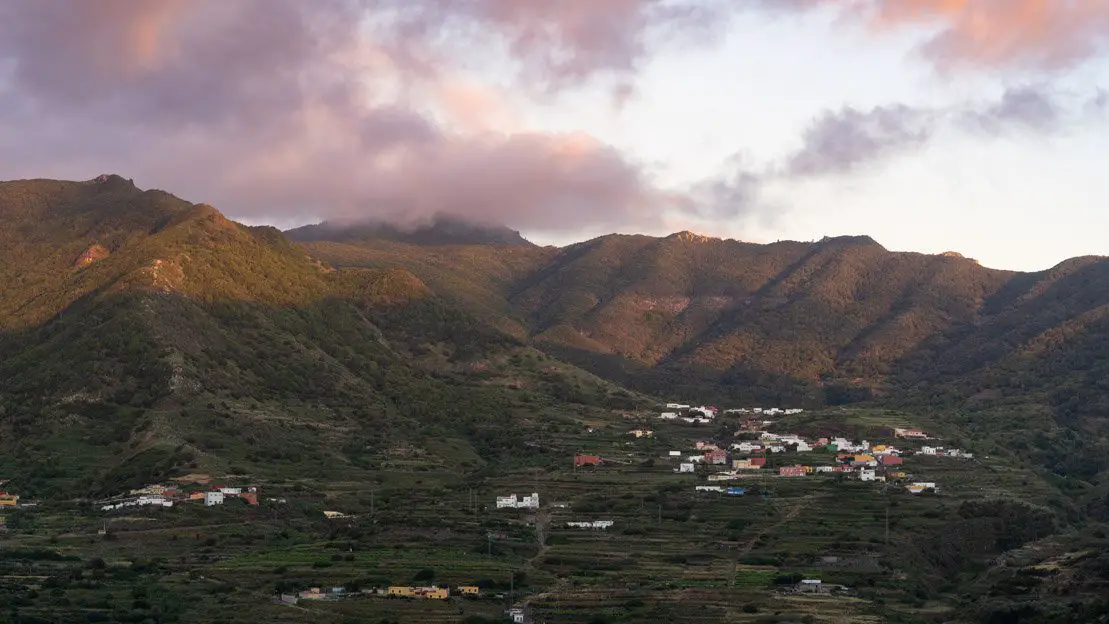
Sunset at Los Pedregales campground.
Los Gigantes, Puerto de Santiago and Playa Abama
Going down the coast between Teno Rural Park and Los Cristianos there are at least a couple of destinations worth visiting. First, Los Gigantes and Puerto de Santiago, which can technically be used as a base to explore Teno Park in the morning and spend the rest of the day at the beach.
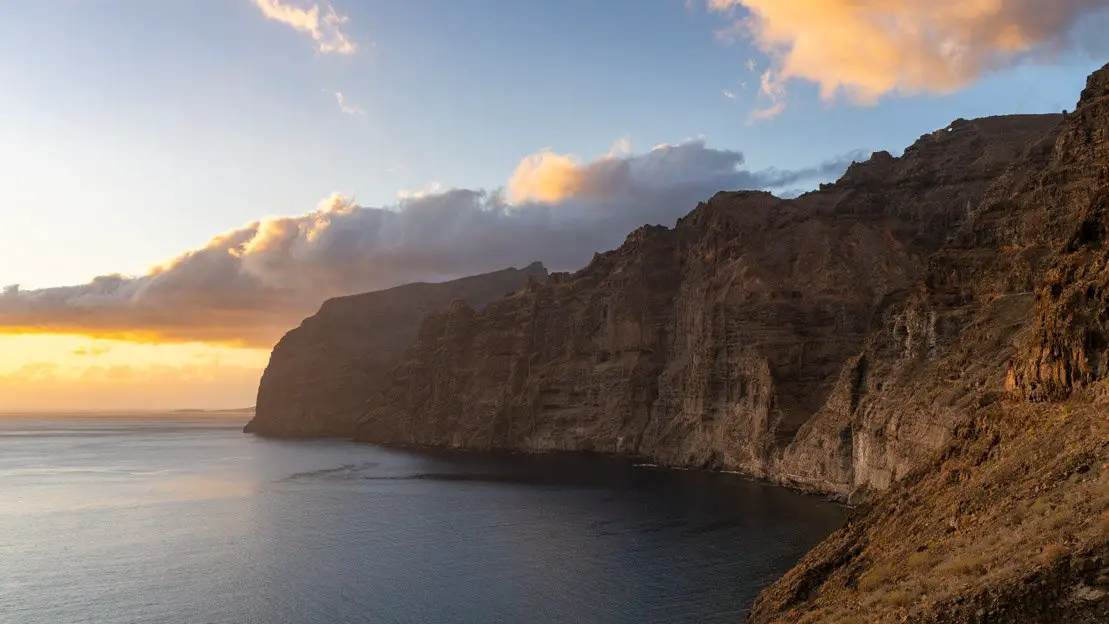
Los Gigantes.
Both towns are extremely touristy but if this is what you are looking for or at least you don’t mind, you will not be disappointed. Playa de los Gigantes in addition to being a nice beach offers some great views of the famous cliffs, for the best vantage point I recommend going up here, especially nice at sunset. While in Puerto de Santiago don’t miss the natural pool and Playa Chica or Playa de Santiago.
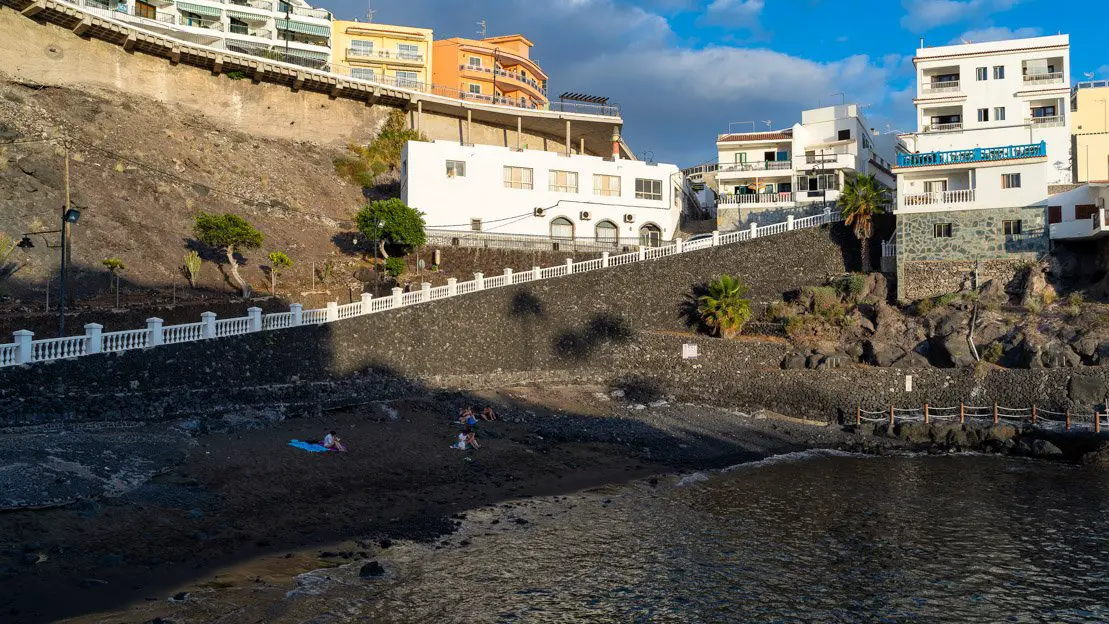
Playa Chica or Playa de Santiago.
Finally, Playa Abama although crowded, is really nice and perfect for swimming. While the beach is public and accessible to everyone, it’s unofficially associated with the five-star Ritz Carlton Hotel, so it’s exceptionally well-maintained and offers all the necessary amenities. You can drive down, but there’s no parking available, so save yourself time and park here before walking down.
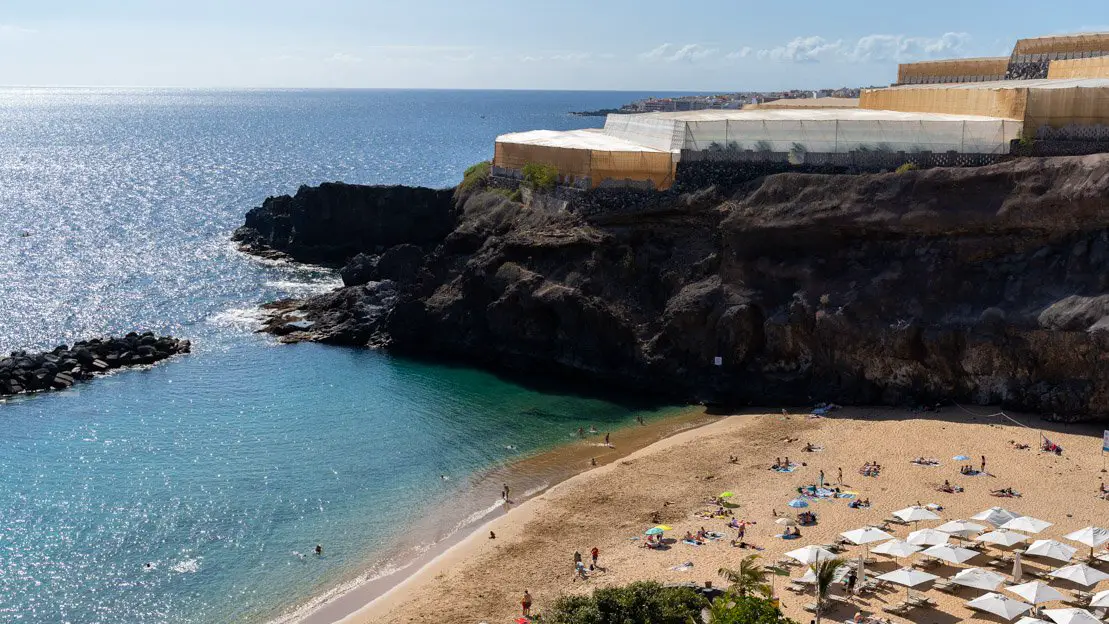
Playa Abama.
Teide National Park and southern coast of Tenerife
In this section you will find lots of hikes to do in Teide National Park plus some destinations along the south coast of the island.
Los Cristianos
If you’re heading to Tenerife and want to experience the lively nightlife, Los Cristianos is the place to be, especially Playa de Fañabé. This beach, surrounded by bars and clubs, is the epicenter of the island’s party scene.
While the city’s main beach Playa de Las Vistas is considered one of the most beautiful but also crowded in southern Tenerife. The wide beach, being in the center of town has all the amenities, and there is no shortage of bars and restaurants on the waterfront.
In short, Los Cristianos as indeed much of this stretch of coast is extremely touristy. Personally, I preferred to spend my time elsewhere and stayed only one day arriving by ferry from La Gomera. Depending on the type of trip you have in mind, though, Los Cristianos might be what you are looking for. I don’t have any discos or clubs to recommend but if you want to eat delicious roasted chicken while spending little, drop by Bar Deportivo.
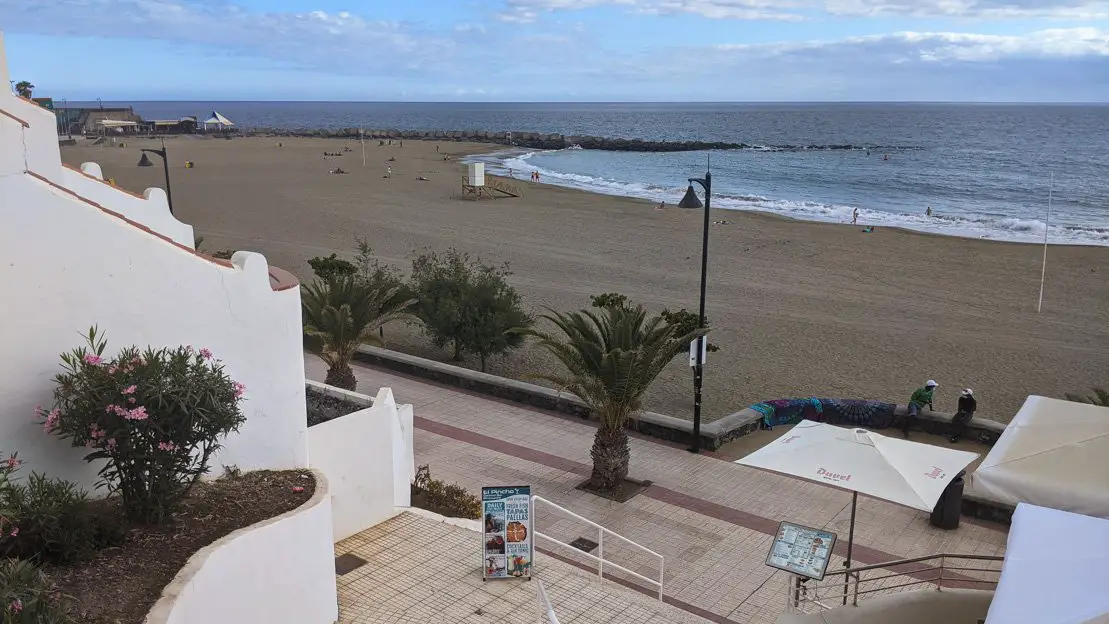
Playa de Las Vistas.
Where to sleep in Los Cristianos?
I shared a room at the Banana Surf House and can only recommend it, clean, cheap, and with a kitchenette to make your own food. If you are looking for a room closer to the beach check out Casa Endorfina. Unfortunately, Tenerife Hostel, which seems to be the only hostel in Los Cristianos, has bad reviews.
Reserva Natural Especial de Montaña Roja
Although I haven’t personally visited this stretch of coastline, I wanted to mention the beaches within the Reserva Natural Especial de Montaña Roja, as they’re considered some of the most beautiful on the island.
In particular Playa del Médano, which given the optimal wind conditions, is popular especially among windsurfers but is also suitable for swimming since this part near the village is protected from both wind and waves. While Playa de la Tejita, on the opposite side of Montana Roja, seems to be frequented by nudists.
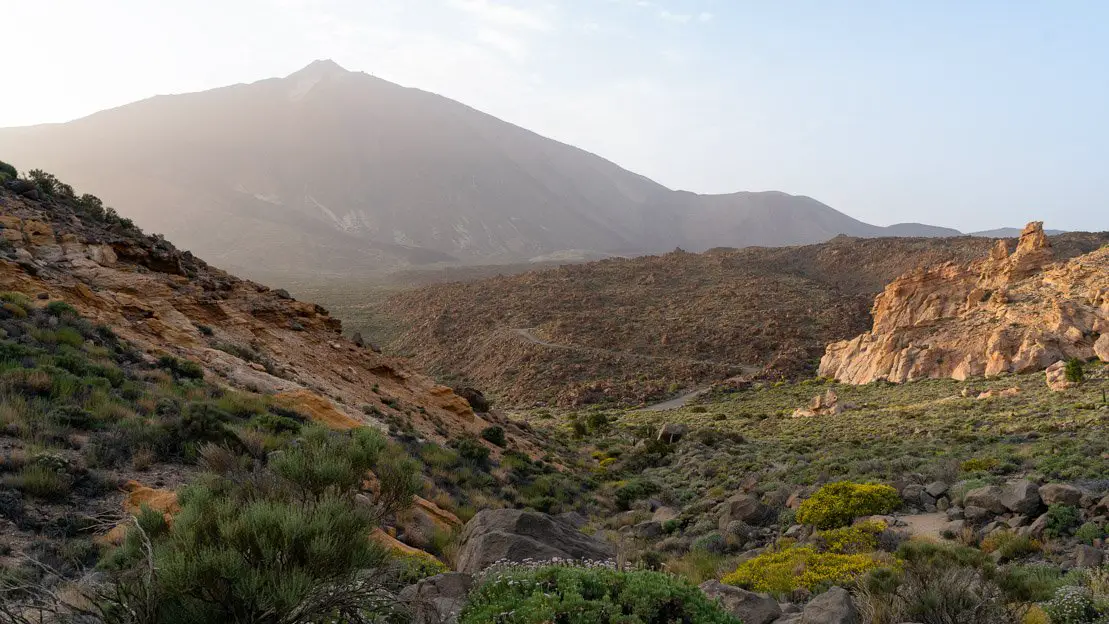
Teide.
Teide National Park
This national park with its Martian landscape is truly fascinating and not surprisingly the most visited park in Europe. Technically you only need to drive through it stopping at a few viewpoints along the way to enjoy these unique views but better yet is to explore it on foot. Whether you want to take a short walk or a multi-hour hike up to the Teide proper, here are some routes for all levels of difficulty. If you want a full list of all trails within the park, check out this page.
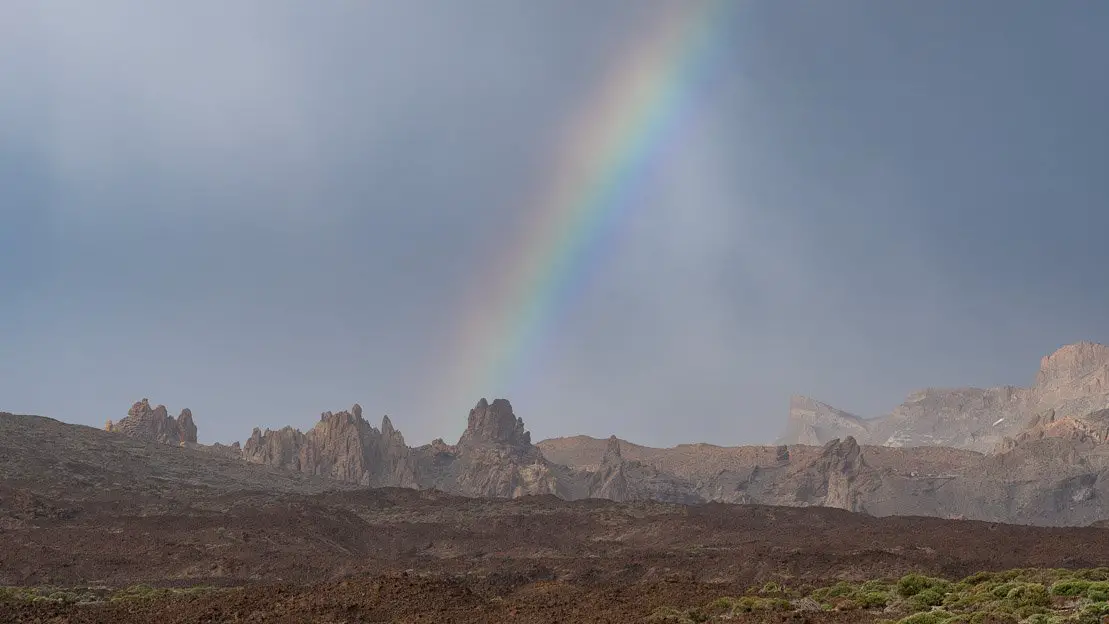
Rainbow over Roques de García.
Roques de García Circuit
If you are short on time or maybe you just want to do an undemanding trail, this is the right option for you. The circuit starts at the Mirador de la Ruleta and is detailed on this page . Although I guarantee you that the route is really obvious and you certainly don’t need GPS coordinates. You basically go around the base of the rock formations named Roques de García. If you decide to complete the circuit counterclockwise a steep final climb of about 200 meters awaits you. If on the contrary you walk it clockwise, after the initial descent the elevation gain is less concentrated. If you really don’t feel like walking, the Mirador de la Ruleta itself offers some excellent views.
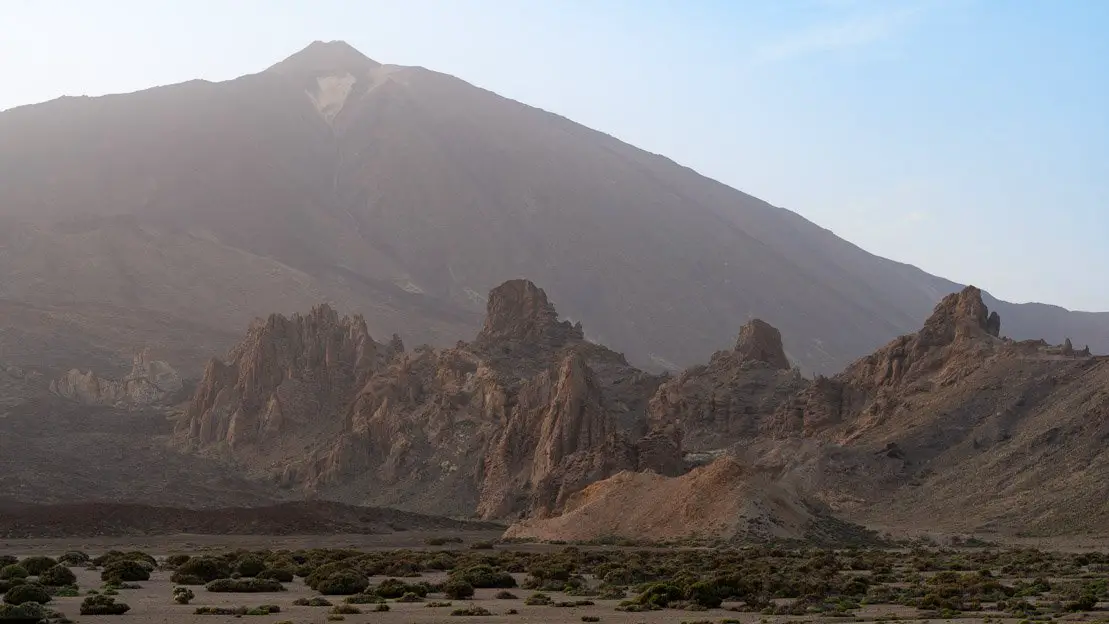
Roques de García.
Circuit Montaña de la Botija and Montaña Samara
The trail described on this page is a bit more demanding than the Roques de García loop, but it’s still doable for most people. There’s a parking lot at the trailhead along the road at this point. If it seems too strenuous, you can simply hike up to the Mirador de Samara for the best views. The contrast between the black lava fields, the vibrant green pines, and Teide in the background is incredibly photogenic.
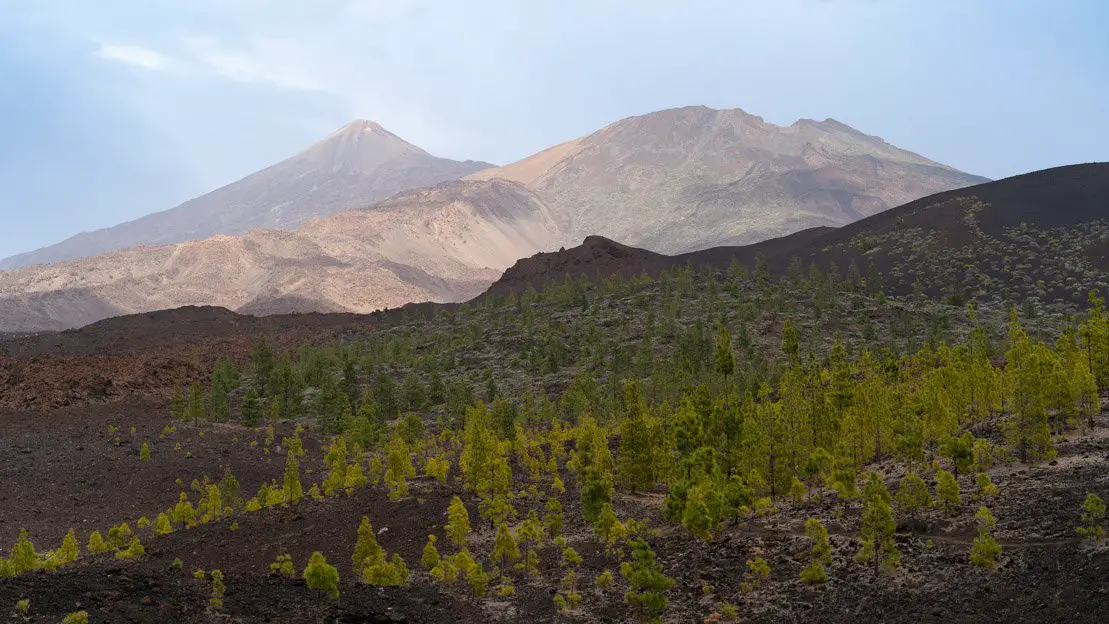
Mirador de Samara.
La Fortaleza
While the route described on this page is considerably longer than the previous two, its mostly flat terrain makes it relatively easy. The trail predominantly follows the plain at the base of Teide, leading to La Fortaleza, a flat-topped massif resembling a fortress. From here, you’ll enjoy excellent views of Teide and the forests of the Orotava Valley behind you. If you’re short on time, there might be better options, but it’s still a worthwhile hike overall.
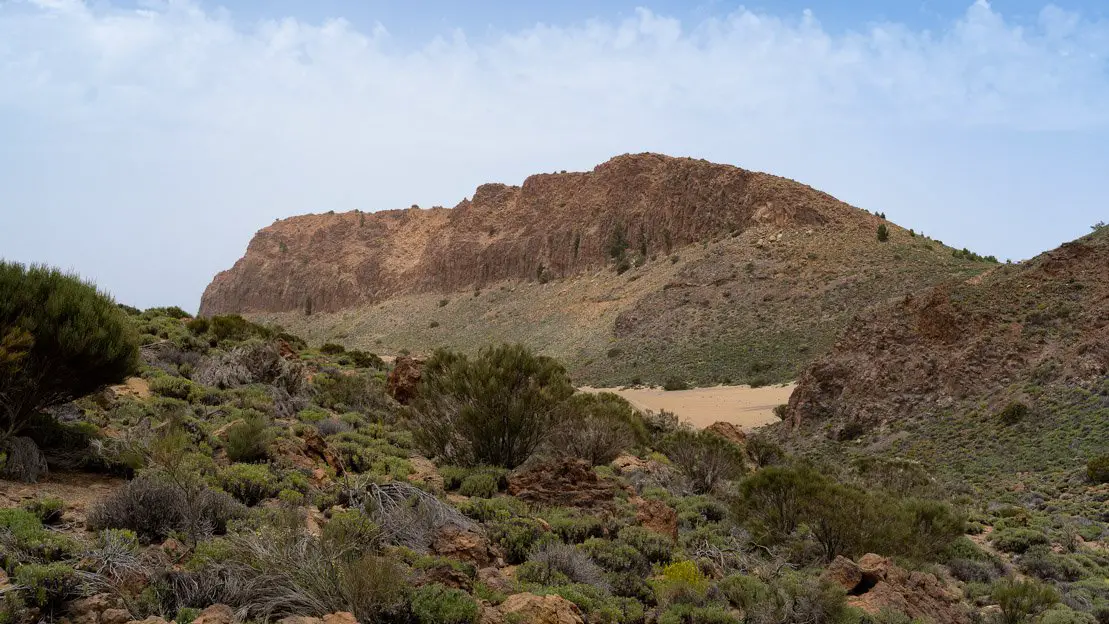
La Fortaleza.
Montaña Guajara Circuit
I personally followed this trail clockwise (important for the references below) and in my travel notes I wrote: “steep, uneven, and poorly marked.” This is because I believe that the trail that is used in the gps track to close the loop has been in disuse for years and no longer officially passable, so much so that there are at least two signs indicating that the trail to the top of Montaña Guajara is a “dead end.”
I couldn’t resist the temptation and despite the clear signs, once I got to the top I still decided to descend from the front, along the “steep, uneven and poorly marked” section of trail. I even enjoyed doing it but it’s certainly not something I would recommend. Basically, to avoid problems, and especially to avoid hurting yourself, I think it is much better to go down the way you came and at the first intersection take the right. Looking at the map it should be pretty obvious what I mean or alternatively you can just go back exactly where you came from, so doing so doesn’t present any kind of difficulty except the elevation gain.
In any case, at 2718 meters above sea level the views from the top of Montaña Guajara with Mount Teide exactly in front and the ocean behind are probably among the most beautiful the park has to offer. I highly recommend this hike.
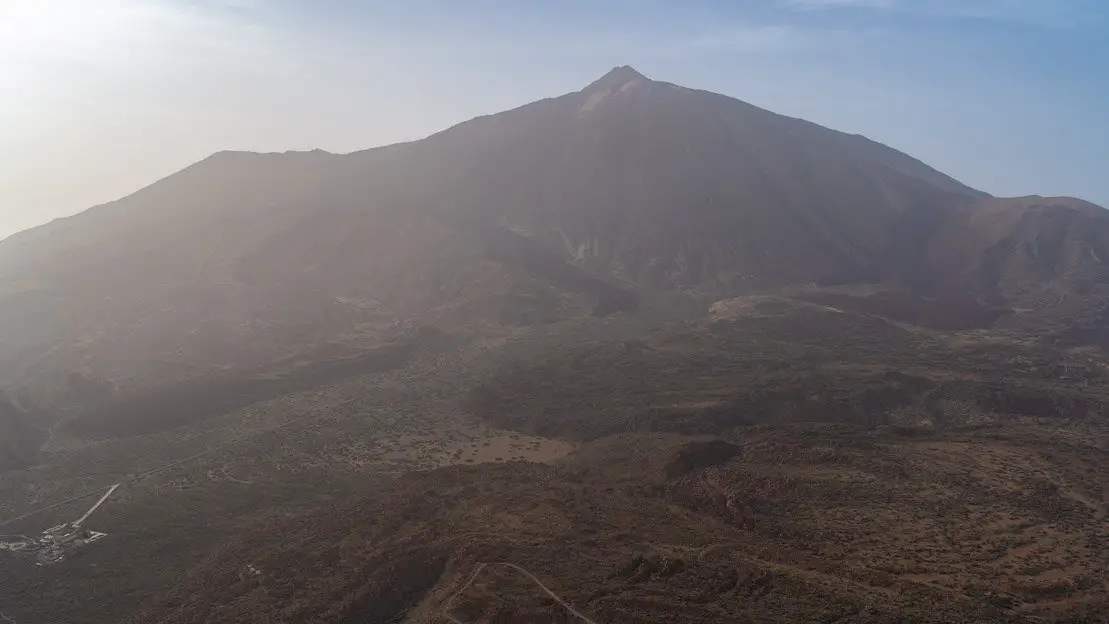
View from Montaña Guajara.
Mount Teide
Here we come to the star of the park, which is the ascent to Mount Teide itself. There are really a lot of different options for climbing to the summit or otherwise getting close to it, I’ll try my best to list them all as clearly as I can.
In all cases I would like to emphasize that to get to the actual summit, with a few exceptions discussed below, it is absolutely necessary to obtain a permit through the park’s official website since daily access is limited to a certain number of people. The permit that basically grants access to the “Telesforo Bravo” trail is free of charge but you should apply for it well in advance and above all remember to bring both the permit and the document used to apply for it with you!
In short, to hike the “Telesforo Bravo” section of the trail from the cable car station to the summit of Mount Teide you have three options: get a permit through the official website, book a tour that includes the permit, or pass the checkpoint before 9:00 am.
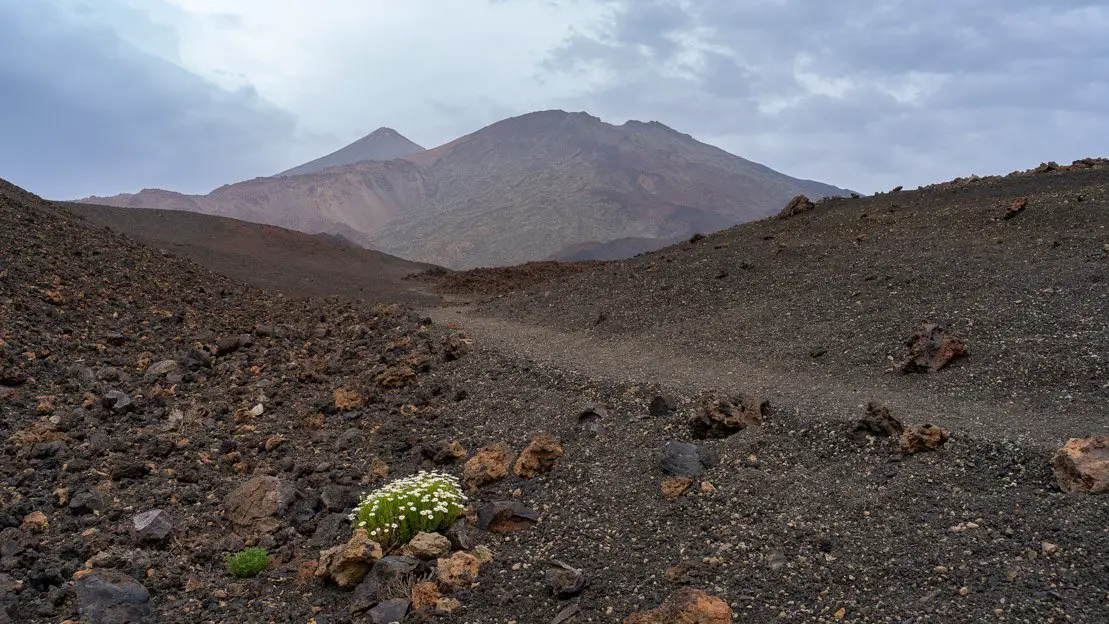
Mount Teide by cable car
This is definitely the quickest and easiest option but also the most expensive and for that matter in my opinion least fulfilling however I fully realize that for many it is the only option. The one-way ticket costs 21€ while the return ticket costs 37€ and can be purchased online at this page. If you’re looking for a more comprehensive experience, several packages include transportation to the cable car along with guided tours. Some even include the permit required for the ascent to the summit, saving you the hassle of obtaining it separately. You can find a complete list of these options here.
Basically, with the cable car you get to 3555 meters and from here if you want to climb to the actual summit you have to hike the last 163 meters of elevation gain, which in itself is not much but I assure you that if you are not acclimatized or otherwise in good shape it could be a pain. Once again, remember that to complete this last stretch, from the cable car station to the actual summit you need to obtain a permit through the official website or alternatively by buying one of the packages that include it.
If you are not interested in climbing to the top or have not been able to get a permit, the view in all honesty does not change much. My advice is to walk to Mirador La Fortaleza from where you have excellent views toward the northeast of Tenerife.
Additionally, the option to purchase a one-way ticket opens up the possibility of hiking to the summit of the volcano and then taking the cable car down, or vice versa. However, let’s explore some alternative choices.
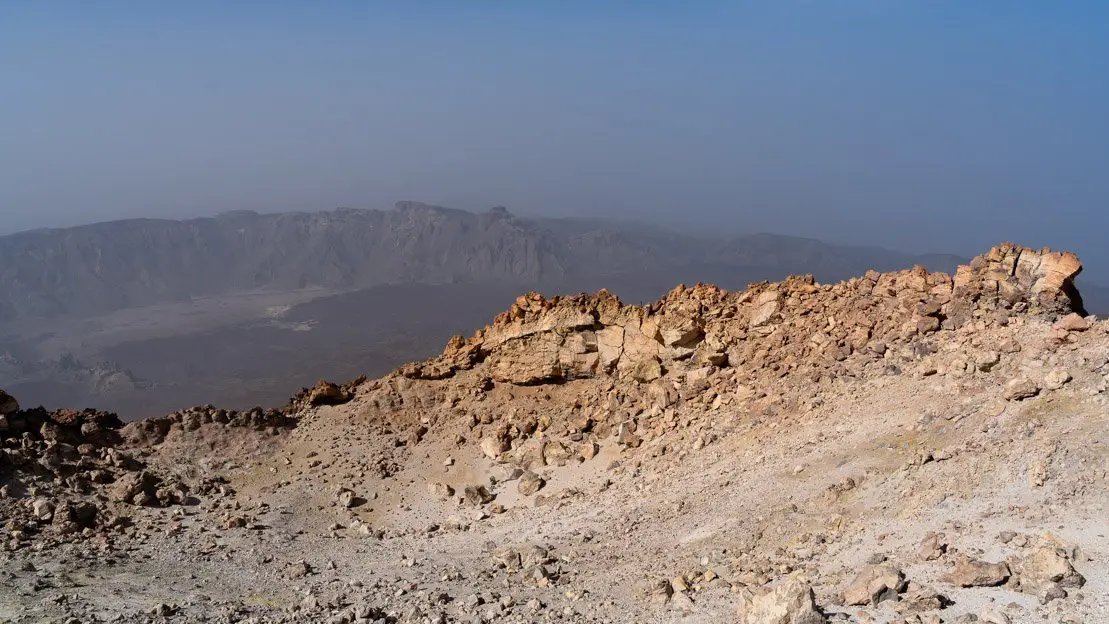
The “view” from the summit of Teide.
Climbing Mount Teide on a day hike
Even when it comes to climbing to the top of the volcano on foot, there is certainly no shortage of alternatives.
The absolute “shortest version” as a distance is the one I did personally and you can find it described on this page. As you can see for the ascent it took me about three and a half hours taking two fairly long breaks to have breakfast and enjoy the view a bit, while for the descent it took me just over two hours. However, it must be said that I was already acclimatized and above all relatively trained, although it is not that big of a feat, it is still almost 1400 meters of elevation gain and above three thousand meters the altitude starts to be felt.
I would also like to point out that – although I chose the shortest route overall – the trail in the initial part (until it joins the “official” one described below) is not at all pleasant as it is really steep, not exactly easy to follow and with a lot of sand/gravel. Nothing impossible but definitely something to keep in mind. If you opt for this short version, the trail junction is along the road at this point and a few hundred meters before that there is room for at least a couple of cars here and here.
The “official trail” is from the start less technical. The route to follow is the one described on this page. Doing so lengthens the round trip by about 3 km. Since the elevation gain is about the same, the initial part climbs more gently and over less challenging terrain.
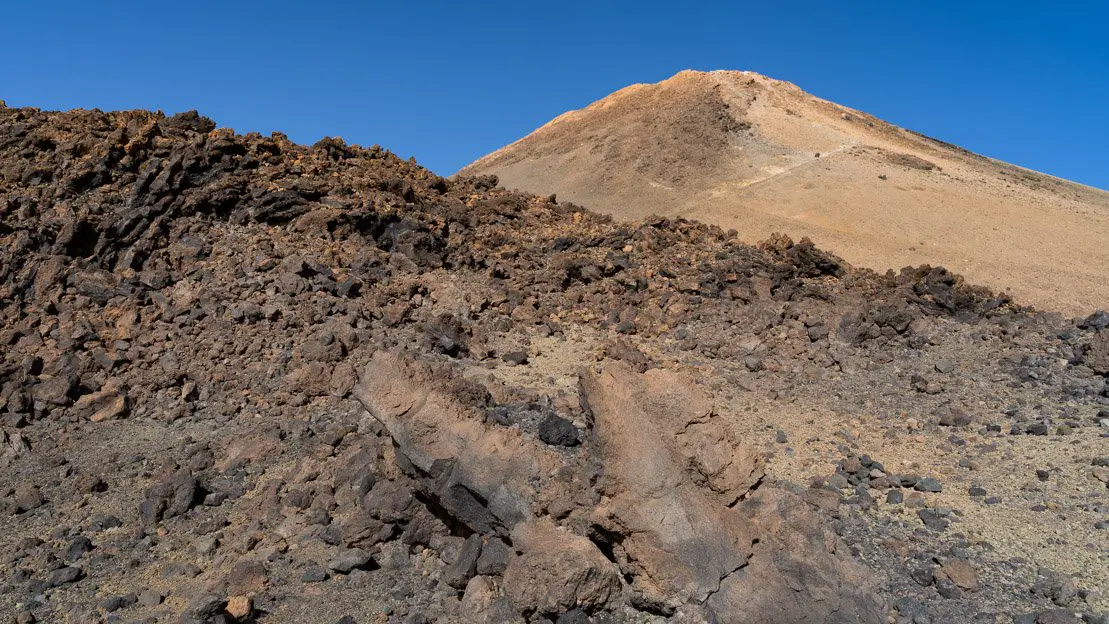
On the way to the summit.
In case you are interested, there is an even longer alternative, which is to go up the other side via Pico Viejo. This trail is more challenging as you add both distance and elevation gain, but it is definitely a viable option for anyone who wants to hike a less busy trail. You can find all the relevant information on this page. For the record, the ascent to Pico Viejo itself without going on to Mount Teide can certainly also be an interesting hike, you will find it on this page.
In all three cases, I remind you once again that if you want to reach the actual summit, you need to get the permit as discussed above or alternatively pass the checkpoint located at the height of the cable car arrival station before 9:00 a.m.
Climbing Mount Teide by spending the night at the Refugio Altavista
This is the ideal option for those who want to hike to the summit but prefer not to do it in one day, or who want to catch the sunrise without waking up crazy early. You can book the refuge at this link, but be sure to do it well in advance, as there are only 54 beds and they tend to fill up months ahead of time, especially during peak season.
The great thing about staying at the hut, besides making the climb easier, is that if you snag a bed, you don’t need a separate permit for the summit. Since you’re already at 3260 meters, even a leisurely pace should get you through the checkpoint before 9:00 AM. Plus, you can leave your backpack or some of your stuff at the hut, making the summit climb more comfortable.
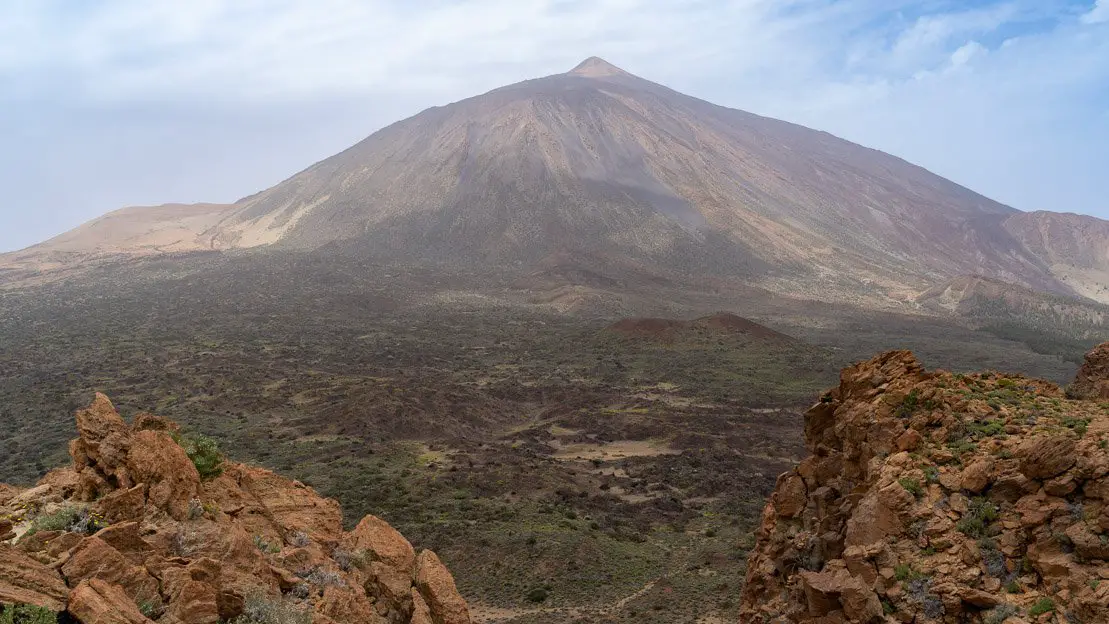
Teide seen from the Fortaleza.
Whichever option you go with, especially for a sunrise hike, remember you’re almost 4,000 meters up. It can get seriously cold, even in summer, so dress warmly. And if you’re leaving for sunrise, be prepared for the cold. If you’re heading up in the afternoon, though, remember there’s no shade on the trail, so you’ll be baking in the sun.
As a final tip for Teide National Park, while not essential, I recommend driving the “carretera de la Esperanza” or TF 24 at least once, either to or from the park. The road is beautiful and offers some cool views.
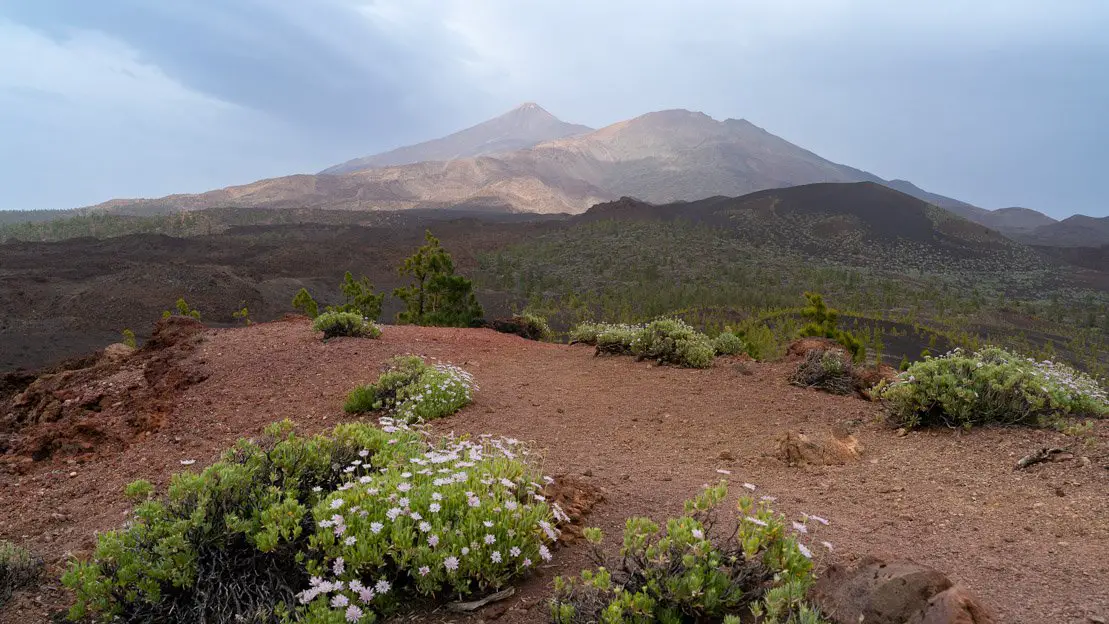
Mirador de Samara.
Where to sleep in Teide National Park?
There are at least a couple of good options to use as a base for exploring Teide National Park, if budget is not an issue, the best by far is definitely the Parador de Las Cañadas del Teide, its central location within walking distance of all the main attractions in the park is really hard to beat but for cheaper options you can consider Vilaflor, especially Hotel El Sombrerito and Hotel Rural Vilaflor. Or if you are willing to drive a little more but with the advantage of being closer to the sea, Arona is another good option with accommodations such as Finca Chimaca and VistalRoque. There are also some interesting trails from here, but I have not personally completed them, such as the one that goes up to Roque del Conde from which you have a 360-degree view of southern Tenerife.
If you are willing to sleep in a tent, the Las Lajas camping area is probably the best located. I spent three nights there and although there are definitely better campsites, considering that it is free (with reservations) you certainly can’t complain. Two other campgrounds slightly more outside the park but still good options are the Zona de Acampada de Chío and Ramón el Caminero.
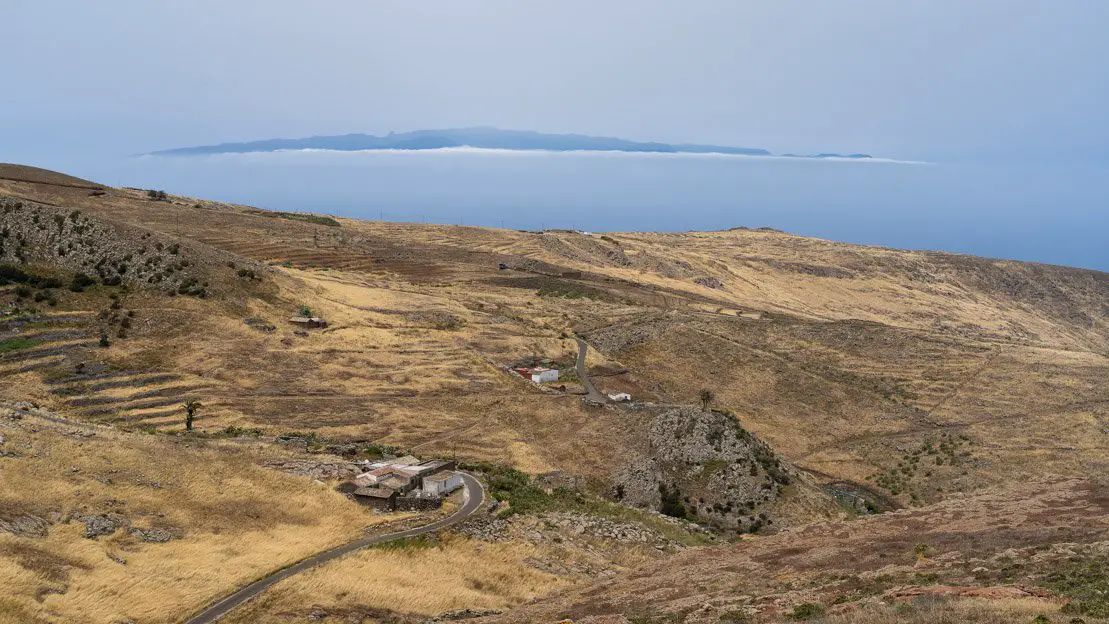
Teno Alto.
Suggested itineraries in Tenerife
While the itineraries below are geared towards a more adventurous road trip style, these itineraries can easily be adapted for a more relaxed pace. Use them as a starting point to build your own personalized itinerary based on your interests and the information I’ve shared so far.
Itinerary 3 days in Tenerife
Three days is the absolute minimum to get a taste of Tenerife. You’ll have to prioritize, but by the end of your stay, you should have a decent feel for what the island has to offer.
La Laguna (1 night)
Day 1:
Explore Anaga Rural Park during the day by choosing one of the recommended routes. Personally, if I had to choose I would complete the Senderos de Los Sentidos and then head to Roque de Taborno or alternatively, if you prefer to spend more time on the beach, to Playa de Las Teresitas. Spend the evening on the streets of La Laguna.
Vilaflor (1 night)
Day 2:
Devote the day to exploring Teide National Park. You could choose one of the shorter routes to do in the morning and ascend to the summit by cable car in the afternoon. Or opt for some of the shorter routes and enjoy Teide in the distance without necessarily climbing it.
Santiago del Teide (1 night)
Day 3:
Visit Masca and complete the hike in the Barranco de Masca or alternatively I would opt for the Cumbre de Bolico and Risco Verde. In the evening go to see the sunset at Los Gigantes.
Itinerary 5 days in Tenerife
With two extra days I would personally opt to spend a full day exploring the north coast (La Orotava, Icod de Los Vinos and Garachico) and another to do the excursion that inspires you most in one of the various parks. Alternatively, you could simply spend the day at the beach somewhere.
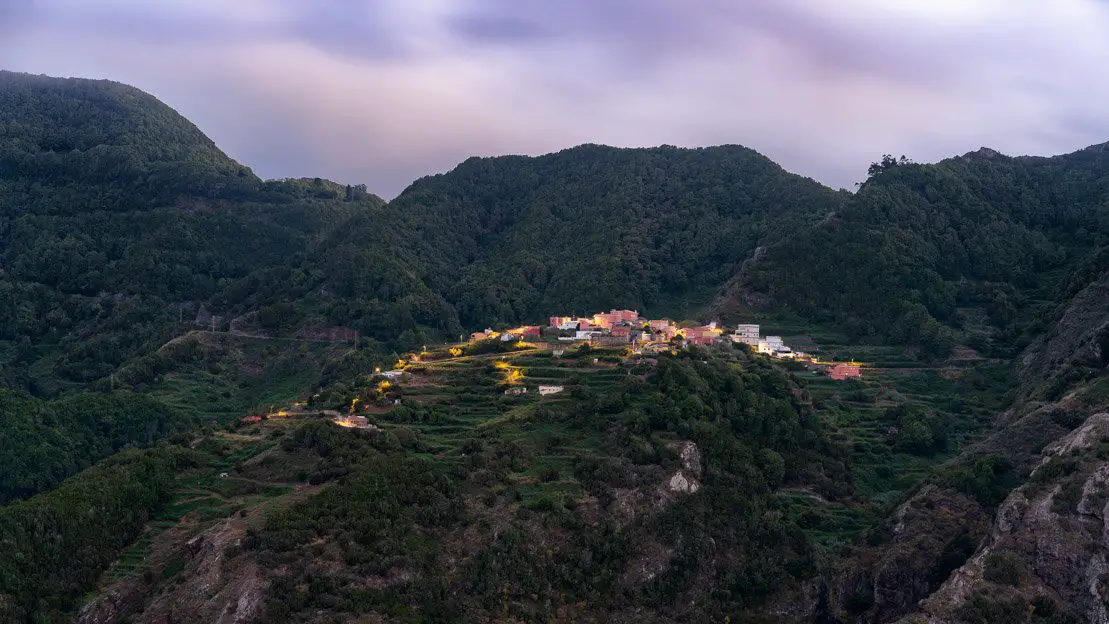
Las Carboneras.
Itinerary 7 days in Tenerife
With a week-long itinerary, you can take your time and explore everything at a more leisurely pace, even adding a few stops along the north coast. You’ll still need to make choices, but it’s a good amount of time to really get to know the island.
La Laguna (2 nights)
Day 1:
Explore Anaga Rural Park during the day by choosing one of the recommended routes. Personally if I had to choose I would complete the Senderos de Los Sentidos and then head to Roque de Taborno or alternatively, if you prefer to spend some time on the beach, Playa de Las Teresitas. Spend the evening on the streets of La Laguna.
Day 2:
I would recommend spending another day in Anaga Rural Park and choose from one of the proposed trails. I would probably opt for the hike from Punta de Hidalgo to Chinamada or Las Carboneras and then spend the rest of the day at the natural pools of Bajamar or Punta de Hidalgo.
Buenavista del Norte or Los Silos (2 nights)
Day 3:
Spend the day exploring the north coast of the island: La Orotava, Icod de Los Vinos, and Garachico. Ideally you should sleep somewhere around Buenavista del Norte or Los Silos.
Day 4:
Visit Punta de Teno by completing the Camino del Risco.
Santiago del Teide (1 night)
Day 5:
Visit Masca and complete the hike in the Barranco de Masca or alternatively I would opt for the Cumbre de Bolico and Risco Verde. In the evening go to see the sunset at Los Gigantes.
Vilaflor (2 nights)
Day 6:
You could choose one of the shorter routes to do in the morning and go up to the summit by cable car in the afternoon, or you could opt for some of the shorter routes and enjoy Teide from a distance without necessarily going up.
Day 7:
Choose one of the other routes within the park. Personally, I would opt for the ascent to Montaña Guajara.
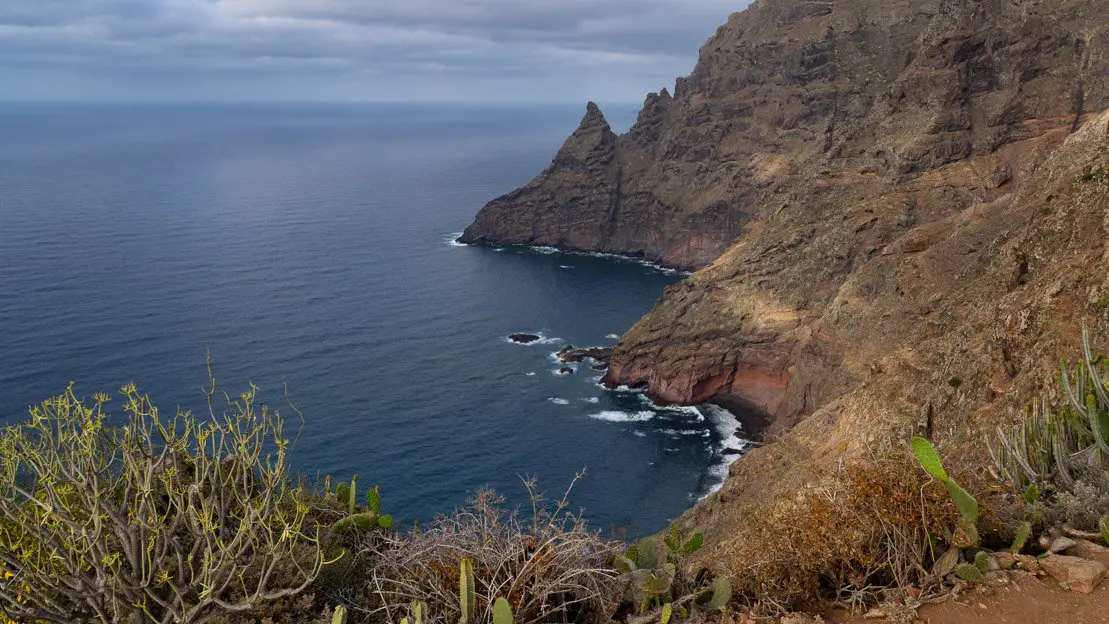
Chinamada Trail.
Itinerary 10 days in Tenerife
With ten days in Tenerife, you’ll enjoy even more flexibility than a week-long trip, allowing you to delve deeper into each destination and add extra excursions in the parks, as I’ve recommended. And of course, feel free to sprinkle in a few beach days for some well-deserved relaxation.
La Laguna (3 nights)
Day 1:
During the day explore the Anaga Rural Park by choosing one of the recommended routes. Personally if I had to choose I would complete the Senderos de Los Sentidos and then head to Roque de Taborno or alternatively Playa de Las Teresitas if you prefer to spend some time on the beach. Spend the evening on the streets of La Laguna.
Day 2:
Choose from one of the suggested trails in Anaga Rural Park. I would probably opt for the hike from Punta de Hidalgo to Chinamada or Las Carboneras and then spend the rest of the day at the natural pools of Bajamar or Punta de Hidalgo.
Day 3:
Choose from one of the proposed trails in Anaga Rural Park. I would probably opt for the loop but the trail from Igueste de San Andrés to Playa Antequera and the one from Benijo to Anaga Lighthouse are definitely two good options to fill the day as well.
Buenavista del Norte or Los Silos (3 nights)
Day 4:
Spend the day exploring the north coast of the island: La Orotava, Icod de Los Vinos, and Garachico. Ideally you should sleep in one between Buenavista del Norte or Los Silos.
Day 5:
Visit Punta de Teno by completing the Camino del Risco.
Day 6:
Complete the circuit Cumbre de Bolico and Risco Verde.
Santiago del Teide (1 night)
Day 7:
Visit Masca and complete the hike in the Barranco de Masca. In the evening, go to see the sunset at Los Gigantes.
Vilaflor (2 nights)
Day 8:
Spend the day relaxing at one of Tenerife’s beautiful beaches. Playa Abama, Playa de Santiago, or even a full day in Los Cristianos, known for its lively atmosphere, are all great choices. Then, head to Vilaflor in the evening to enjoy its cooler mountain air and starry skies.
Day 9:
You could choose one of the shorter routes to do in the morning and go up to the summit by cable car in the afternoon, or you could opt for some of the shorter routes and enjoy Teide from afar without necessarily going up.
Day 10:
Choose one of the other routes within the park. Personally, I would opt for the ascent to Montaña Guajara.
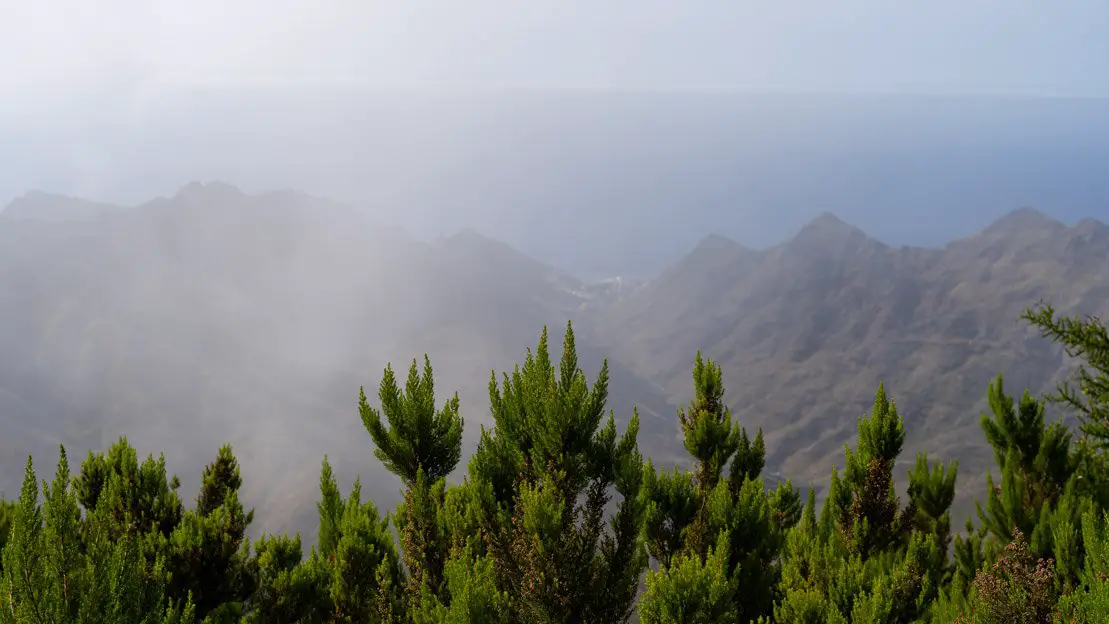
Mirador del Llano de los Loros.
Itinerary 14 days in Tenerife
With two weeks to spare, you have plenty of time to explore the island without any rush. My advice is to follow the ten-day itinerary just described and include a few days to spend at the beach here and there or just relaxing at some destination that you particularly liked.
How to get around Tenerife
Although public transportation is not that bad I think renting a car is by far the best way to explore the island. The roads can be busy but with a few rare exceptions are wide and in excellent condition.
Rent a car in Tenerife
During my trip to the Canary Islands, I almost always rented my car with Cicar: the prices are competitive, you can easily pay without a credit card, no deposit is required, insurance is included and there are no deductibles, but most importantly, they have offices at all the ports and airports on the islands, which is really practical for those who are planning a touring trip.
Many other companies, on the other hand, have offices only at the airport, which is really inconvenient if instead of getting on a plane you want to drop your car off at the port and get on a ferry to another island.
In short, if you have an inter-island road trip on your mind or for whatever reason you don’t want to drop your car off at the airport, Cicar is probably the best option. In all other cases, it’s definitely worth considering other car rentals by checking out sites like Discover Cars. In any case, whether it’s Cicar or any other company, if you have specific dates, I recommend booking the car a few weeks in advance; doing so can really save you a lot compared to last-minute bookings.
It should be noted that virtually all rental companies technically do not permit driving on dirt roads. Despite this, we have driven on dirt roads several times, but you might get in trouble if something happens.
Furthermore, some companies technically allow you to take your rental car to another island via ferry, provided you return it to the original island. Many rental agreements explicitly prohibit leaving the island altogether. My advice, if needed, is to consider renting a separate car for each island you visit or at the very least inquire about the specific rental policies regarding inter-island travel.
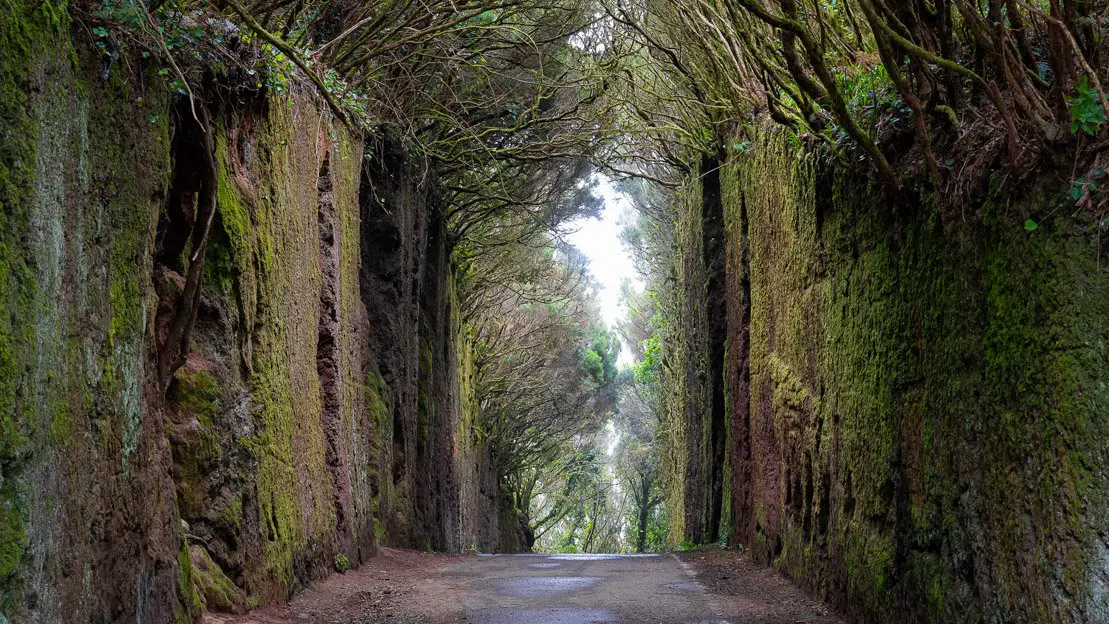
Camino Viejo al Pico del Inglés.
Buses in Tenerife
Public transportation is not bad at all and you can reach virtually any destination on the island with a little planning. On this page you will find the various routes and ride schedules, and you can plan your trip. I had read on multiple sites that you had to buy the Ten+ card to pay for rides so I did but the only two times I got on the bus to get to Masca and back from Punta de Teno, I saw people paying easily with a regular debit card.
Domestic Flights
The only two airlines operating domestic flights between the islands are CanaryFly and BinterCanarias. Prices tend to be very similar, but in general Binter seems to be slightly cheaper and has special fares for those under 29. In any case, look at both and if possible book at least a few weeks in advance for the best deals.
Ferries to Tenerife
Taking the ferry is a cheaper and more convenient way to travel between islands than flying, especially when heading to Gran Canaria or La Gomera. You don’t have to arrive two hours in advance like at the airport; just show up at the port an hour or less before departure, buy your ticket, and board – no need to book in advance.
Basically, ferry travel offers greater flexibility if you don’t have a fixed itinerary. Several companies operate between the islands, and Direct Ferries is a great website for comparing and booking tickets.
Tenerife offers several daily departures from Los Cristianos to La Gomera, La Palma, and El Hierro, while ferries to Gran Canaria depart from Santa Cruz.
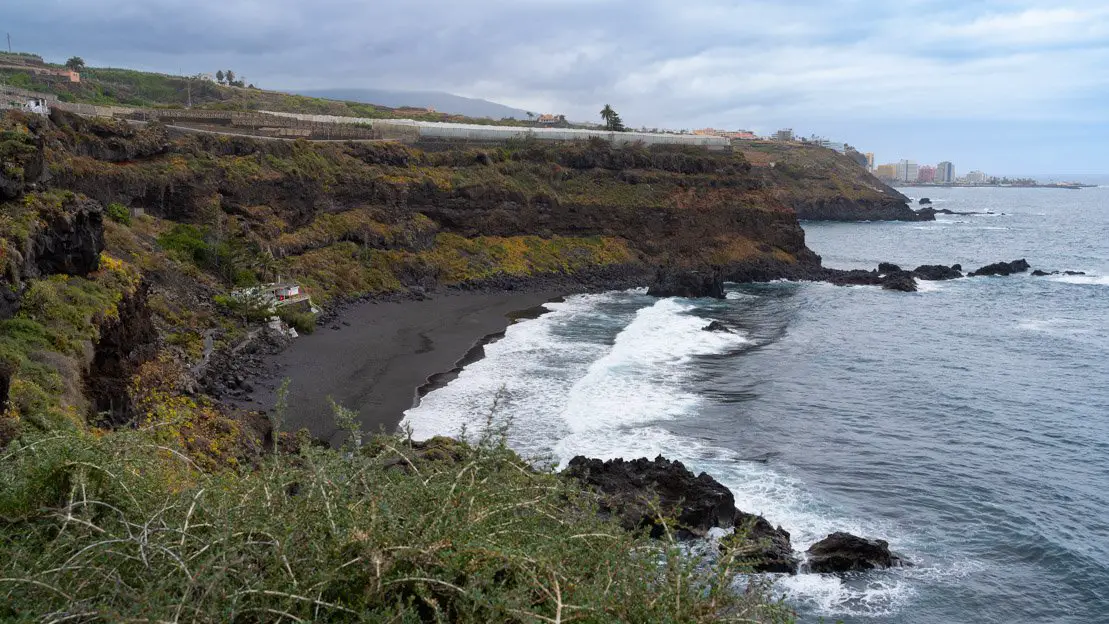
Playa El Bollullo.
Backpacking La Tenerife: costs
How much does a trip to Tenerife cost? Obviously it depends; those who read my blog know that I travel extremely frugally, and my trip to the Canary Islands was no exception. I managed to maintain a budget of €1,000 per month, or just over €30 per day all inclusive.
Prices in general are lower than in mainland Spain itself because the islands are a kind of special region where VAT is only 7 percent and on many consumer goods you don’t pay at all. To give two examples, the cost of gasoline is about 1€ per liter, a dinner at a restaurant if you don’t have high demands costs about 10€ or so. In short, they may not be the prices of Latin America, but by European standards you certainly cannot complain.
Since we are talking about costs I think it’s good to say a few words about what is definitely a great way to contain them: camping. Wild camping in Tenerife is technically illegal, but in reality it is widely tolerated. If you pitch your tent away from prying eyes you should not have any kind of problem, even better if, given the very low rainfall that characterizes the summer period, you don’t pitch your tent at all.
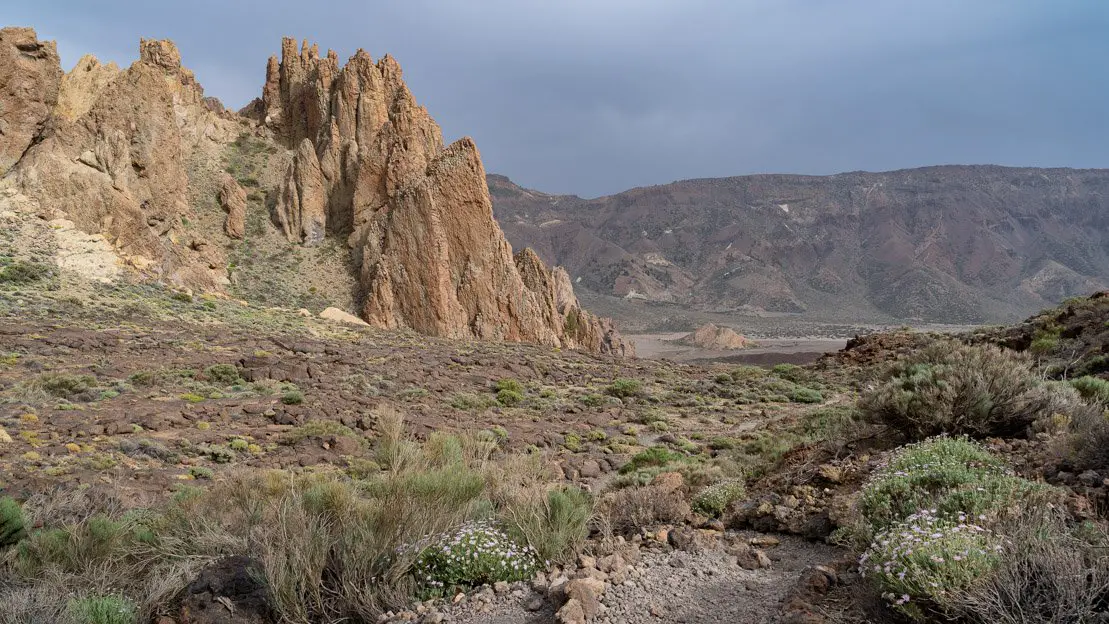
Roques de García.
During my stay in Tenerife, all the nights I spent “camping,” I always just inflated my camping mat when it was time for bed. But again, technically it is illegal, so the choice is yours.
If you want to stay on the right side of the law, the island government provides several areas where you can camp legally and for free. Find the complete list on this page where by following the steps you can reserve your spot. Some of these campsites are very basic, others are a real “luxury.” As mentioned throughout the guide, I especially recommend Los Pedregales to use as a base for exploring the northwest of the island and Las Lajas for Teide National Park.
Finally, to find places to camp in the Canary Islands I recommend the app park4night, designed especially for those who want to spend the night in an RV, minivan or car. It’s also a great resource for those who simply want to find a secluded place to pitch their tent or simply put down a mat as we often did.
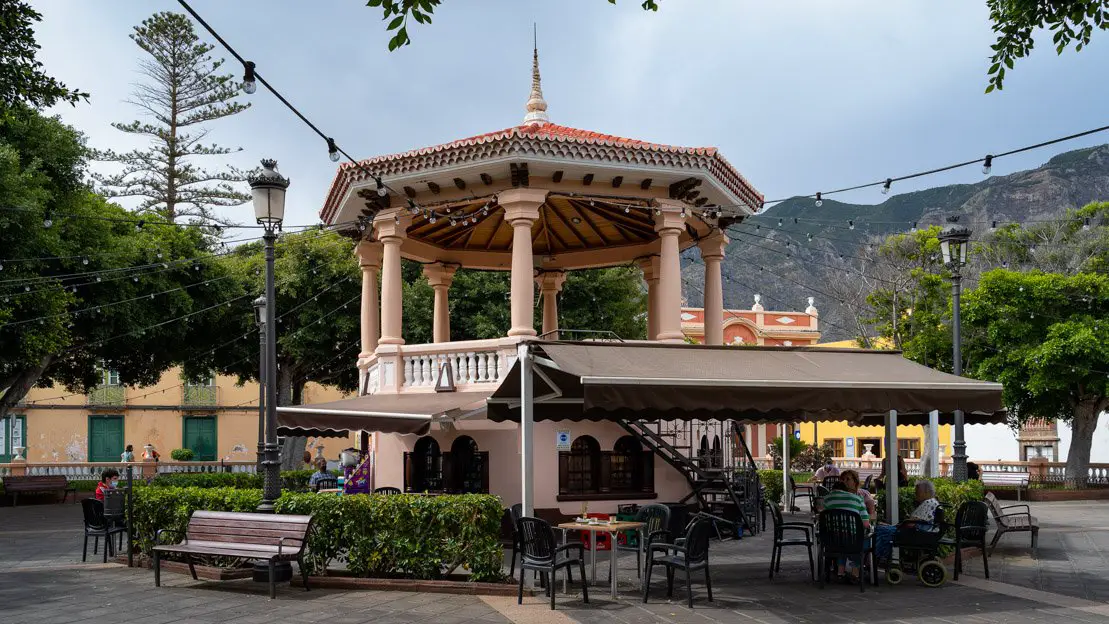
Plaza De La Luz, Los Silos.
Travel to Tenerife: safety
Tenerife and the Canary Islands in general is an absolutely safe destination with really low crime rates. It is also recommended for families with children. Of course, like anywhere else, it’s smart to use common sense and follow basic safety tips. Just be extra careful when swimming, as some beaches have strong currents, especially rip currents that can pull you out to sea. Many secluded beaches don’t have lifeguards, so it’s best to be cautious if you’re not a strong swimmer.
Finally, if you decide to rent a car make sure not to leave any valuables inside when unattended. Unfortunately, seeing broken glass in parking lots and signs urging people not to leave anything in the car are all too common.
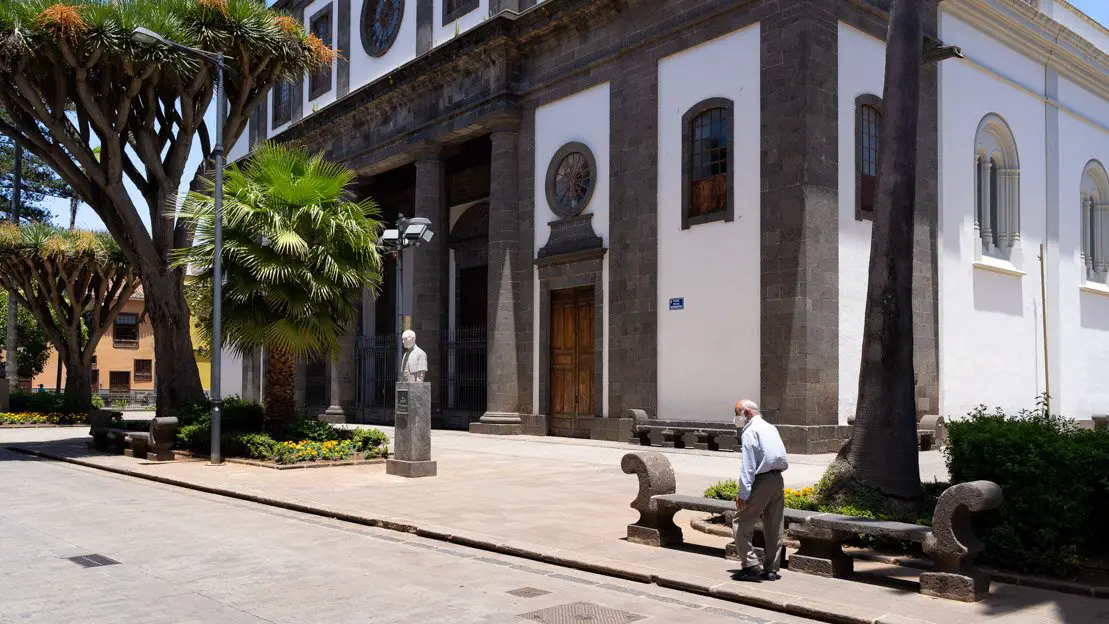
San Cristóbal De la Laguna.
Are you planning a trip to Fuerteventura? Check out these posts:
Do you have any questions? Updated information? Feel free to leave a comment or message me on Instagram!
Since I no longer run ads, if you found this article helpful, please consider purchasing your travel insurance through one of the links on this site. Doing so supports my work at no additional cost to you. For EU and UK residents, I recommend True Traveller. For everyone else, I recommend HeyMondo, which offers a 5% discount. Thank you for your support!
For donations/pizzas and virtual beers 🙂
Did you like the post? Pin it!
